
Jen
The Top 12 Causes of Peeling Paint & How To Fix Them
Key Takeaways:
- Peeling paint is almost never caused by the paint itself. It’s usually the result of moisture, poor surface preparation, incompatible products, or environmental damage. Repainting without addressing the root cause will almost always lead to recurring peeling.
- The most common causes of interior peeling paint include high humidity, active water leaks, painting latex over oil-based paint, using the wrong primer, poor surface preparation, excessive paint buildup, and low-quality or expired paint. Bathrooms, kitchens, laundry rooms, and ceilings are especially prone to moisture-related paint failure.
- Exterior paint typically peels because of water infiltration, freeze-thaw cycles, UV exposure, painting over damp surfaces, or using the wrong exterior paint products. Annual maintenance of caulking, flashing, gutters, and siding can significantly extend paint life and prevent costly failures.
- Warning signs that paint is about to fail include bubbling, blistering, hairline cracks, chalky residue, discoloration, damp spots, and lifting edges around trim or fixtures. Identifying these symptoms early can help homeowners fix underlying issues before widespread peeling occurs.
- Properly fixing peeling paint requires removing all loose paint, repairing and sanding the surface, cleaning thoroughly, applying the correct primer, and repainting with two coats. For widespread peeling, mold, active leaks, or soft exterior wood, professional evaluation is often the safest and most effective solution.
Paint doesn’t last forever. Over time, you may notice flakes, cracks, or peeling paint on your walls. Noticing these imperfections can feel disheartening, especially after all the effort you put into painting that wall, door, trim, fence, or deck. It’s frustrating to say the least. And your natural instinct is to scrape it and paint over it.
That’s almost always the wrong move.
Peeling paint is rarely a paint problem. It’s a surface problem, a moisture problem, or a prep problem. Paint over it without knowing which one you’re dealing with, and you’re just buying yourself another round of the same headache.
Where it’s peeling matters too. Interior peeling and exterior peeling usually come from entirely different sources. A bathroom wall that’s flaking has nothing in common with siding that gave up after one Michigan winter. The fix is different in each case, sometimes completely.
The good news is that peeling paint is preventable and fixable! In this article, we’ll dive deeper into the causes of peeling paint, solutions to avoid it, and a step-by-step guide on how to fix peeling paint after the fact.
If you’re ready to invest in a professional painting service in Grand Rapids,
VanDerKolk Painting is here to help! Our high-quality paint products and techniques prevent peeling paint from the start.
What is Peeling Paint?
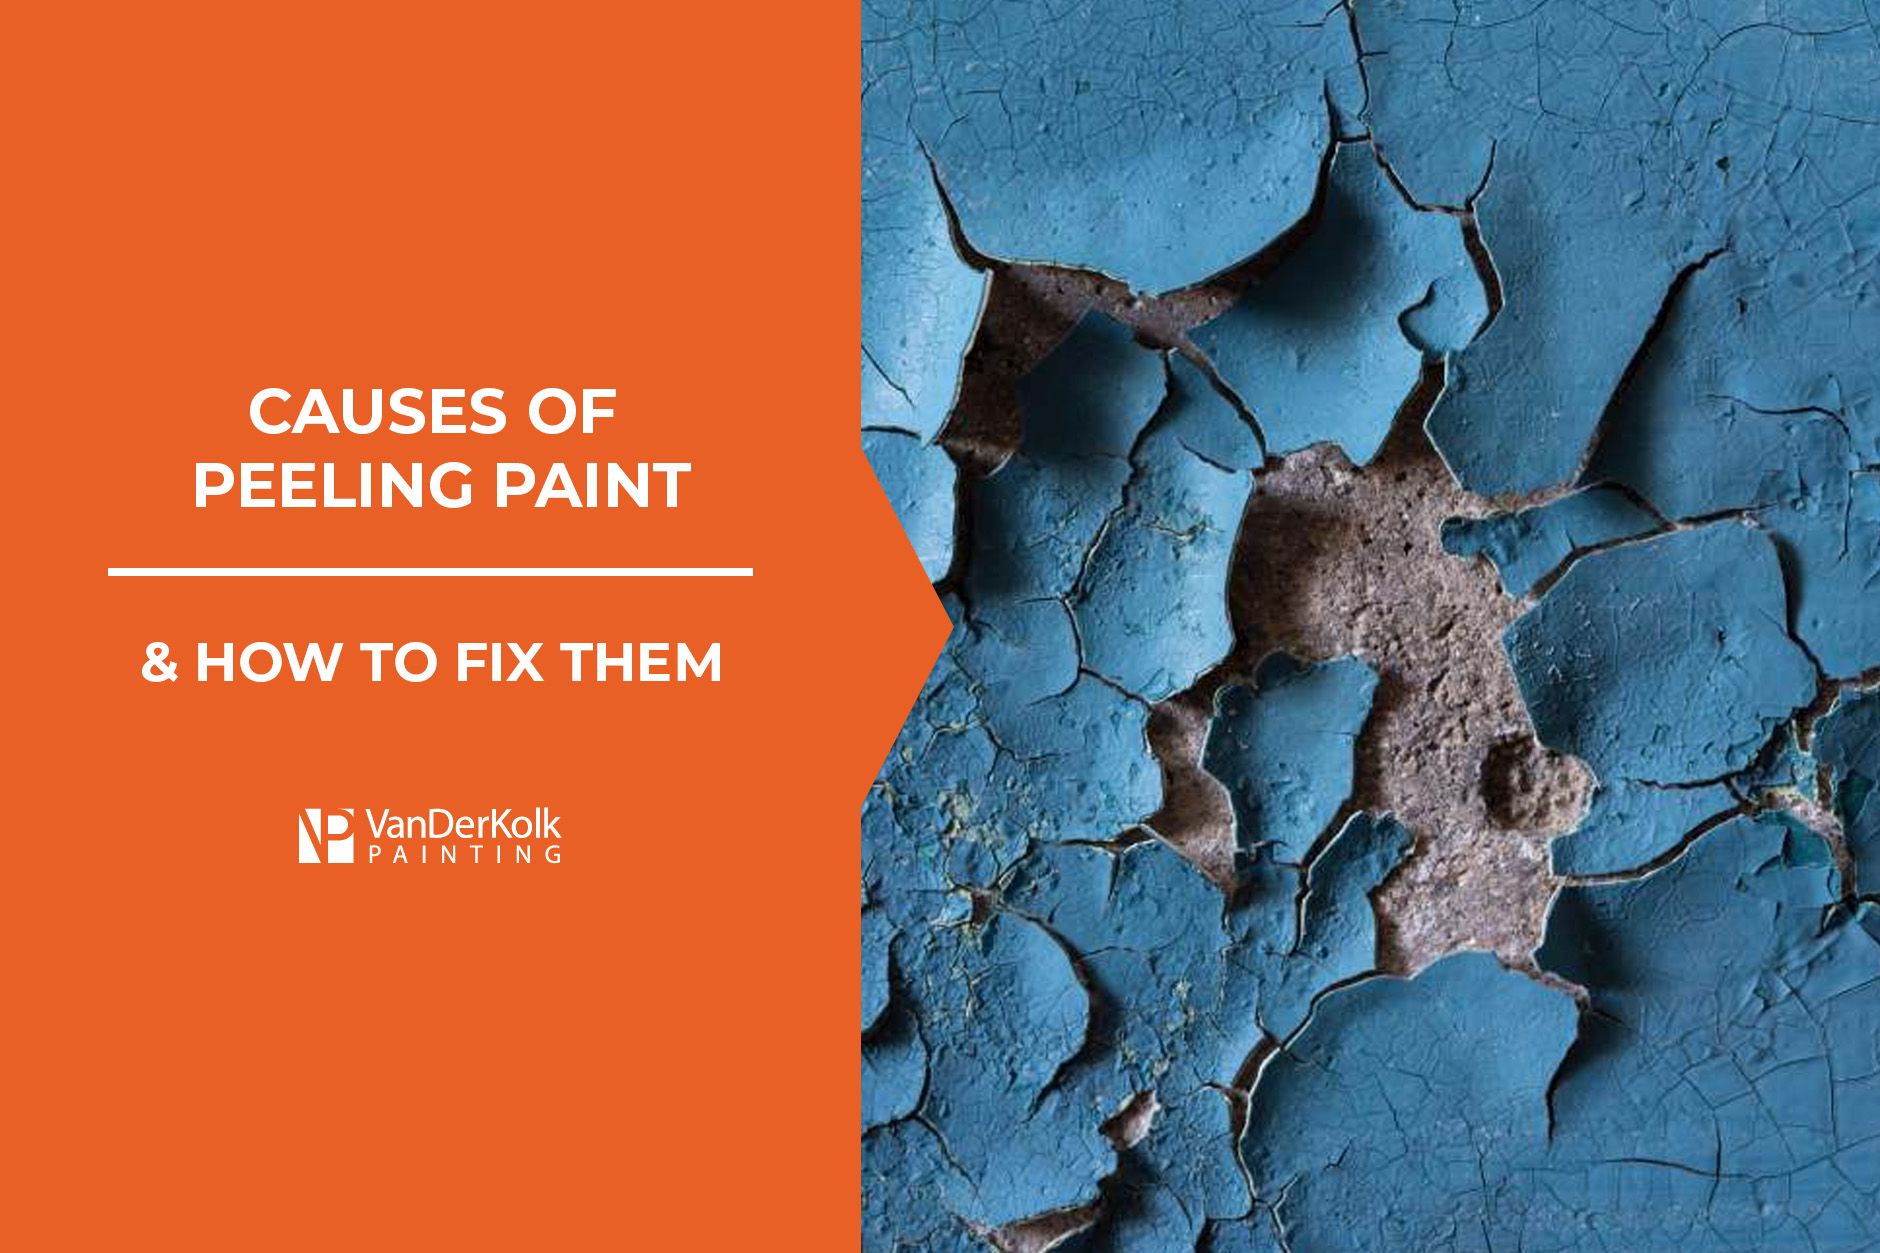
Peeling paint occurs when the bond between the paint and the underlying surface breaks down. The paint separates and starts to lift, crack, flake, or come away in sheets. It can happen on walls, ceilings, siding, or trim, and it can show up a few months after painting or several years later, depending on the cause.
You will likely notice peeling paint on older surfaces, such as
old homes, brick walls, or antique furniture pieces. However, it is still possible that a recently painted surface can begin to peel due to common causes and mistakes.
Warning Signs Your Paint Is About to Fail
Paint almost never goes from fine to falling off overnight. Usually there’s a window where it’s telling you something is wrong before it becomes a bigger problem.
Here are the signs that your paint is about to start peeling:
- Bubbles or blisters: Small bumps beneath the paint surface indicate moisture is trapped. If you see these in a bathroom or on an exterior wall, don’t ignore them. They pop eventually, and what’s underneath is usually worse.
- Hairline cracks: Fine, web-like cracks that start small and spread. Once the paint film starts cracking, moisture gets in, and the peeling accelerates.
- Chalky or powdery surface: Drag your hand across the wall. If it comes away with a white dusty residue, the paint is degrading. Peeling comes next.
- Discoloration or damp patches: Yellow or brown staining is almost always moisture working through from behind the surface, not something sitting on top of it.
- Curling edges near trim or switches: Paint lifting at corners or along switch plate edges means the adhesion is already gone in those spots. What looks like a small problem tends to spread.
Interior vs. Exterior: Why the Location of Peeling Paint Matters
Interior and exterior peeling often look identical, but the causes usually aren’t.
Interior peeling paint almost always comes down to moisture from inside the home, poor surface prep, or a product mismatch. That could be the wrong primer, incompatible paint types, or surfaces that weren’t clean before painting.
Exterior painting has its own list: rain getting behind siding, failed caulk around windows, clogged gutters pushing water back against the wall, UV exposure grinding down the paint film over time.
In
Michigan, freeze-thaw cycles belong on that list too. Water finds its way into small cracks or behind the paint film, freezes, expands, and physically forces the paint away from the surface. By the time you notice it in spring, it’s been happening all winter.
Here’s a quick way to figure out which situation you’re in:
| Interior Peeling | Exterior Peeling | |
|---|---|---|
| Most common cause | Moisture from humidity or an active leak | Water infiltration, failed caulk, or freeze-thaw damage |
| Where you’ll see it | Bathrooms, kitchens, ceilings, laundry rooms | Siding, trim, window frames, wood surfaces |
| Key warning signs | Bubbling or staining near plumbing or vents | Large sections peeling together, especially after winter |
| First step | Identify the moisture source before repainting | Inspect caulk, gutters, and flashing first |
| DIY or professional? | DIY for small areas; call a pro if mold is present or peeling is widespread | Call a pro if wood feels soft underneath or peeling is across multiple walls |
What Causes Interior Paint to Peel?
There are a few reasons interior paint may peel. Sometimes it's the painter's fault, while other times it’s the environment's.
Cause 1: Moisture from High-Humidity Rooms
If you notice peeling paint in your bathroom, kitchen, or laundry room, humidity is usually the culprit. Steam and moisture vapor build up in these spaces and work behind the paint over time, weakening the bond until the paint starts to lift.
How to Avoid It:
We recommend a stain or semi-gloss finish in any high-humidity room. These finishes have a harder surface that resists moisture penetration far better than flat or eggshell.
Beyond that, make sure every bathroom with a shower has a fan that vents outside, and run it during the shower and for at least 15 minutes after each one. A dehumidifier is particularly helpful in damp spaces like basements and laundry rooms.
Cause 2: An Active Water Leak
A roof letting water in, a pipe dripping inside a wall, a window with failed flashing—these all deliver water directly behind the paint, and no paint job handles that for long. If your ceiling paint is peeling, this is the most likely cause.
Ceiling peeling almost always points to something above it. It’s usually a plumbing issue, a roof problem, or ice damming in winter pushing water back under the shingles. The paint is just showing you where the water landed.
How to Fix It:
Find the source before you touch the paint. Repainting over an active leak accomplishes nothing. The new coat will fail just as fast. Once the leak is fixed and the surface has fully dried out, you can repair and repaint.
Cause 3: Painting Latex Over Oil-Based Paint
This catches many homeowners off guard, particularly in older homes. If your house was painted before the mid-1990s, there’s a chance some walls have oil-based paint underneath.
Applying latex paint directly over oil-based paint without proper preparation will cause it to peel. Not immediately, but eventually. Since latex is flexible, it does not bond well to the rigidity of the oil paint, causing the latex to lift off.
How to Avoid It:
When you test for oil-based paint, there are two options. Sand the surface and apply a bonding primer before painting to give the latex something to grip. Or strip back to the bare surface and start clean.
Learn more about how to manage oil-based paint surfaces in our guide “How to Paint Over Oil-Based Paint.”
Cause 4: Wrong Primer and Paint Combination
Even setting aside the latex-over-oil scenario, pairing the wrong primer with your topcoat causes adhesion problems. Water-based and oil-based products don’t bond with each other, and the result is a paint film that peels ahead of schedule.
How to Avoid It:
Follow this simple pairing rule: latex or water-based paint goes with water-based primer, and oil-based paint goes with oil-based primer.
Cause 5: Poor Surface Preparation
Paint grips surfaces, not contamination. Dust, grease, soap residue, or mold on the wall before painting means the paint bonds to whatever’s sitting on top rather than the wall itself. And that just simply doesn’t hold. Glossy surfaces cause the same problem. They cause the paint to slide off a slick finish without a texture to grip.
How to Avoid It:
Clean your surface with a damp sponge and a small amount of dish soap. Rinse it and let it dry fully, then sand any glossy surfaces lightly before priming. It adds time to your painting project, but skipping it is the most reliable way to end up with peeling paint within a year.
Cause 6: Too Many Accumulated Paint Layers
Every time a wall is repainted without stripping, another layer goes onto the stack. In older homes that have been painted many times, the combined weight and stress of all those layers eventually exceed what the adhesion can support. Paint starts to pull away from the surface, usually in large sections rather than small, isolated flakes.
How to Avoid It:
Stripping back to the bare surface before repainting is the only real fix. A chemical stripper or heat gun handles most interior surfaces. It’s more work upfront, but it’s the right starting point when buildup is the problem.
Cause 7: Low-Quality or Expired Paint
Budget paint tends to be thinner, less adhesive, and less flexible, so it starts failing sooner. Expired paint has similar problems. Paint that’s been stored through a Michigan winter in an unheated garage may have frozen and thawed several times. This breaks down the emulsion and compromises adhesion before it ever goes on the wall.
How to Avoid It:
Check any paint that’s been in storage before you use it. If it’s separated beyond what stirring can fix, smells sour, or has a strange texture, it’s expired. High-quality paint from a reputable brand costs more upfront, but repainting every two years because you used compromised paint costs more overall.
What Causes Exterior Paint to Peel?
Exterior paint takes on a lot more than interior paint does. Sun, rain, temperature swings, and whatever happens with the substrate underneath (wood expanding and contracting, caulk shrinking and cracking, gutters backing up, etc.). Any one of these can cause peeling on its own. In Michigan, several of them tend to happen at once.
Cause 1: Moisture and Water Infiltration
The mechanics are the same as interior moisture peeling. Water gets behind the paint and breaks the bond, but the sources are different outside. Failed caulk around windows and doors, rain penetrating behind siding, and flashing that lets go around the roofline are all the usual entry points.
How to Avoid It:
Inspect caulk around every window, door, and penetration once a year. Clean gutters at least twice a year. If you’re seeing peeling along the roofline or near windows, check the flashing before picking up a brush.
Cause 2: Freeze-Thaw Cycles
Most national painting guides don’t cover this one in any depth, because most of them aren’t written for climates like Michigan’s.
When water gets into small cracks in siding, trim, or caulk and the temperature drops below freezing, that water expands. It does this repeatedly through a Michigan winter, and each cycle pushes the paint film a little further from the surface. By March, what started as a hairline crack has become a patch of peeling paint.
How to Avoid It:
We recommend a high-quality 100% acrylic latex exterior paint for most Michigan surfaces. It flexes with temperature changes rather than cracking under them. Seal all cracks and penetrations before winter. If you’re planning an exterior repaint, fall is a good time as long as
temperatures stay above 50°F.
Cause 3: UV Exposure and Sun Damage
UV rays break down the resin in exterior paint over time, making the film brittle. South- and west-facing walls take the most punishment—direct afternoon sun through the hottest part of the day. On those surfaces, paint can start showing UV degradation years before the north or east sides of the same house.
How to Avoid It:
High-quality exterior paint with UV inhibitors holds up significantly longer on sun-exposed surfaces. South and west walls will need repainting on a shorter cycle than the rest of the house. But that’s not a flaw in the paint; it’s just the sun’s positioning.
Cause 4: Painting Over Wet or Damp Siding
Painting exterior surfaces while they’re damp traps moisture beneath the paint. It happens after rain, pressure washing, and morning dew—and the result is peeling that starts from underneath rather than from the surface down.
New wood is a particular risk. Fresh lumber contains a significant amount of moisture and needs time to dry before paint bonds properly. We’ve seen exterior jobs fail within a single season because new siding was painted too soon.
How to Avoid It:
After pressure washing or rain, wait at least 48 hours before painting—longer in humid weather. New wood should read below 15% moisture content on
a meter before you prime it. And don’t start early in the morning when dew is still sitting on the surface, even if it looks dry to the eye.
Dive deeper into painting with humidity in our guide “How to Dry Paint in High Humidity.”
Cause 5: Low-Quality or Wrong Exterior Paint
Interior paint used outdoors breaks down quickly. It simply isn’t formulated to handle UV exposure, moisture, or temperature movement. We see this more often than you’d expect, usually when someone has leftover interior paint and decides to use it outside.
Budget exterior paint has similar limitations. It may cover fine, but it lacks the flexibility and adhesion to handle Michigan weather year after year.
How to Avoid It:
For most Michigan exterior surfaces, a 100% acrylic latex exterior paint is the right choice. It handles moisture, flexes with temperature changes, and holds up better to UV exposure than cheaper alternatives.
Mold: The Risk You Can’t Paint Over
Several of the causes above—humidity, active leaks, exterior water infiltration—share a common risk if left unaddressed long enough: mold. When moisture-driven peeling goes ignored, the damp conditions behind the paint create the right environment for mold and mildew to take hold. It’s one of the reasons we treat peeling paint as a symptom worth investigating rather than just a surface to fix.
Here’s the thing: paint doesn’t kill mold. It covers it. The mold keeps growing underneath, making the new coat lose adhesion. In some cases, you’ll see dark staining bleed through fresh paint before it’s fully cured.
Before repainting any area with a moisture history, peel back a section of the failing paint and check what’s underneath. Dark grey, black, or greenish patches indicate the presence of mold. So does a musty smell. If you find either, clean the area with a mold-killing solution, let it dry completely, and apply a stain-blocking primer before applying a topcoat.
If you’ve found mold behind your peeling paint, make sure to read our guides “Can You Paint Over Mold?” and “Signs That Mold Has Been Painted Over.”
How to Fix Peeling Paint
Knowing what caused the peeling paint is step one. Step two is fixing it. The process depends on how much surface you’re dealing with. A small patch near a bathroom fixture is a different job from bringing down an entire wall in sections.
Small Areas and Patches
For isolated spots, this is a reasonable DIY repair. Work through these steps in order and don’t skip the prep.
- Scrape away all loose paint. Use a paint scraper or wire brush and remove everything that isn’t firmly bonded to the surface. Use light pressure to remove the failing paint, not pieces of the wall.
- Repair the surface. Fill holes, cracks, and uneven spots with spackle or joint compound. Smooth with a putty knife and let it dry fully.
- Sand smooth. Sand the repaired area to level it out, then finish with fine-grit sandpaper to feather the edges so there’s no visible ridge where old paint meets new.
- Clean the surface. Wipe down with a damp sponge to remove dust and oils. Let it dry completely before priming.
- Apply primer. Match your primer to your topcoat. If there’s staining or mold in the area, use a stain-blocking primer. Dry time can be up to 24 hours, but always check the manufacturer's instructions.
- Paint in two coats. Apply the first coat evenly and let it dry before adding the second. Two coats over a repair are almost always the right call.
Large Areas or Widespread Peeling
When paint is failing across an entire wall, ceiling, or multiple surfaces, the repair should start with a question: what caused this? Repainting without answering it yields the same result in a shorter timeframe.
- Find and fix the root cause first. Check for active leaks, moisture sources, ventilation problems, or incompatible paint layers before picking up a scraper.
- Strip all failing paint. Scrape or sand the entire affected surface. On ceilings, work carefully—large sections can come down unexpectedly.
- Repair and fill. Fill cracks, holes, and damaged areas with the right filler. On exterior surfaces, damaged wood may need to be replaced rather than filled over.
- Treat mold if present. Remedy mold before anything else. A stain-blocking primer alone isn’t enough if the growth is significant.
- Apply a high-bond primer. On surfaces that have experienced widespread failure, a bonding primer provides the topcoat with the best possible foundation.
- Paint in two coats. Follow the manufacturer’s dry time between coats. Cutting it short is one of the more reliable ways to end up back at step one.
When to Call a Professional to Fix Peeling Paint
Most peeling paint is fixable without professional help. But some situations are bigger than they look, and repainting a surface that has an unresolved problem underneath just means doing it again sooner.
Here are the situations where it’s worth calling VanDerKolk Painting:
- Peeling across an entire room or multiple rooms
- Ceiling peeling that points to an active leak
- Mold visible beneath the paint
- Peeling that came back after a previous repair
- Exterior wood siding that feels soft beneath the peeling paint
- Large-scale exterior peeling after a Michigan winter
Avoid Peeling Paint with VanDerKolk Painting
More than 30 years of painting homes across West Michigan has taught us one thing about peeling paint: it’s rarely ever a paint problem. It’s a prep problem or a moisture problem. And it’s usually a preventable problem.
If you’re looking at peeling paint and you’re not sure what caused it, don’t repaint yet. Figure out the cause first. We’ve seen plenty of fresh paint jobs fail within a year because the underlying surface wasn’t properly prepared.
Are you ready to let the painting professionals at
VanDerKolk Painting fix peeling paint or provide a fresh paint job that avoids peeling in the future? Request a free estimate by calling
(616) 202-6570 or completing our online form.
FAQs on the Causes of Peeling Paint
Why is my bathroom paint peeling?
The most common reason is moisture. If the peeling is right around the shower, humidity is the likely cause. Steam works behind the paint over time and breaks the bond. A missing exhaust fan and the wrong paint finish make this even worse.
Why is my ceiling paint peeling?
Usually, water from above, such as a slow roof leak, a plumbing issue on the floor above, or ice damming in the winter, causes ceiling paint to peel.
Can peeling paint be a sign of mold?
Yes, when moisture-driven peeling goes unaddressed, mold can develop behind the paint. Peel back a section and check for dark, grey, black, or greenish patches and for a musty smell. Make sure to treat the mold and remedy the source before repainting.
How long should paint last before it starts to peel?
High-quality interior paint should hold up for five to ten years. Exterior paint typically lasts seven to ten years, though Michigan’s weather can shorten that on exposed surfaces. If paint peels within a year or two, it likely points to a prep issue, a moisture problem, or the wrong product.
Should I paint over peeling paint?
No. New paint bonds to the failing paint rather than the wall and peels off on roughly the same timeline. Scrape back all loose material, find and fix the root cause, prep the surface, then paint. Skipping any of these steps is what makes the same wall need repainting in two years.
Why is my exterior paint peeling after just one winter?
In Michigan, this almost always comes down to moisture trapped under the paint before application or to a product unsuitable for temperature fluctuations. A 100% acrylic latex exterior paint on a properly prepared, dry surface handles local winters reliably.
What is the difference between peeling and bubbling paint?
Bubbling occurs just before peeling. Moisture or heat gets trapped under the paint and pushes outward. Eventually, those bubbles collapse, and peeling follows.
Is peeling paint a health risk?
Two situations warrant attention here. Homes built before 1978 may have lead-based paint—significant peeling in those homes can release lead dust, which is dangerous for children and pregnant women. Have the paint tested before scraping anything.
The second is mold behind the paint, which releases spores into the room over time. Both warrant professional assessment and remedy.

About Tom VanDerKolk
Tom VanDerKolk is a professional painter with over three decades of experience and the owner of VanDerKolk Painting, a leading painting contractor serving West Michigan. Since founding the company in 1991, Tom has overseen projects ranging from residential homes to complex commercial and industrial facilities. His background includes formal training under a master painter and decades of hands-on application across a wide range of surfaces, coatings, and environments. Tom regularly shares practical insights to help homeowners and property managers make informed decisions about painting, maintenance, and long-term surface protection.
Request A Free Quote
Our Services
Residential Services
Commercial & Industrial Services
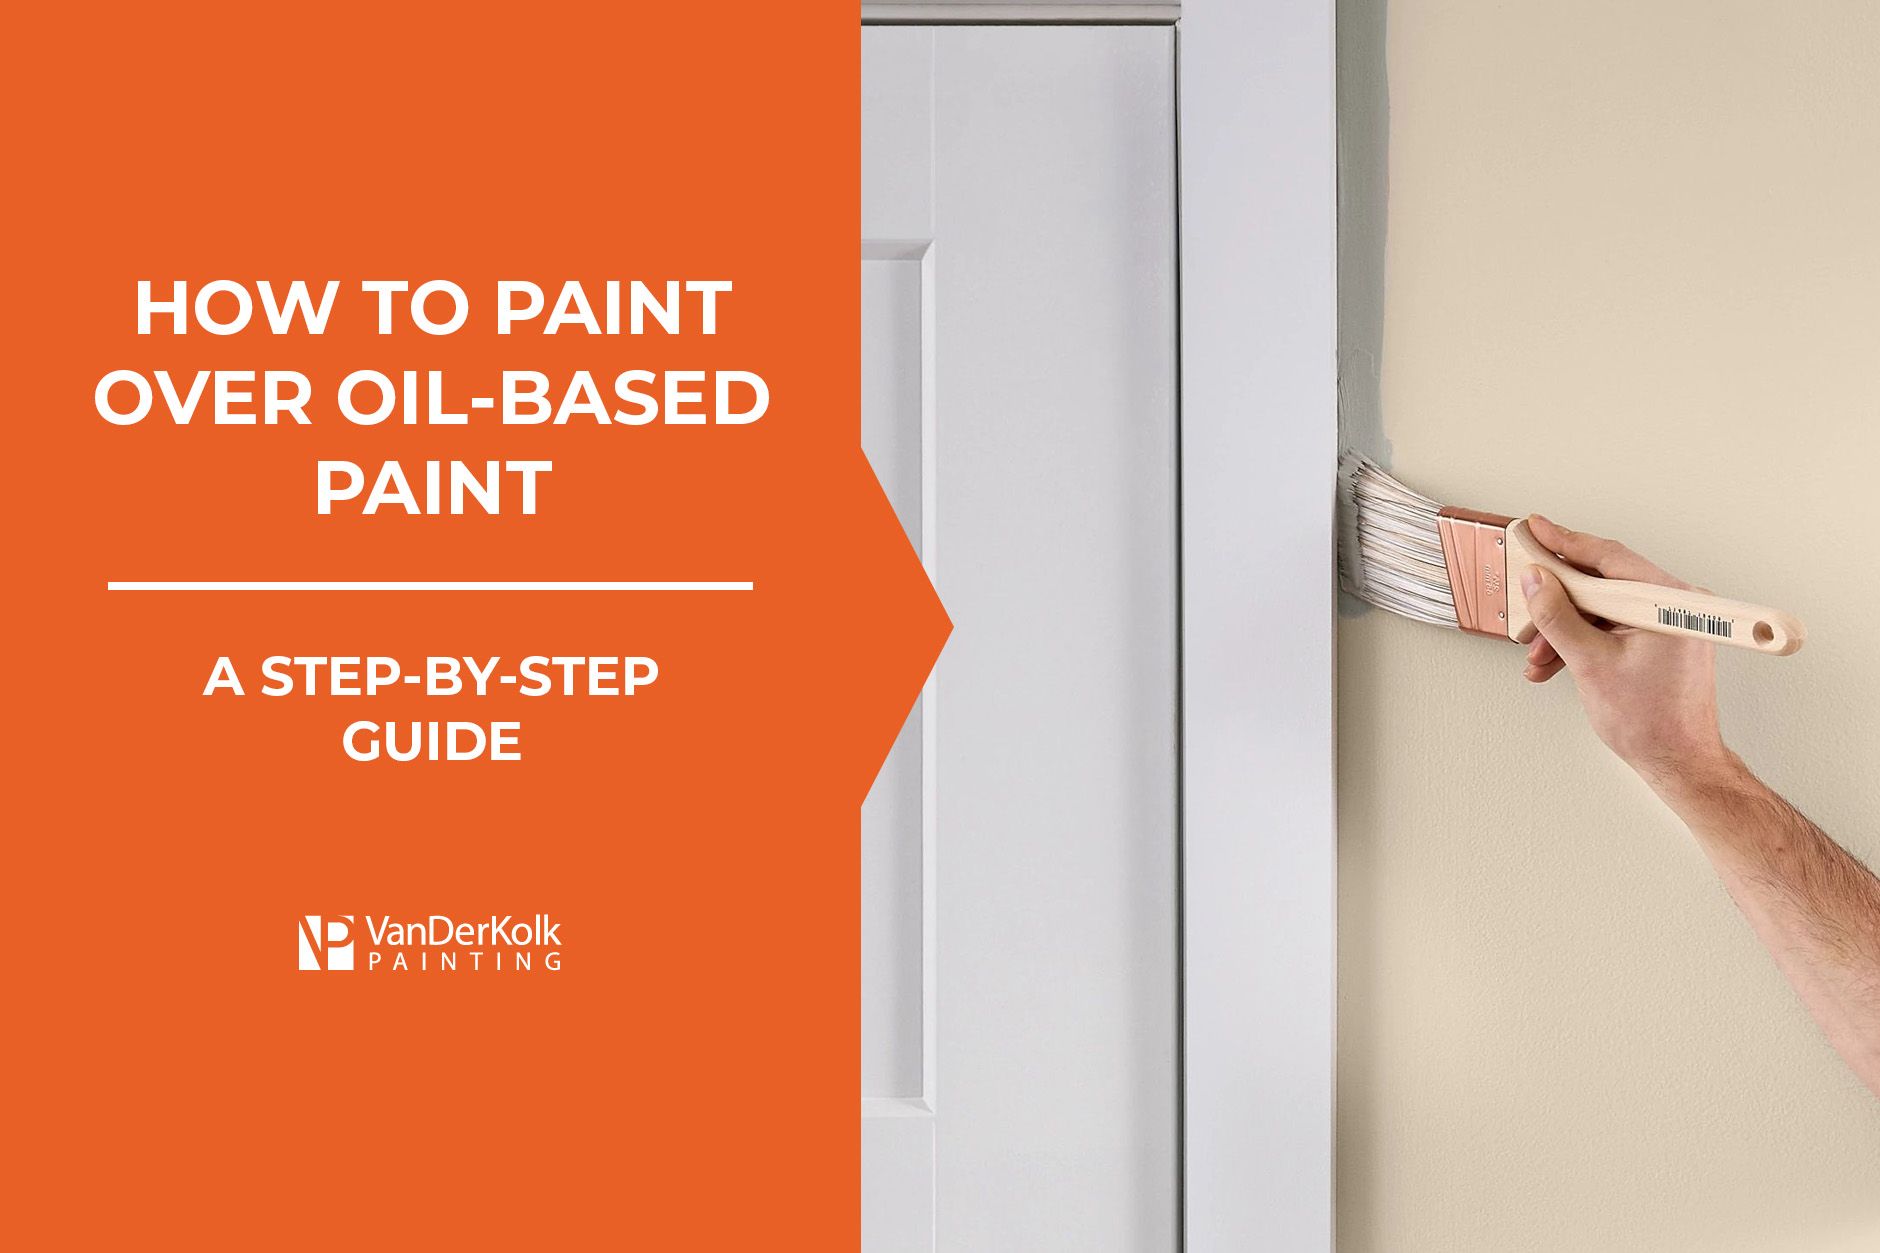
You can paint over oil-based paint, but how you do it depends on what you’re painting over it with. The process can be broken down into 4 simple steps.
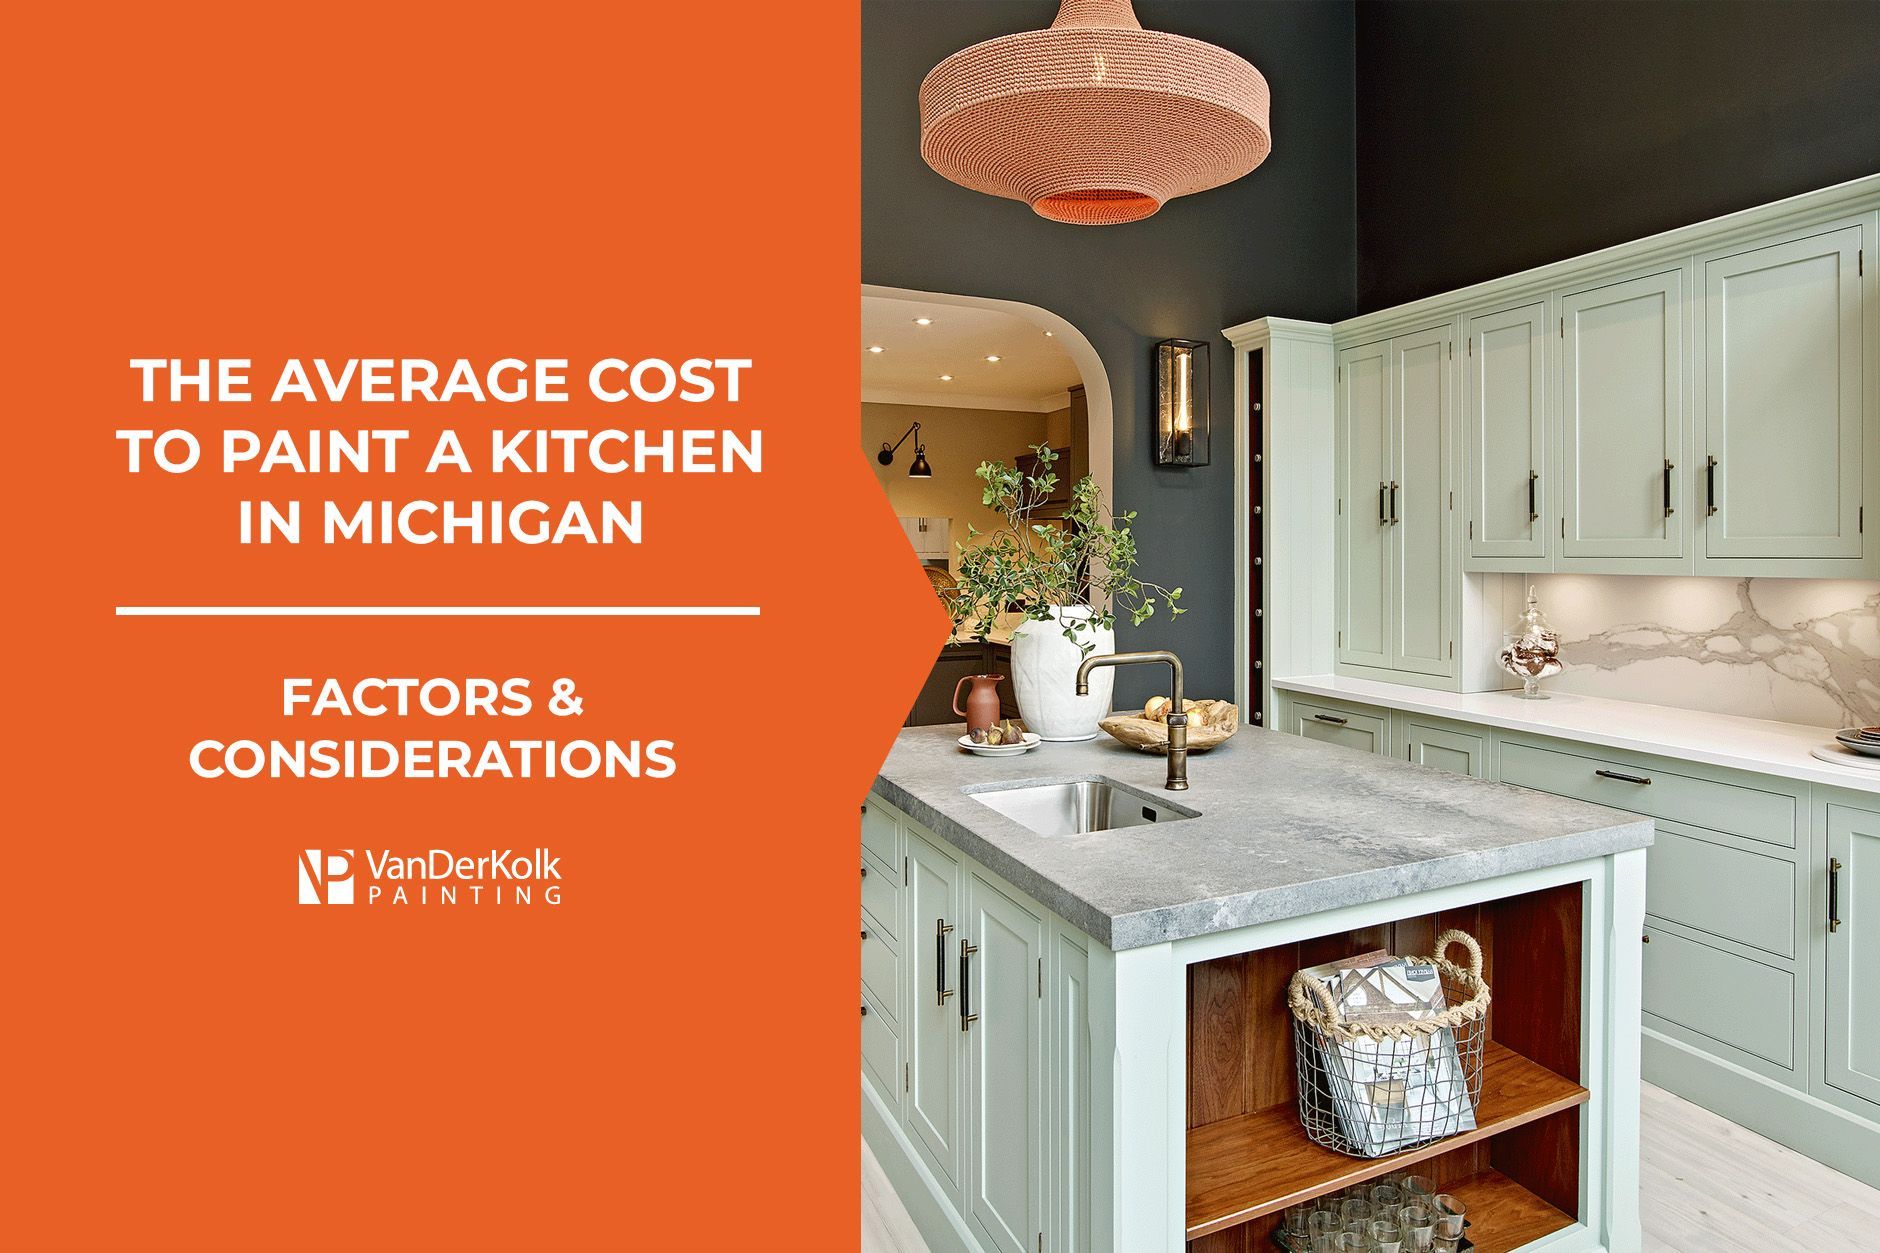
This guide breaks down the costs involved in kitchen painting in Michigan, including what drives the price up or down. Learn what to expect...
The Average Cost of Interior House Painting In Michigan (2026)
Key Takeaways: Most Michigan homeowners pay between $300 and $900 to have a standard full bathroom painted professionally. Small half baths start around $200. Large primary bathrooms with detailed trim and high ceilings can reach $1,500 or more. Bathrooms require moisture-resistant paint in a satin or semi-gloss finish due to humidity and temperature swings in Michigan. Keep in mind that settling for an average price often means receiving average work. It often saves money in the long run to work with more experienced painters who use higher-quality paints. Always ask what prep work is included before you commit to anything.
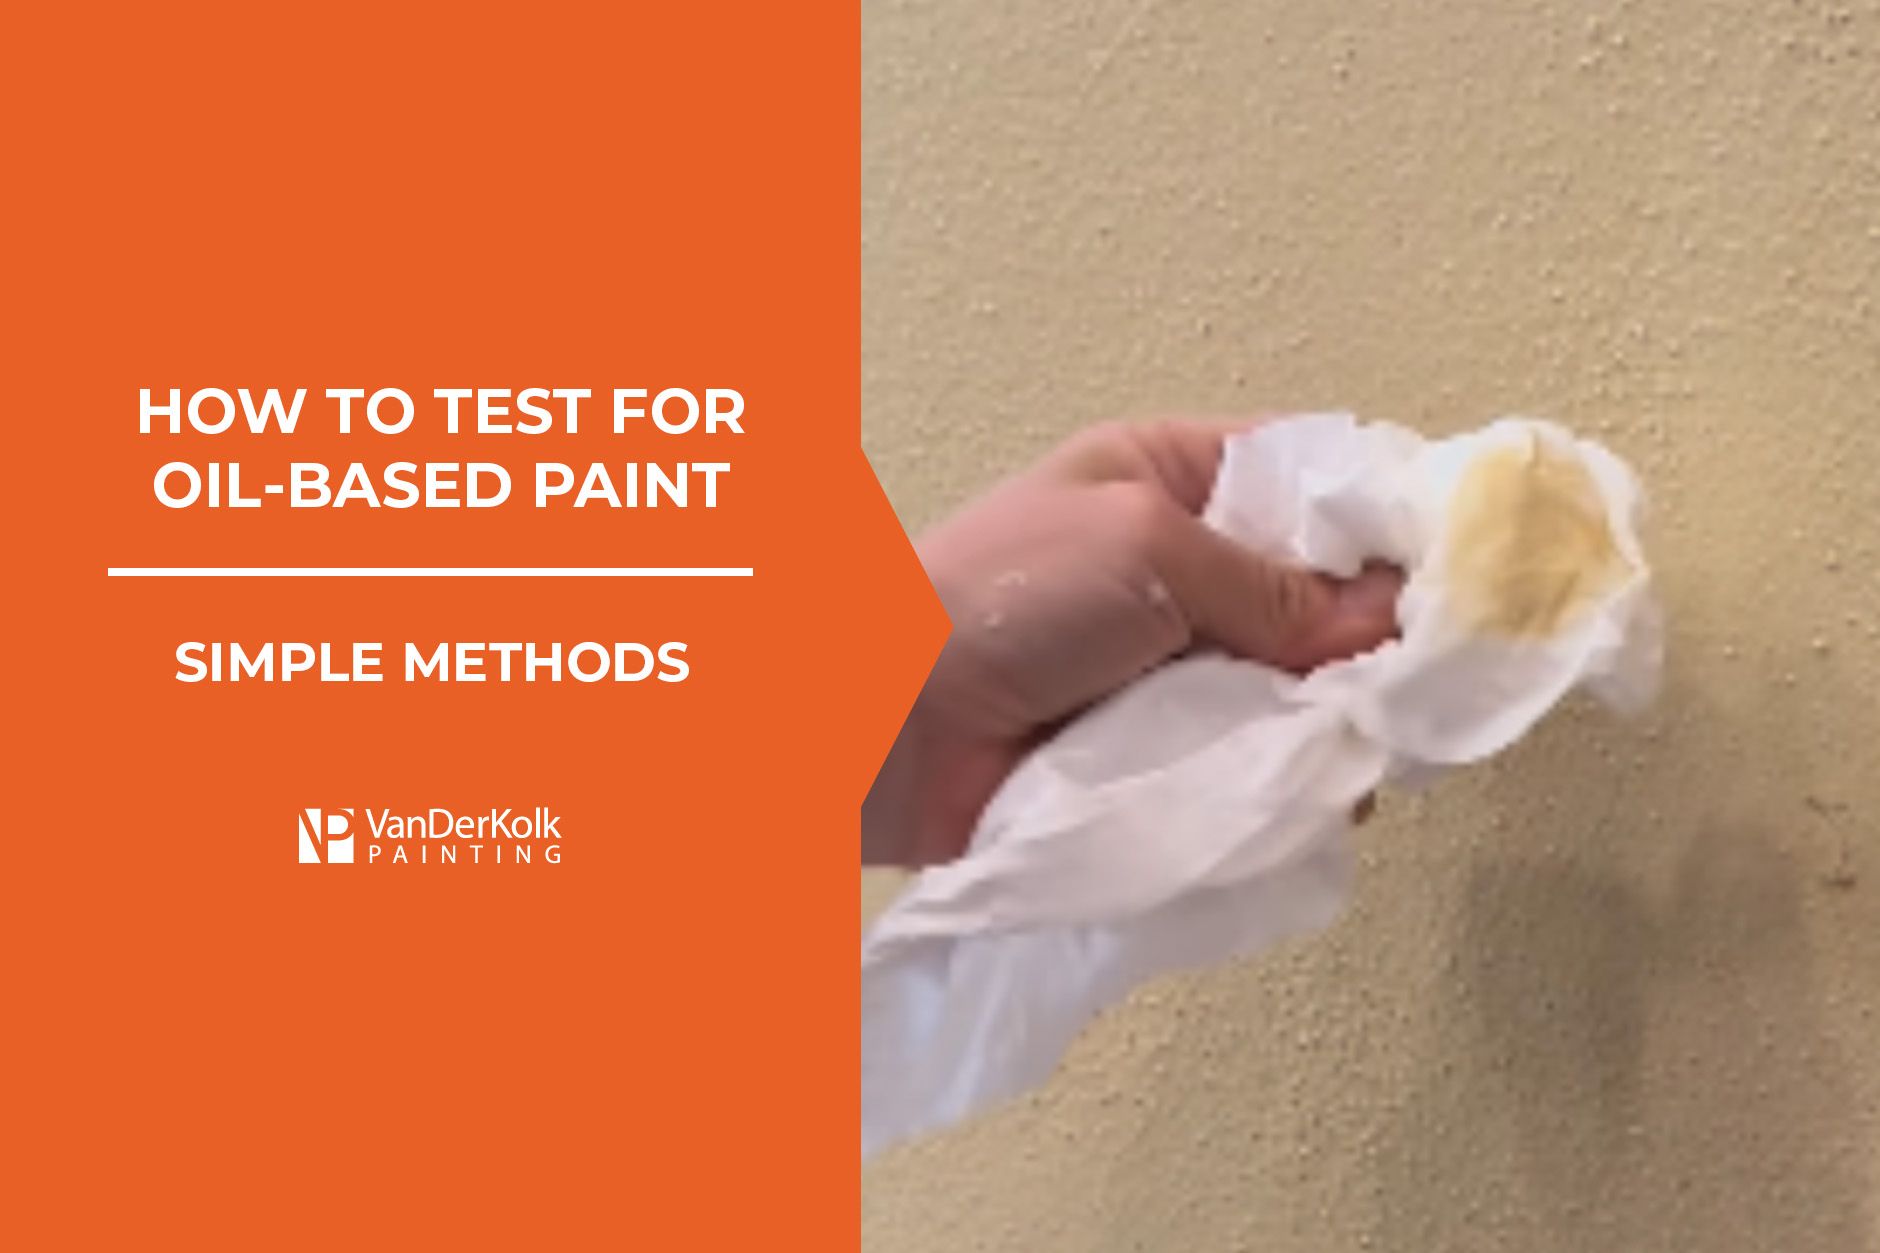
How to Test for Oil-Based Paint: 3 Simple Methods
Can You Paint Over Wallpaper? Expert Answers & Tips
One-Coat House Paint: Does It Actually Work?
How to Paint a Ceiling: Techniques, Tips, and Tricks
Elastomeric Paint: Pros, Cons, and When to Use It
How to Paint Vinyl Siding In 5 Steps