Jen
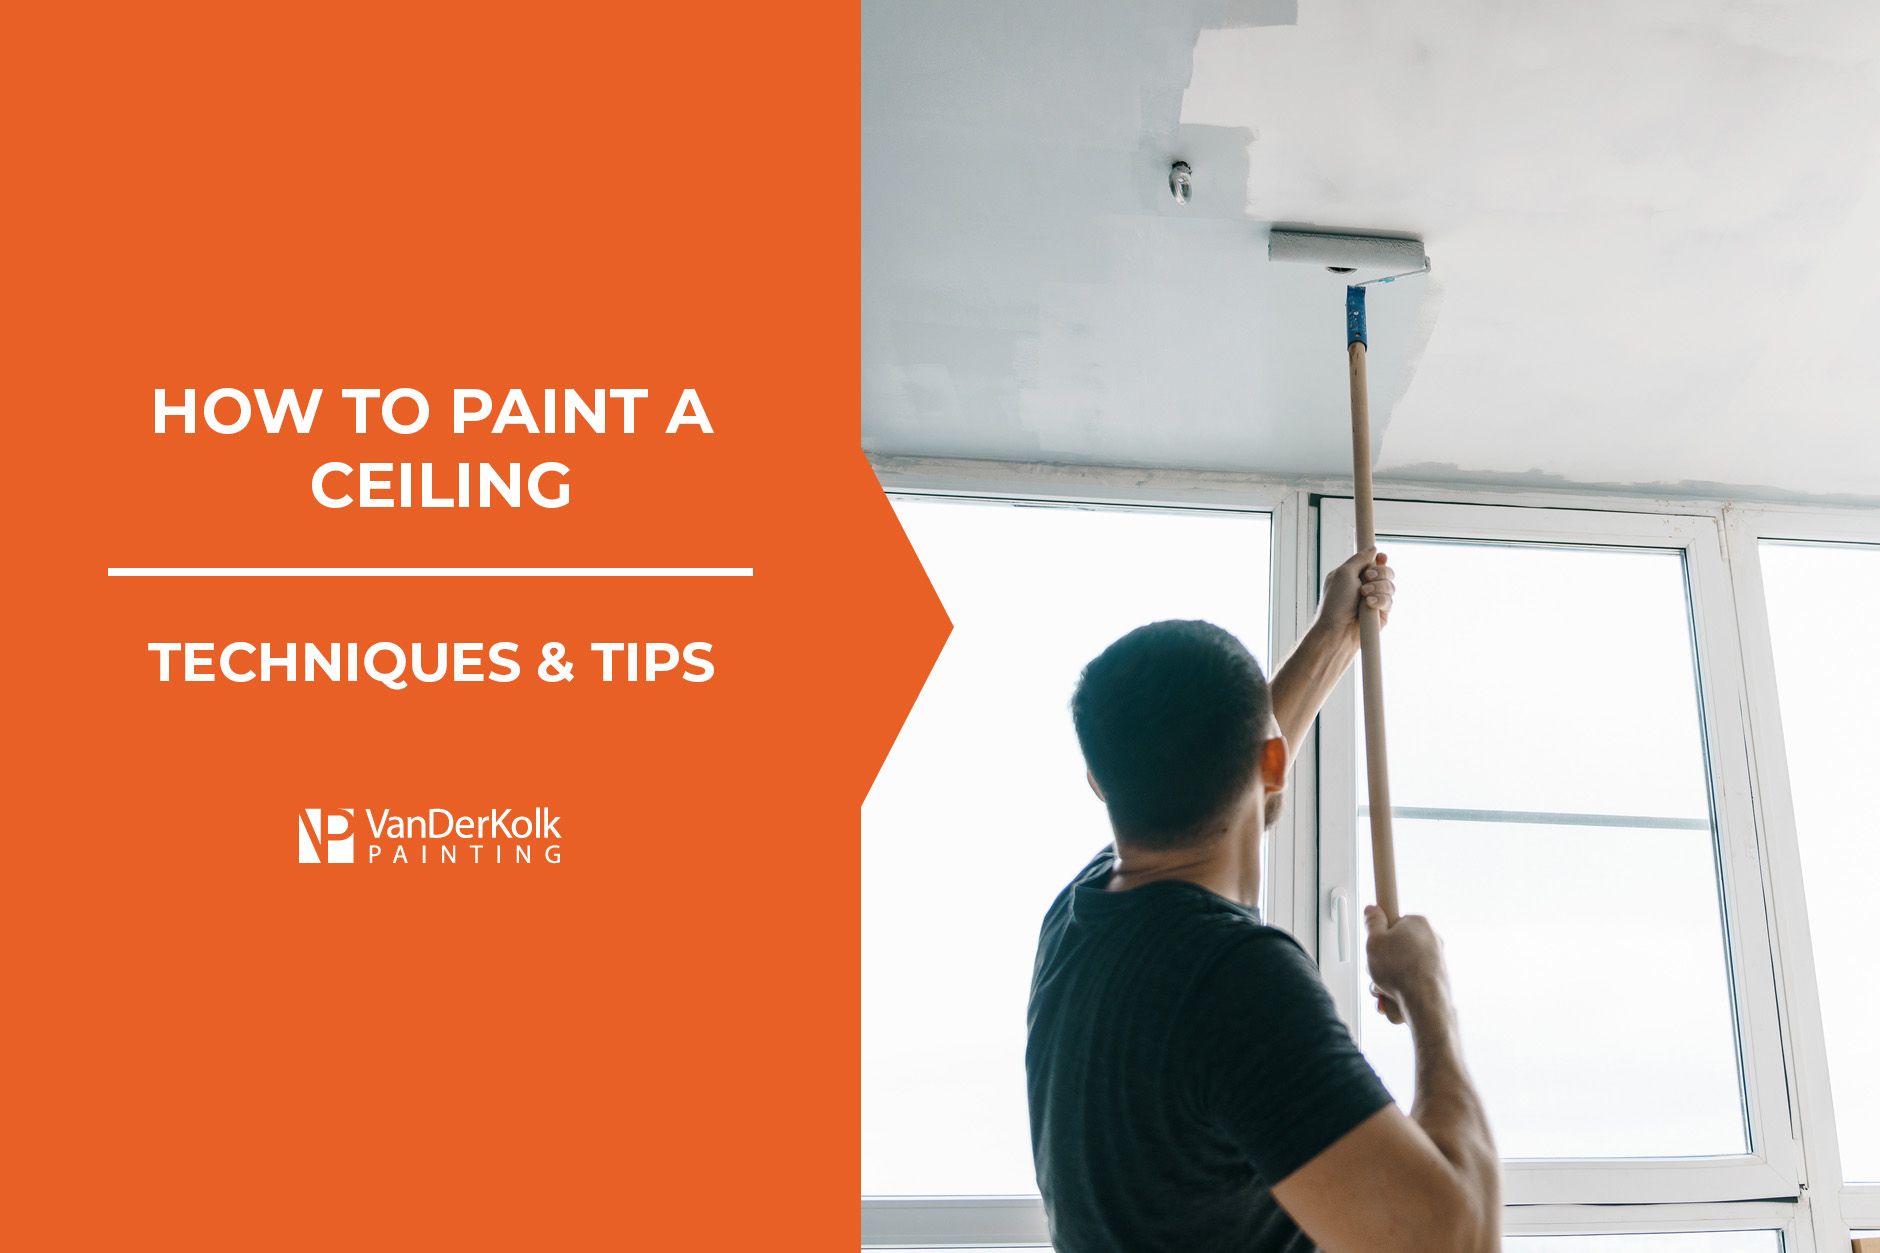
How to Paint a Ceiling: Techniques, Tips, and Tricks
It isn’t often that we look up at the ceilings in our homes. That is, until we see that it requires a fresh coat of paint. Then you start wondering how to paint a ceiling and whether you can do it yourself.
The good news is that painting a ceiling can be a relatively easier home painting project (depending on the height of the ceiling). With the right tools, techniques, tips, and tricks, it’s possible to paint a ceiling in half a day!
At VanDerKolk Painting, we’ve been helping West Michigan residents paint their homes (including their ceilings) for three decades. So, we decided to share our expert tips and tricks for painting a ceiling in this article.
What You’ll Need to Paint a Ceiling
Having the proper supplies and tools ready will make painting your ceiling much easier. Below is a list of what you’ll need to paint a ceiling.
- Painter’s tape
- Drop cloths
- Ladder or step stool
- Safety glasses
- Angled sash brush
- 9’’ or 18’’ paint roller frame
- Extension pole
- Roller covers (⅜’’ to ½’’ nap for smooth ceilings, ¾’’ for textured ceilings)
- Paint tray
- Primer
- Ceiling paint
How to Paint a Ceiling
Once you have your supplies ready, you can start the ceiling painting process. It’s important to remember that most of your time will go into the prep work and that the actual painting is just the last step, so don’t rush into picking up that paint roller.
Step 1: Prep the Room
Painting a ceiling involves the risk of paint dripping. The best way to protect your furniture is to remove what you can and cover the rest with canvas or plastic drop cloths.
Expert Tip: Remove any vents or light fixtures from the ceiling. This will make rolling the paint easier and avoid getting paint on them. Remember to turn off the circuit breaker before removing any electrical fixtures.
Step 2: Clean and Repair the Ceiling
Prepping the surface that you are about to paint is one of the most important steps. Having a clean, smooth, and dust-free surface means a longer-lasting paint job.
If you notice cracks or holes in the ceiling, use some spackle to fill and fix them. This will ensure the paint goes on smoothly and that the ceiling looks brand new.
Use a microfiber cloth to remove any dust or dirt from the ceiling. (Yes, your ceiling can collect dust!)
Lastly, if you notice wet spots or discoloration, it’s a good idea to investigate further. You may have a leak or mold problem behind the ceiling that should be addressed before painting. Read more in our blog post, “Can You Paint Over Mold?” for more tips.
Expert Tip: It’s a good idea to wear safety glasses while cleaning and painting the ceiling to avoid dust or paint from getting in your eyes.
Step 3: Tape the Edges
If you are only painting the ceiling, then use painter’s tape around the trim where the ceiling meets the wall. This will protect the wall from the ceiling paint.
However, if you plan to also paint the walls after the ceiling (which is highly recommended), then you can skip this step.
Expert Tip: Burnish the edge of the tape where the paint will go with a plastic putty knife, credit card, or your fingernail to force the adhesive to fully bond to the surface and give you a clean, straight line when you paint.
Step 4: Prime the Ceiling
Now, this step is a bit controversial in the painting world. Some professional painters argue that you do not need to prime a ceiling before painting it. At VanDerKolk Painting, we believe that it is always a good idea to prime before painting—even for ceilings.
Primer helps the paint adhere to the surface better. Plus, it offers a smoother surface for the paint, making it look pristine and professional. So, if you care about longevity and how your ceiling looks, we recommend painting a coat of primer.
Step 5: Paint the Cut-Ins
Grab your ladder or step stool and an angled sash paintbrush—it’s time to paint the edges. Paint a 2- to 3-inch thick strip along the edges of the ceiling. This will make it much easier to paint the entire thing with a roller in the next step.
Expert Tip: Load your brush, then wipe most of the paint off so it’s almost dry for a clean, sharp line along the trim.
Step 6: Paint the Ceiling
Using a paint roller, paint long, straight streaks in one direction on the ceiling.
We recommend using a ⅜’’ or ½’’ nap for a smooth ceiling or a ¾’’ nap for textured ceilings. If you use one that is too thick, it could cause splatter or create texture.
The best place to start is away from the walls. Your first strokes should be in the middle of the ceiling, not right at the edge. This will prevent heavy roller edge marks along the perimeter of the ceiling.
When applying the paint to the ceiling, use the “Roll and Lift” technique while painting in straight, controlled lines. Slightly overlap each strip to keep a wet edge, and lightly lift the roller off the ceiling as you roll forward to avoid start-and-stop marks.
Apply two coats of paint for the best results.
Expert Tip: Use the backrolling painting technique for professional-looking results. Work in smaller sections and roll the paint on normally. Then, without reloading the roller, go back over the same section using light pressure. Feather the edges at the end of each section by softening the last roller pass with a near-empty roller for a seamless blend.
What Type of Paint to Use for a Ceiling?
For every paint project, there is a recommended type of paint to use. A ceiling is no different.
In fact, there are paint formulas specifically made for painting ceilings. These formulas are thicker than wall paint, reducing the risk of dripping. It’s also easier to apply with a roller and sometimes requires just one coat.
For ceilings, it is best to choose an acrylic or latex paint because they perform well indoors and contain
low-VOCs.
Now, if you’re painting a room with a lot of moisture, such as a bathroom or kitchen, then you’ll want a ceiling paint with
an eggshell or satin finish. This is a more durable formula that won’t bubble or peel from a lot of moisture.
Check out our blog “Ceiling Paint vs Wall Paint: What’s the Difference” for a deeper look into what paint to use for ceilings.
Can I Paint a Ceiling Myself?
Yes, it is definitely possible to paint a ceiling yourself. As we mentioned before, it can be one of the simpler painting projects you’ll find around your home. However, when you hire professional painters, like VanDerKolk Painting, you’re guaranteed a pristine and flawless paint job. Higher ceilings are also easier to tackle with professional equipment like scaffolding.
Plus, what might take you all day will take us professionals just a couple of hours, and we have all the right equipment readily available.
Give Your West Michigan Home the Refresh It Deserves with VanDerKolk Painting
Applying a new coat of paint to the ceiling is just the beginning of giving your home an instant upgrade. When you work with VanDerKolk Painting to refresh your home’s interior with new paint colors, you can instantly transform your interior design and elevate your home’s aesthetic. We paint homes across Kent, Ottawa, Allegan, and Barry Counties.
Our team of professional
Grand Rapids painters will guide you on choosing the right type of paint and color for your home. We will prep the walls (and even
remove wallpaper if needed!), prime, paint, and go over the project with you before cleaning it all up.
Are you ready to give your West Michigan home the refresh it deserves?
Request a free estimate to get started!
Frequently Asked Questions
When should you paint a ceiling?
If you’re painting an entire room, it’s best to paint the ceiling first—before the walls. This prevents any dripping on the walls and creates a more professional look.
Is it better to roll or spray paint a ceiling?
The preferred method to paint a ceiling is rolling. While it is possible to spray paint, it can create a mess because paint mist can land on the floor or furniture below. It also requires more equipment and experience.
You can check out our blog post “Rolling vs Spraying Paint” for more info on the topic.
How many coats of ceiling paint are needed?
If you’re working with a new ceiling or one without damage, then one coat of paint should suffice. However, if there are scuffs or other marks, two coats of paint are recommended to ensure proper coverage.

About Tom VanDerKolk
Tom VanDerKolk is a professional painter with over three decades of experience and the owner of VanDerKolk Painting, a leading painting contractor serving West Michigan. Since founding the company in 1991, Tom has overseen projects ranging from residential homes to complex commercial and industrial facilities. His background includes formal training under a master painter and decades of hands-on application across a wide range of surfaces, coatings, and environments. Tom regularly shares practical insights to help homeowners and property managers make informed decisions about painting, maintenance, and long-term surface protection.
Request A Free Quote
Our Services
Residential Services
Commercial & Industrial Services
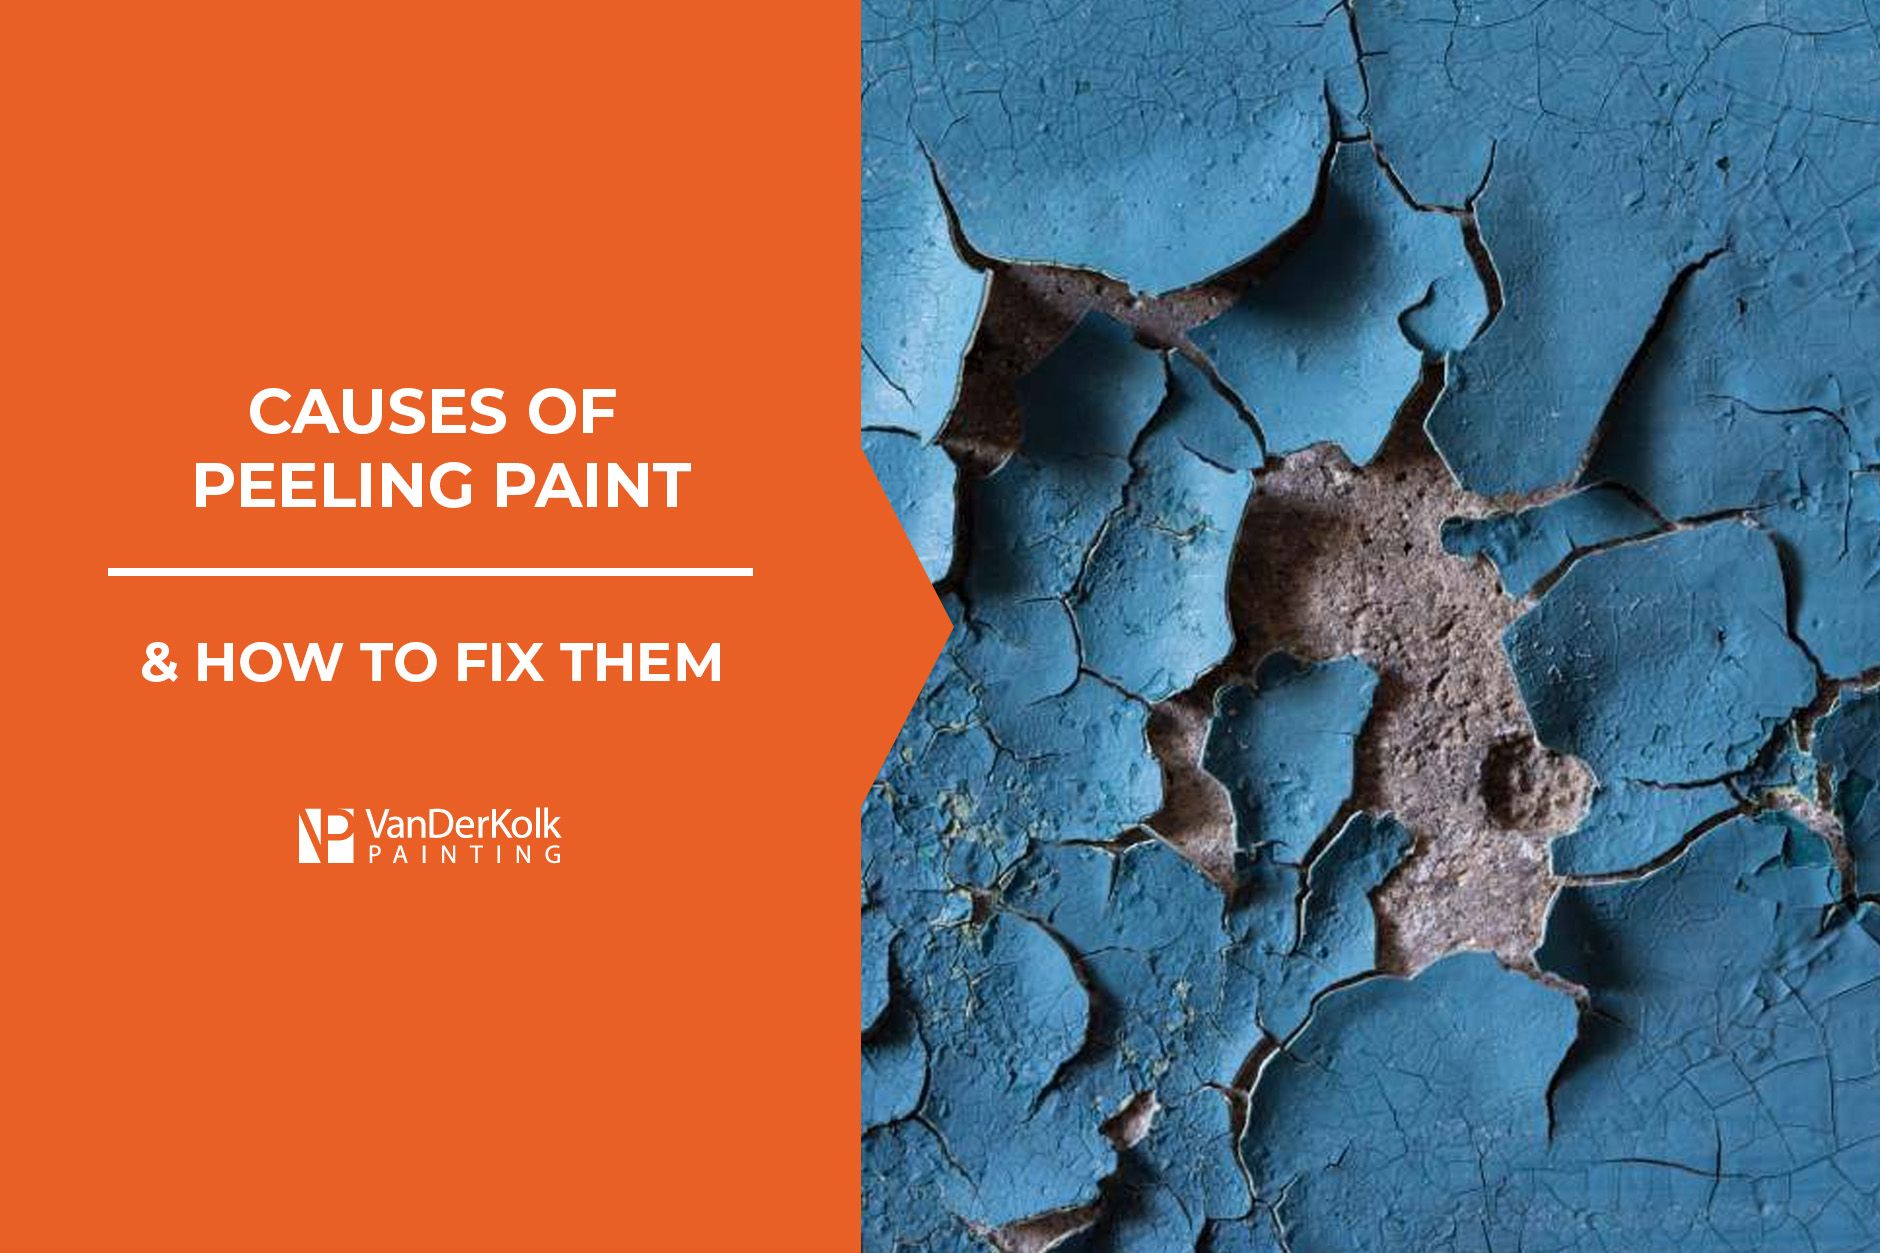
Peeling paint is almost never caused by the paint itself. Repainting without addressing the root cause will almost always lead to recurring peeling.
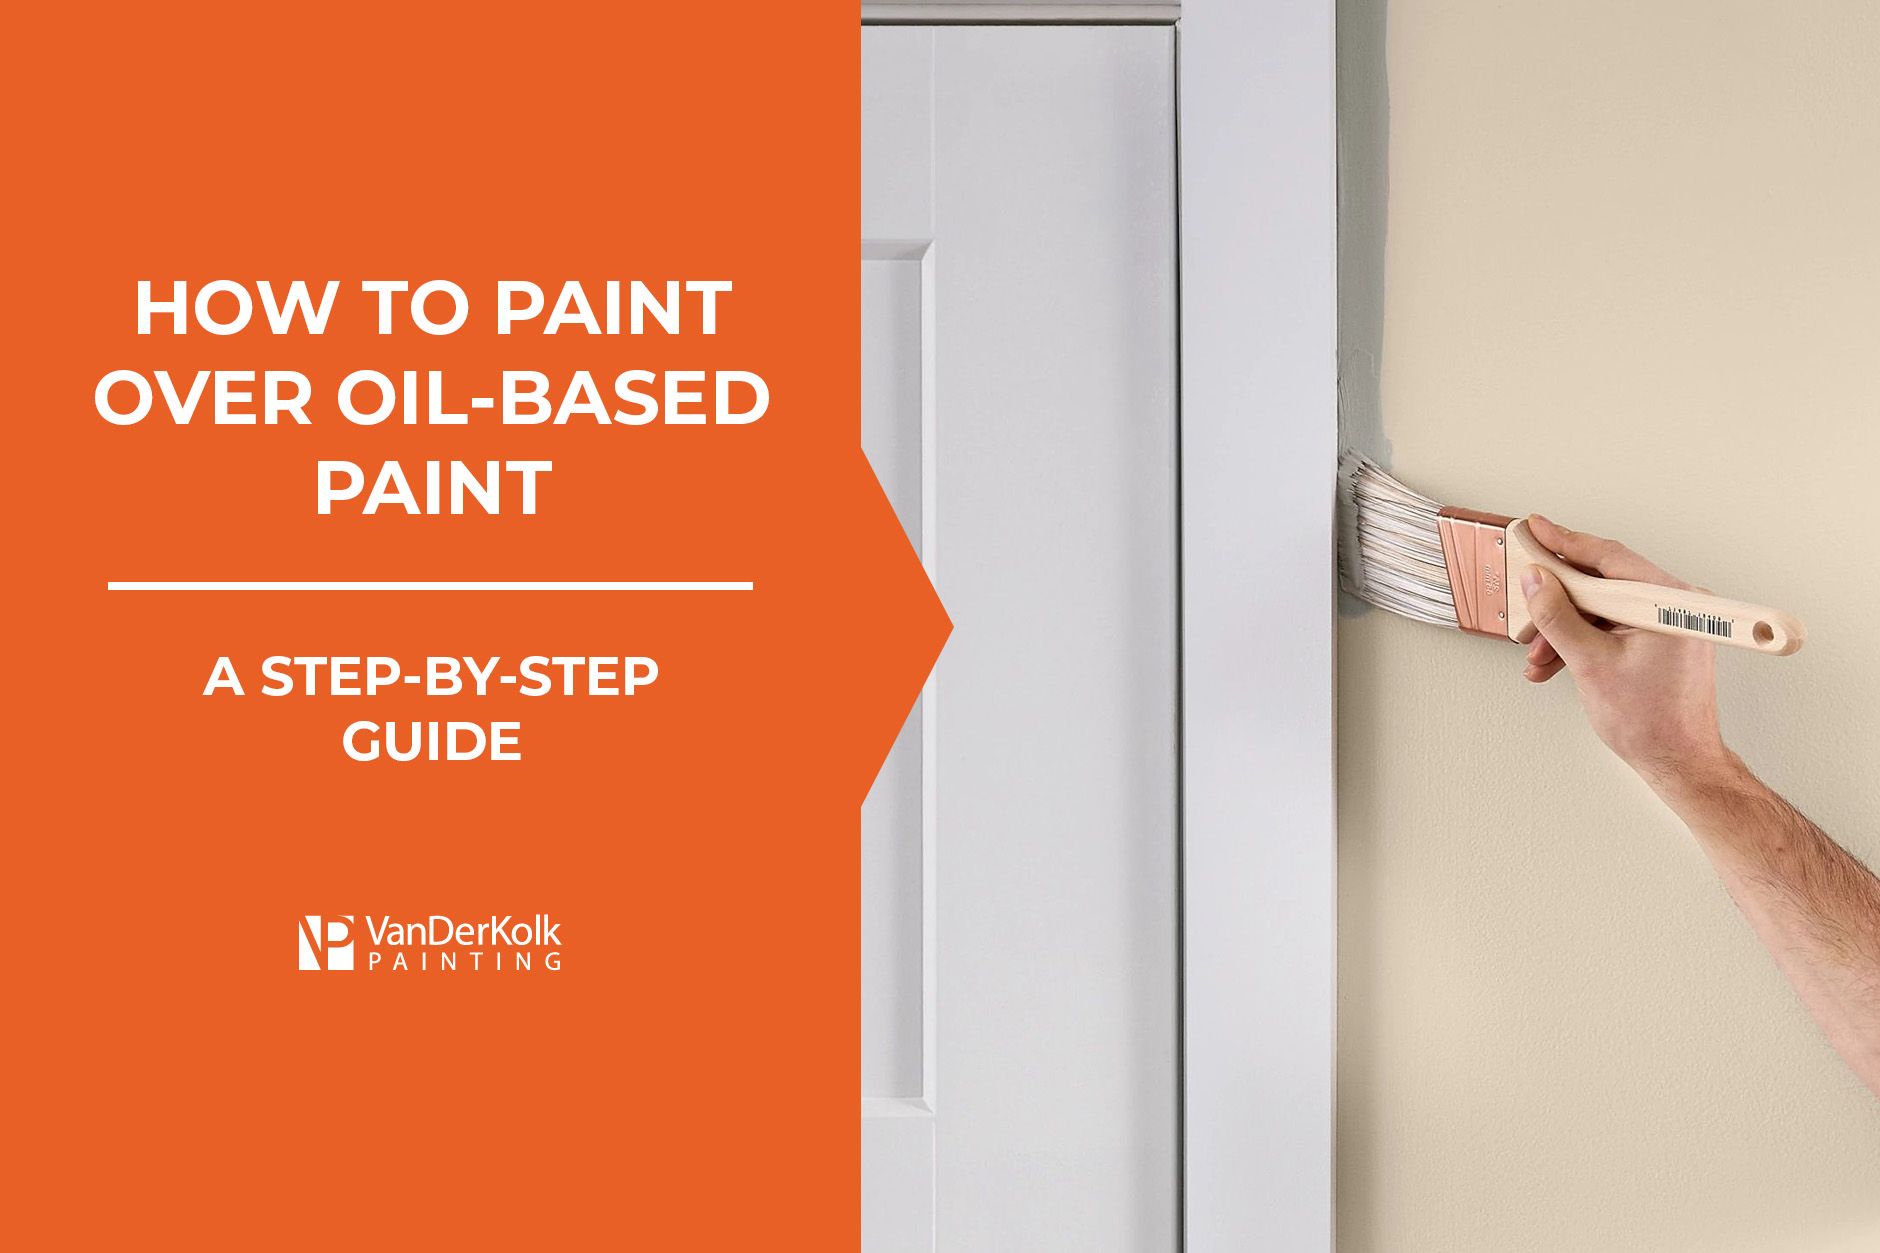
You can paint over oil-based paint, but how you do it depends on what you’re painting over it with. The process can be broken down into 4 simple steps.

This guide breaks down the costs involved in kitchen painting in Michigan, including what drives the price up or down. Learn what to expect...
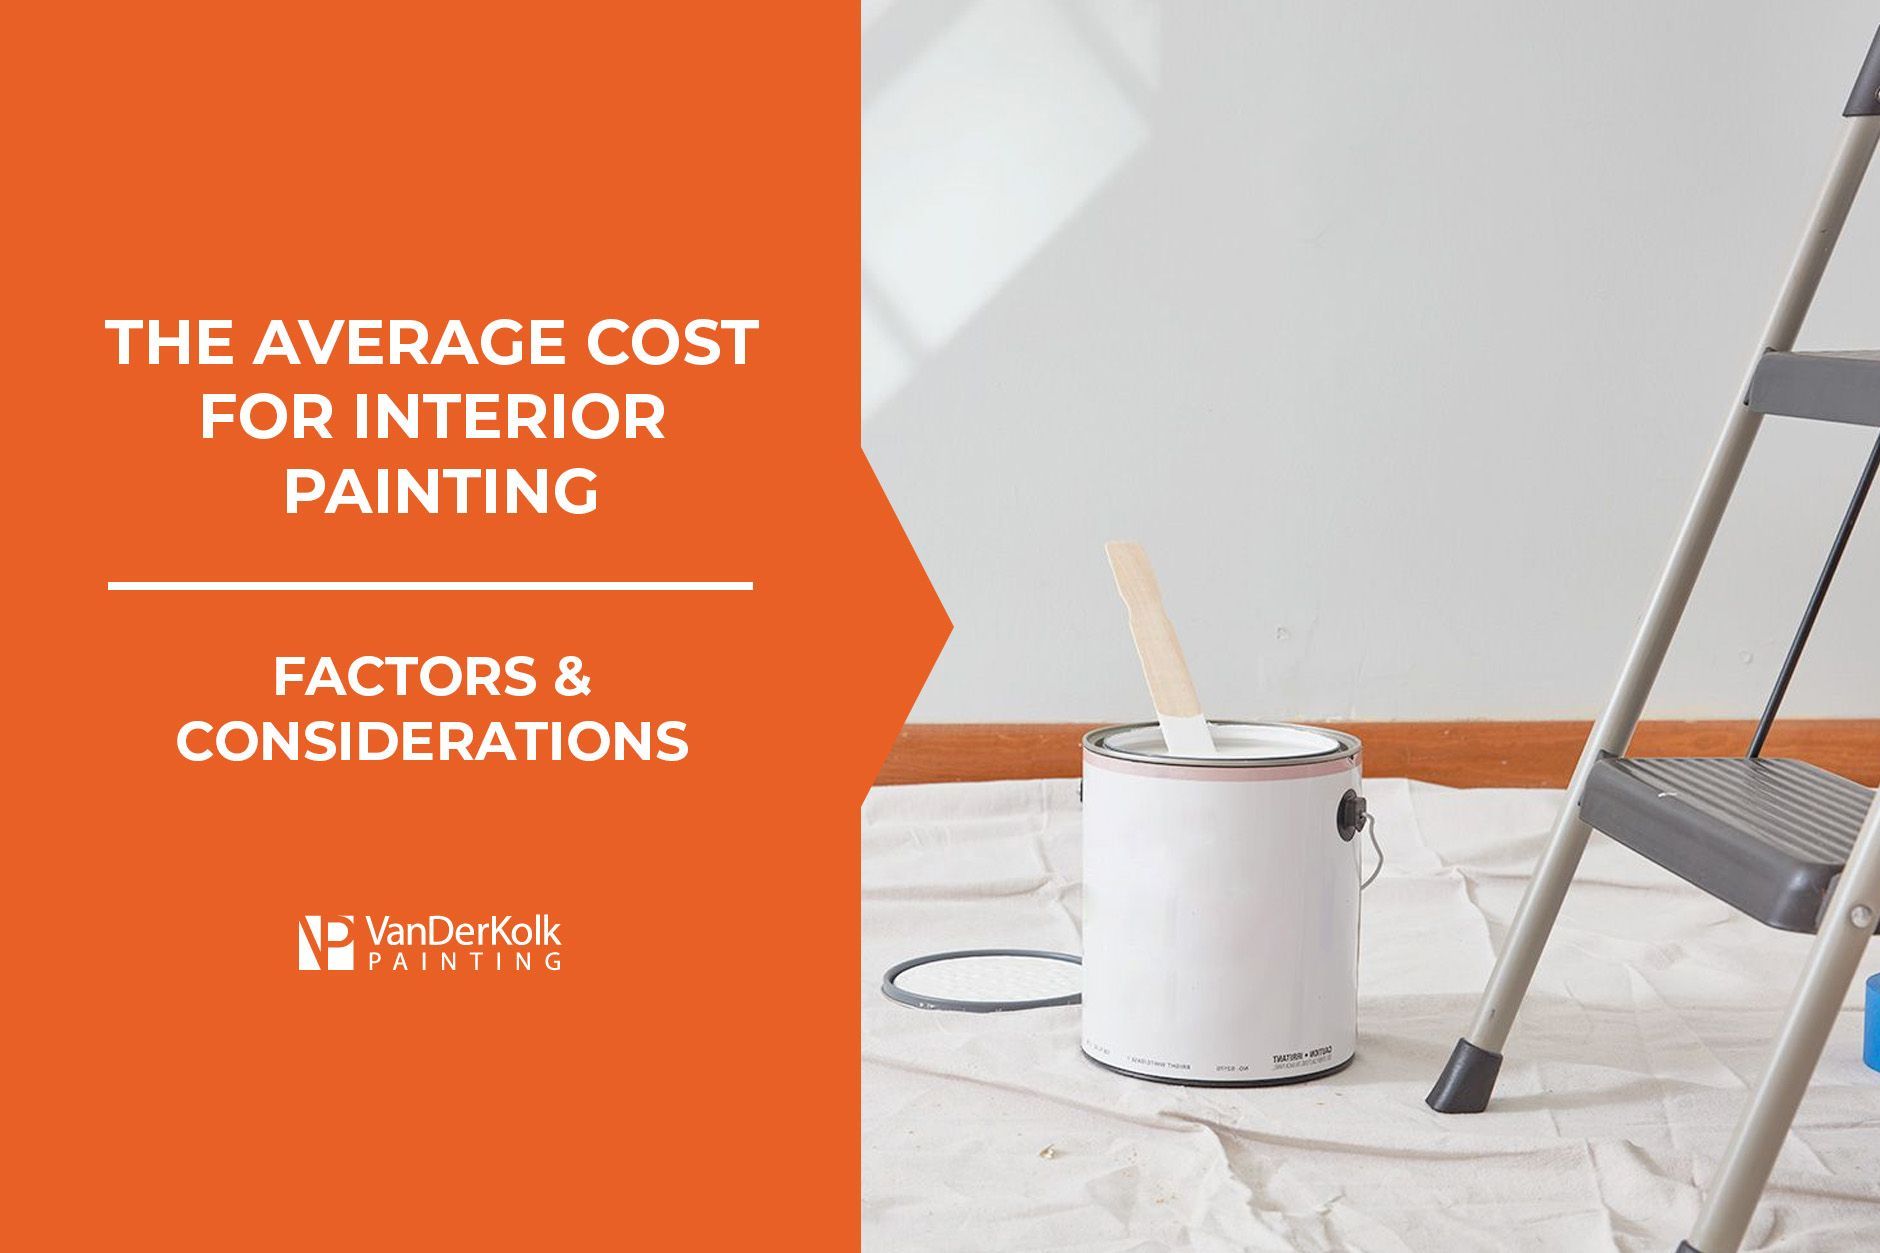
The Average Cost of Interior House Painting In Michigan (2026)
Key Takeaways: Most Michigan homeowners pay between $300 and $900 to have a standard full bathroom painted professionally. Small half baths start around $200. Large primary bathrooms with detailed trim and high ceilings can reach $1,500 or more. Bathrooms require moisture-resistant paint in a satin or semi-gloss finish due to humidity and temperature swings in Michigan. Keep in mind that settling for an average price often means receiving average work. It often saves money in the long run to work with more experienced painters who use higher-quality paints. Always ask what prep work is included before you commit to anything.
How to Test for Oil-Based Paint: 3 Simple Methods

Can You Paint Over Wallpaper? Expert Answers & Tips
One-Coat House Paint: Does It Actually Work?
Elastomeric Paint: Pros, Cons, and When to Use It
How to Paint Vinyl Siding In 5 Steps