Jen
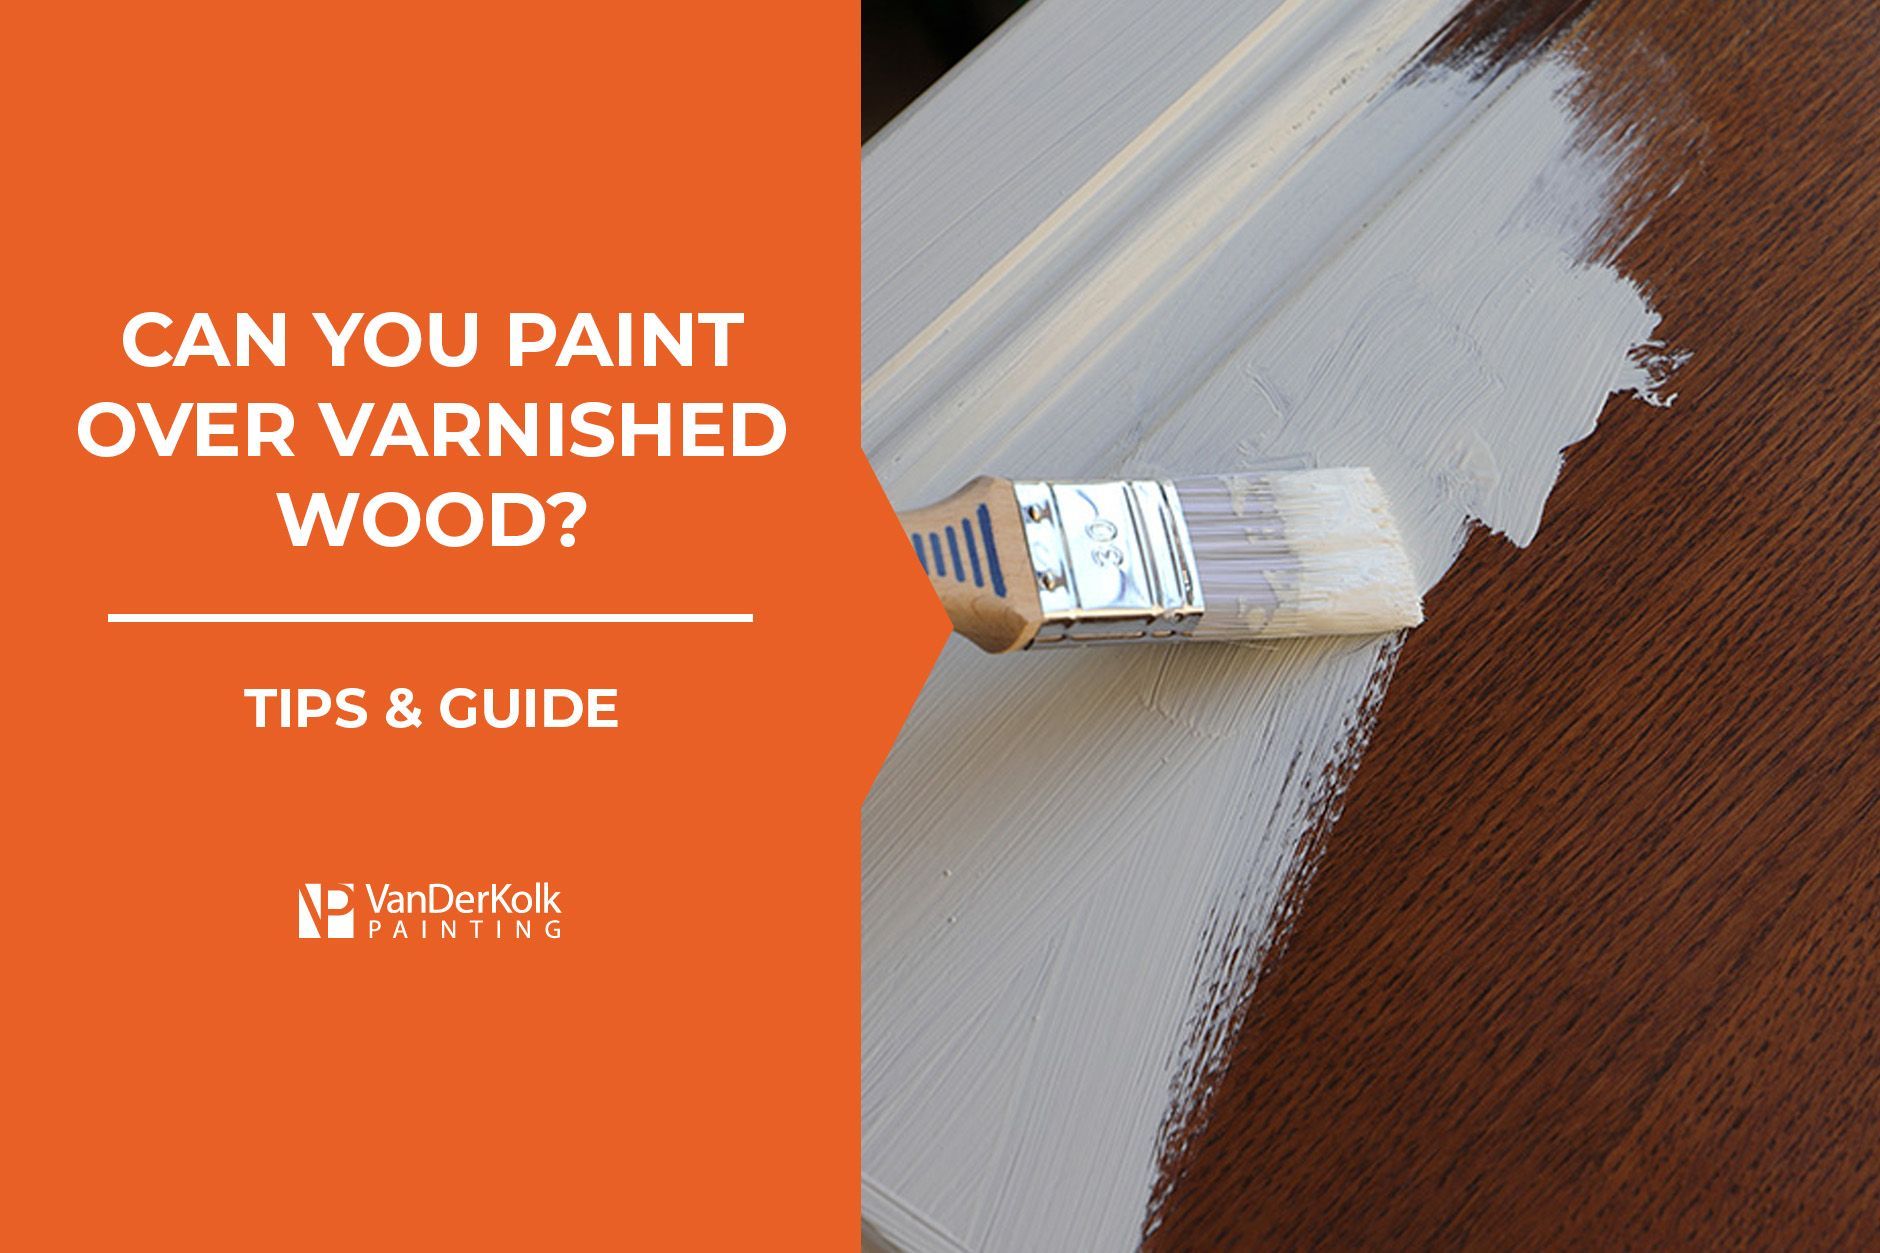
Can You Paint Over Varnished Wood? Helpful Tips and Step-by-Step Guide
Key Takeaways
- Yes, you can paint over varnished wood, but proper surface prep is essential to prevent peeling or chipping.
- Varnish creates a slick, sealed surface, which means sanding or using a high-quality bonding primer is required for paint to adhere.
- Painting over varnished wood is a cost-effective alternative to replacing cabinets, trim, or furniture, helping you update your space for less.
- Using the right primer matters more than the paint itself.
- Skipping steps such as cleaning, sanding, and proper drying time can lead to premature paint failure and uneven results.
Yes, you can paint over varnished wood. The secret to a job well done is proper surface prep and primer to ensure adhesion.
Many homeowners love the durability of varnished wood but feel stuck with an outdated finish on
kitchen cabinets, trim, furniture, or doors. The glossy, sealed surface that once protected the wood can also
make paint peel, chip, or fail if it isn’t adequately prepared. This is where most DIY projects go wrong, and why painting over varnished wood often gets a bad reputation.
Painting over varnished wood is a cost-effective alternative to replacing wood surfaces or pieces altogether. With the proper preparation, primer, and technique, you can completely transform and elevate the look of your space without the expense of replacing items.
At VanDerKolk Painting, we’ve painted countless varnished wood surfaces and know exactly what it takes to get long-lasting, professional results. That’s why we created this step-by-step guide. You’ll learn how to paint over varnished wood properly, avoid common mistakes, and achieve a smooth, durable finish that looks brand new.
What is Varnished Wood?
Varnished wood is essentially wood that has been coated with a protective, glossy layer. This varnish not only enhances the wood's appearance but also provides a durable shield against moisture and damage.
To
determine if your wood is varnished, you can use a simple test. Dab a cotton swab in acetone and rub it on the wood's surface. If the finish becomes sticky or tacky, the wood is varnished. This quick test helps you identify the type of finish, allowing you to select the proper preparation method for painting.
Can You Paint Over Varnished Wood (Without Ruining the Finish)?
The simple answer is yes, you can paint over varnished wood.
But it’s a fair question, and one we hear often. Varnished wood can be beautiful and durable, but when it’s time for a refresh, painting over it isn’t always straightforward. That glossy, sealed finish that protects the wood is precisely what makes it tricky to paint. Most varnishes are designed to repel moisture, which unfortunately means they also resist water-based paints and primers.
The result? If you skip the prep and paint directly over varnish, you’re likely to end up with peeling, cracking, or blotchy coverage. Not exactly the smooth, updated finish you were going for.
But with the right approach,
you can
paint over varnished wood and achieve great-looking, long-lasting results. It all comes down to proper surface preparation. Whether you choose to sand the surface or use a bonding primer designed to stick to glossy finishes, the key is to create a surface that paint can grip.
Related:
How to Paint Kitchen Cabinets: A Professional Guide
Sanding vs. No-Sanding Methods: Which Is Best?
When it comes to painting over varnished wood, the first decision you’ll need to make is whether or not to sand. There’s no one-size-fits-all answer. It really depends on the condition of the surface, the type of finish you’re working with, and the products you plan to use.
Option 1: Sanding for a Strong Bond
Sanding may take a bit more elbow grease, but it’s a tried-and-true method for ensuring a solid bond between the wood and your new paint. Varnish creates a slick, sealed surface that most paints won’t adhere to without some help.
Sanding breaks that glossy layer down just enough to give your primer something to grip.
Option 2: No-Sanding Shortcut
If you’re looking to save time and energy, you might be tempted to skip the sanding altogether. The good news? You can, as long as you use the right primer.
Bonding primers are specifically formulated to stick to slick surfaces, including varnished wood, without sanding. Some popular options include:
- Zinsser® B-I-N® Shellac-Based Primer
- INSL-X® STIX® Waterborne Bonding Primer
- Kilz® Adhesion Interior/Exterior Primer
Always make sure to clean the surface thoroughly first. Even the best primer can’t do its job if there’s grease or dust in the way.
Which Method is Best?
The method in which you paint over varnished wood depends on the item you’re painting and the amount of time you have.
For example, if you’re working on trim, paneling, or lightly used furniture and have a high-quality bonding primer, then the no-sand method could be effective. Below is a comprehensive comparison of both approaches to help you decide.
| Method | Pros | Cons | Best For |
|---|---|---|---|
| Sanding + Primer | Maximum adhesion, durable finish | More labor-intensive, dusty | Cabinets, furniture, high-use areas |
| Bonding Primer Only | Quicker prep, less mess | Slightly less durable in heavy-use areas | Trim, paneling, low-touch surfaces |
Before You Begin: Tools, Prep, and Planning
Before you crack open a can of paint, it’s worth taking a few minutes to gather the right supplies and set yourself up for success. Painting over varnished wood isn’t complicated, but it does require attention to detail.
What You’ll Need
Here’s a list of basic tools and materials to have on hand before you start painting over varnished wood:
- A quality degreaser or wood cleaner (TSP works great)
- Medium and fine grit sandpaper (120-220 grit)
- Tack cloth or lint-free rag
- Bonding primer or stain-blocking primer
- Your paint of choice (latex or oil-based)
- Paintbrushes and/or mini roller
- Painter’s tape
- Drop clothes or plastic sheets for floor protection
- Safetygear: gloves, mask (especially when sanding), and eye protection
Having everything within reach will save you time and frustration once you get started.
How to Paint Over Varnished Wood
If your next weekend project is to paint over varnished wood, then make sure you follow these steps and get the right supplies.
Step 1: Sand Away the Varnish
The first step is to remove the varnish finish from the surface. Start with 120-220 grit sandpaper to effectively remove the varnish finish from the wood. This grit level strikes a balance between aggressiveness and control, ensuring you don't damage the wood surface.
Sand in the direction of the grain to avoid scratches.
After sanding, clean the surface thoroughly to remove all dust. Use a vacuum with a brush attachment for the best results. Follow up with a slightly damp cloth to wipe away any residual particles.
Ensuring the wood is clean will help the primer and paint adhere better, resulting in a smoother and more durable finish.
Important:
If you choose to go with the no-sand method, then you can skip this step altogether.
Step 2: Clean the Surface
Before you begin painting, make sure the surface of the varnished wood is thoroughly cleaned. Dust and debris can prevent the paint from adhering properly. Use a damp cloth to wipe down the wood, removing dirt particles. You can use a mild detergent and water for this.
It's also essential to inspect the wood for any damage. If you notice cracks or chips, now is the time to make repairs. Fill any gaps or imperfections with wood filler and allow it to dry completely.
Taking these steps ensures a clean, even base for your paint. Careful preparation at this stage will contribute to a professional and long-lasting finish.
Step 3: Apply Primer
Apply a coat of primer to the sanded wood surface. This ensures the new paint adheres properly. Choose a high-quality primer designed for varnished surfaces for the best results. Allow the primer to dry for at least 24 hours.
If you’re using oil-based paint, opt for an oil-based primer. For water or latex paint, use a latex primer instead. This step is crucial for a smooth and durable finish.
Be patient and give the primer enough time to dry completely before moving on to the painting stage.
Step 4: Lightly Sand Primer
If you notice visible brush strokes after applying the primer, you have the option to lightly sand the area. This helps achieve a smooth finish. Use fine-grit sandpaper for this task.
After sanding, make sure to wipe away any dust with a clean, damp cloth. Proper preparation will ensure that your final paint layer looks professional and flawless.
Step 5: Apply Paint Coats
Now, it's time to apply two coats of paint. Stir your paint thoroughly before using it. Paint the first coat evenly and watch for drips and runs. Let this coat dry completely before applying the second one.
Check the paint manufacturer's instructions for the recommended
drying time between coats. This usually ranges from a few hours to overnight. Watch as your old varnished wood piece of furniture transforms into something chic, sleek, and modern.
Step 6: Add a Topcoat
Once your paint has dried, consider adding a topcoat. This optional step can enhance the durability and finish of your work. Whether you choose a glossy, satin, or matte topcoat, it will provide additional protection and a professional look.
Apply a thin, even coat after the paint has cured (usually 7 to 14 days) to ensure the best results. Additionally, avoid oil-based topcoats on light-colored paint, as they can cause yellowing over time.
Expert Tip:
Lightly sand between coats for the smoothest finish.
Choosing the Right Primer and Paint for Varnished Wood
When painting over varnished wood, success depends just as much on what you use as how you apply it. Not all primers and paints are created equal, especially when you’re dealing with slick, sealed varnish finishes.
Best Primers for Varnished Surfaces
Priming is one of the most critical steps when painting over varnished wood. A good primer acts as the “middleman” between the slick varnish and your topcoat. This gives the paint something to stick to and helps prevent peeling, chipping, or bleed-through.
There are three main types of primers commonly used for varnished wood:
- Bonding Primers: Designed to adhere to glossy surfaces without sanding. Ideal for lightly used trim or paneling when you’re short on time.
- Shellac-Based Primers: Excellent stain blockers and fast drying. These are great for cabinets, furniture, or areas prone to wear and tear, but they come with a pungent smell and require denatured alcohol for cleanup.
- Oil-Based Primers: Time-tested for adhesion and durability. They’re especially effective on older or heavily varnished wood but have longer dry times and higher VOCs.
A Note about VOCs (Volatile Organic Compounds):
Shellac and oil-based primers tend to have strong odors and
higher VOC content, so make sure you’re working in a well-ventilated area and consider wearing a respirator mask. If indoor air quality is a concern, opt for low-VOC bonding primers.
Learn more about different types of primers in our post, “Types of Paint Primer: Which Primer Is Best?”
Best Paint Types for Varnished Wood
Once primed, you’ll need a topcoat that not only looks great but stands up to regular use. Both latex and oil-based paints can work over varnished wood, as long as they are applied over the proper primer.
The best choice depends on the surface you’re painting and how much wear and tear it will see. Here’s a breakdown:
- Latex Paint: An excellent choice for most interior projects. It dries quickly, has minimal odor, and cleans up easily with water. Best for trim, paneling, or any surface that isn’t high-traffic.
- Oil-Based Paint: More durable and resistant to scuffs, making it ideal for cabinets, doors, and furniture. It takes longer to dry and has a stronger smell, but it delivers a tough, smooth finish that holds up over time.
How to Choose the Right Product for Painting Over Varnished Wood
With so many options available, it can be challenging to know which primer and paint combo will give you the best results. Below is a side-by-side comparison to help you choose the right product based on your project’s needs, surface type, and comfort level with things like odor, cleanup, and dry time.
| Product Type | Use Case | Pros | Cons |
|---|---|---|---|
| Shellac Primer | Kitchen cabinets, furniture | Fast drying, excellent stain blocker | Strong odor, requires alcohol cleanup |
| Bonding Primer | Trim, paneling, doors | No sanding needed, good adhesion | May require two coats |
| Oil-Based Primer | Doors, older woodwork, high-wear areas | Strong adhesion, great for sealed varnish | Longer dry time, higher VOCs, strong smell |
| Latex Paint | General interior surfaces | Low odor, fast drying, easy to clean | Less durable for heavy-use areas |
| Oil-Based Paint | Cabinets, furniture, trim | Tough finish, scuff-resistant | Slow drying, cleanup with solvents |
Do You Need a Topcoat Over Painted Varnished Wood?
Once you’ve put in the time to prep, prime, and paint your varnished wood surface, the last thing you want is for the finish to wear down too quickly. That’s where a topcoat comes in.
While a protective topcoat isn’t always required, we strongly recommend it for high-traffic or high-touch surfaces. A clear finish adds an extra layer of durability that helps prevent scuffs, chips, and moisture damage, especially in busy households.
There are several types of clear finishes you can apply over painted wood. The right one depends on the look you want and how much wear the surface will see.
- Water-Based Polyurethane: A popular choice for painted furniture and cabinets. Dries clear, resists yellowing, and adds a durable finish without altering the color underneath.
- Clear Acrylic Sealer: Great for indoor trim and decor. Provides a light protective layer and has low odor.
- Furniture Wax: Offers a soft, matte finish that works well on chalk-painted or distressed pieces. Best for decorative furniture, not heavy-use surfaces.
Adding a topcoat may feel like an extra step, but for high-touch surfaces, it’s well worth the effort. It not only protects your painted surface, but it also extends the life and beauty of your hard work.
Common Mistakes to Avoid When Painting Over Varnished Wood
Painting over varnished wood can deliver beautiful, long-lasting results, but only if you avoid a few common mistakes. Here are some mistakes to steer clear of:
- Skipping the Cleaning Step: Varnished surfaces can collect grease, dust, and residue that prevent paint and primer from sticking. Always clean thoroughly with a degreaser before anything else.
- Not Sanding When It’s Needed: While bonding primers allow you to skip sanding in some cases, glossy or damaged varnish should still be lightly sanded to help the primer grip.
- Using the Wrong Primer: Not all primers are made for slick surfaces. Choose a bonding, shellac-based, or oil-based primer formulated to adhere to varnish.
- Painting Too Soon Between Coats: Rushing the dry time for primer or paint can lead to bubbling, tackiness, or poor adhesion. Always follow the manufacturer's recommended dry and cure times.
- Skipping the Topcoat for High-Traffic Areas: For furniture, cabinets, or anything that sees daily wear, a protective topcoat adds durability and makes cleaning easier.
Avoiding these common issues will save you time, frustration, and the disappointment of a finish that doesn’t last. When in doubt, slow down and follow each step carefully. Good prep
always
pays off.
Allow VanDerKolk Painting To Do The Painting For You
With proper preparation, painting over varnished wood can refresh your space beautifully. From selecting the right supplies to following each step meticulously, you can achieve a flawless finish. For those in the Greater Grand Rapids area seeking professional painting assistance and precision, VanDerKolk Painting is here to help!
Our
Grand Rapids painters can tackle a variety of different
residential painting projects, including painting over varnished wood
kitchen cabinetry, ensuring high-quality results.
Elevate your home’s interior with our skilled team and enjoy a timeless transformation.
Request a free estimate for your next residential painting project today!
FAQs: Painting Over Varnished Wood
Can you paint over varnished wood without sanding?
Yes, but only if you use a high-quality bonding primer specifically made to adhere to glossy surfaces. That said, lightly sanding the varnish is still the most reliable way to ensure long-term adhesion.
What kind of primer should I use on varnished wood?
Look for bonding primers, shellac-based primers, or oil-based primers. These are designed to grip sealed surfaces like varnish. Additionally, avoid standard drywall or stain-blocking primers, as they may not adhere well to slick finishes.
How many coats of paint do I need over varnish?
Typically, we recommend two coats of paint after priming. Lighter colors or bold color changes may require a third coat for even coverage. Be sure to follow dry times between coats for best results.
Will paint peel off varnished wood over time?
Not if it’s prepped properly. Peeling usually occurs when you apply paint over unclean or unsanded surfaces, or when the wrong primer is used. Clean, sand, or prime properly, and use quality products to ensure a lasting finish.
Can I use chalk paint over varnished wood?
Chalk paint is often marketed as a no-prep solution, but for varnished wood, a bonding primer is still necessary. Without it, even chalk paint can struggle to adhere long-term. If you’re going for a distressed or antique look, chalk paint paired with a wax or polyurethane topcoat can work beautifully.
What happens if you paint directly over varnished wood?
Skipping proper preparation when painting over varnished wood can lead to significant issues. One main problem is poor paint adhesion, causing the paint to peel or chip over time. This often results in an unsightly and uneven finish.
Can you remove varnish without sanding?
Yes, it's possible to remove varnish without sanding. You can strip the wood using a heat gun or solvents. A heat gun softens the varnish for easier scraping, while solvents dissolve it. Both methods save time and effort compared to sanding.
Always follow safety guidelines and ensure proper ventilation when using these tools. Consider wearing protective gear to avoid any health risks from fumes or heat-related injuries.

About Tom VanDerKolk
Tom VanDerKolk is a professional painter with over three decades of experience and the owner of VanDerKolk Painting, a leading painting contractor serving West Michigan. Since founding the company in 1991, Tom has overseen projects ranging from residential homes to complex commercial and industrial facilities. His background includes formal training under a master painter and decades of hands-on application across a wide range of surfaces, coatings, and environments. Tom regularly shares practical insights to help homeowners and property managers make informed decisions about painting, maintenance, and long-term surface protection.
Request A Free Quote
Our Services
Residential Services
Commercial & Industrial Services
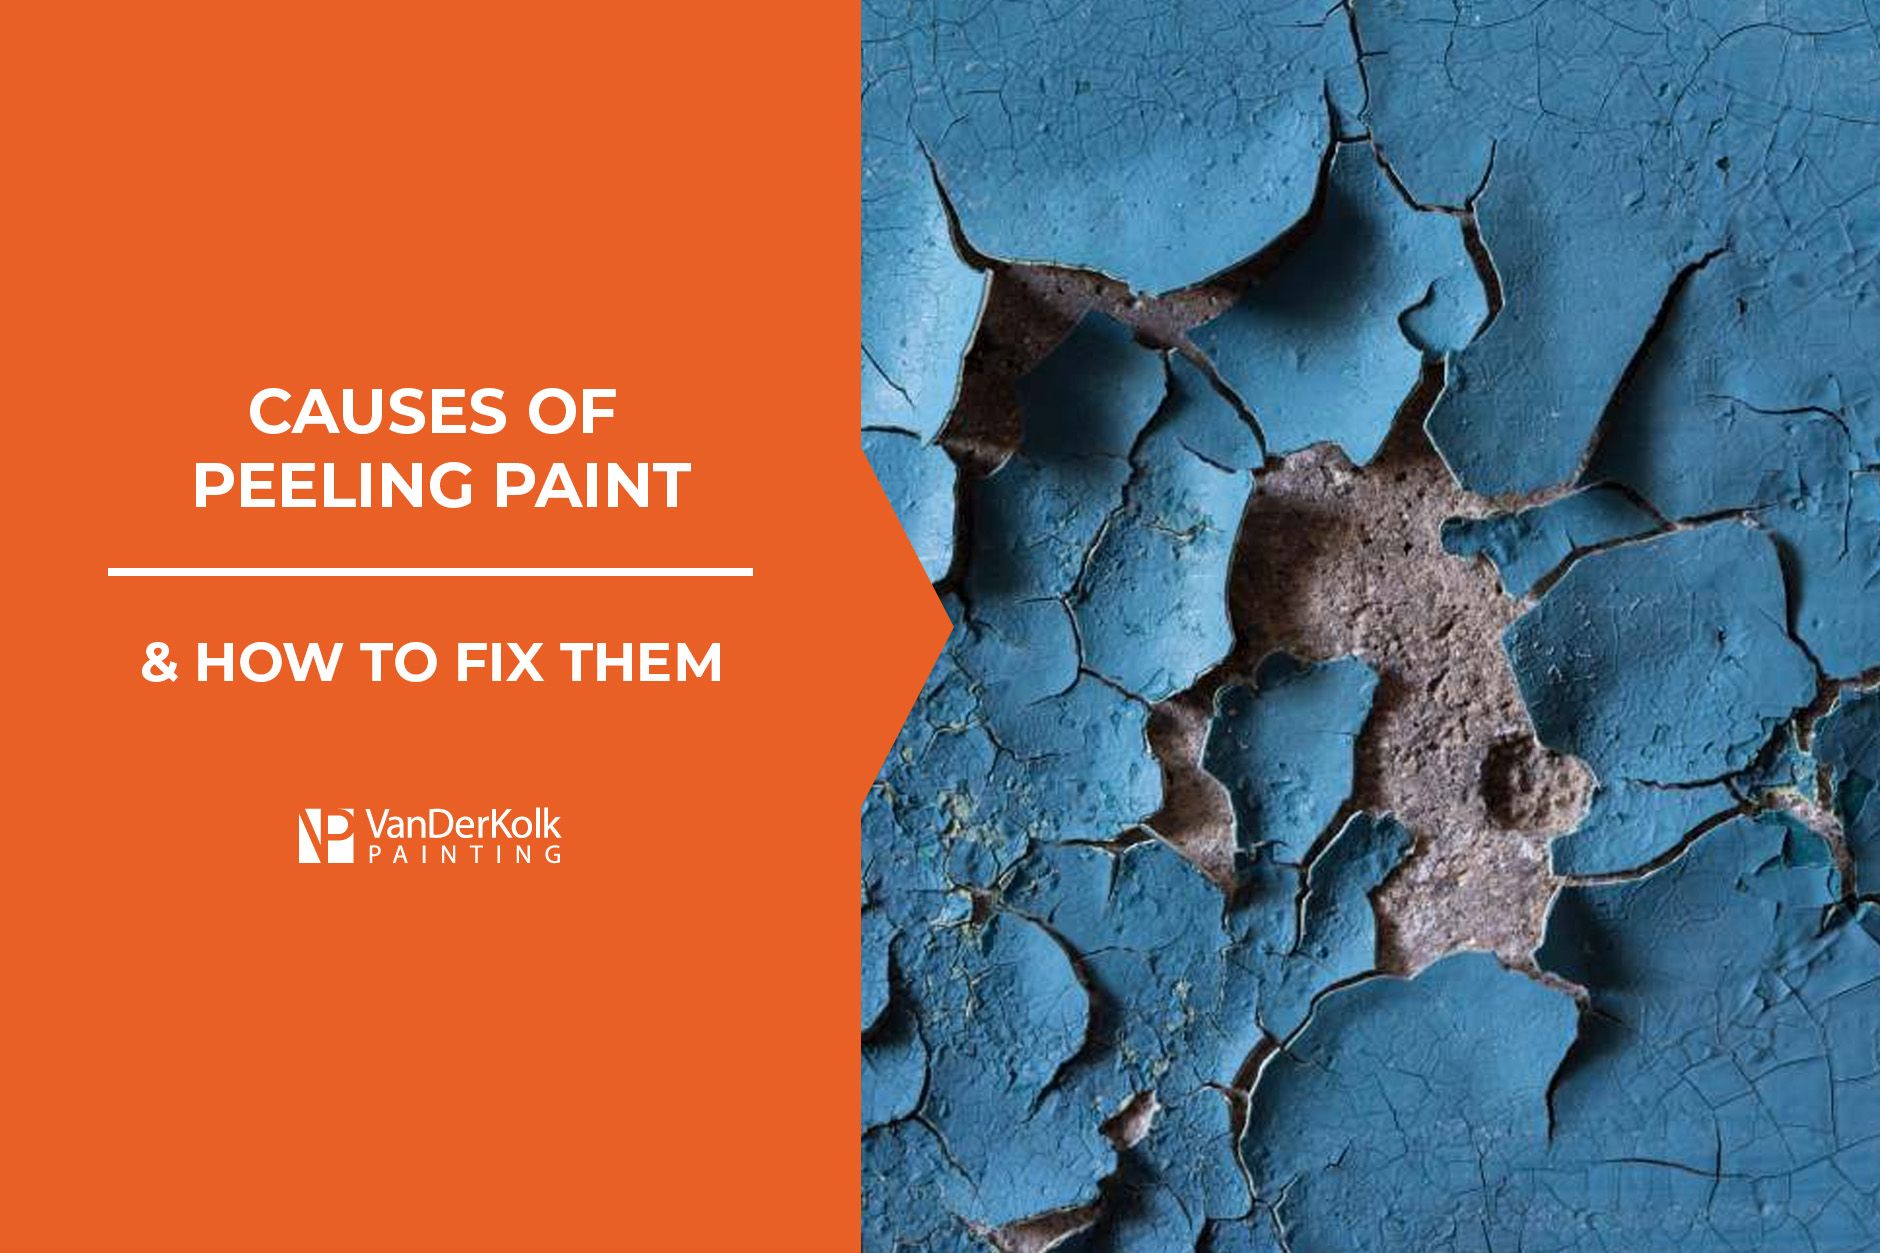
Peeling paint is almost never caused by the paint itself. Repainting without addressing the root cause will almost always lead to recurring peeling.
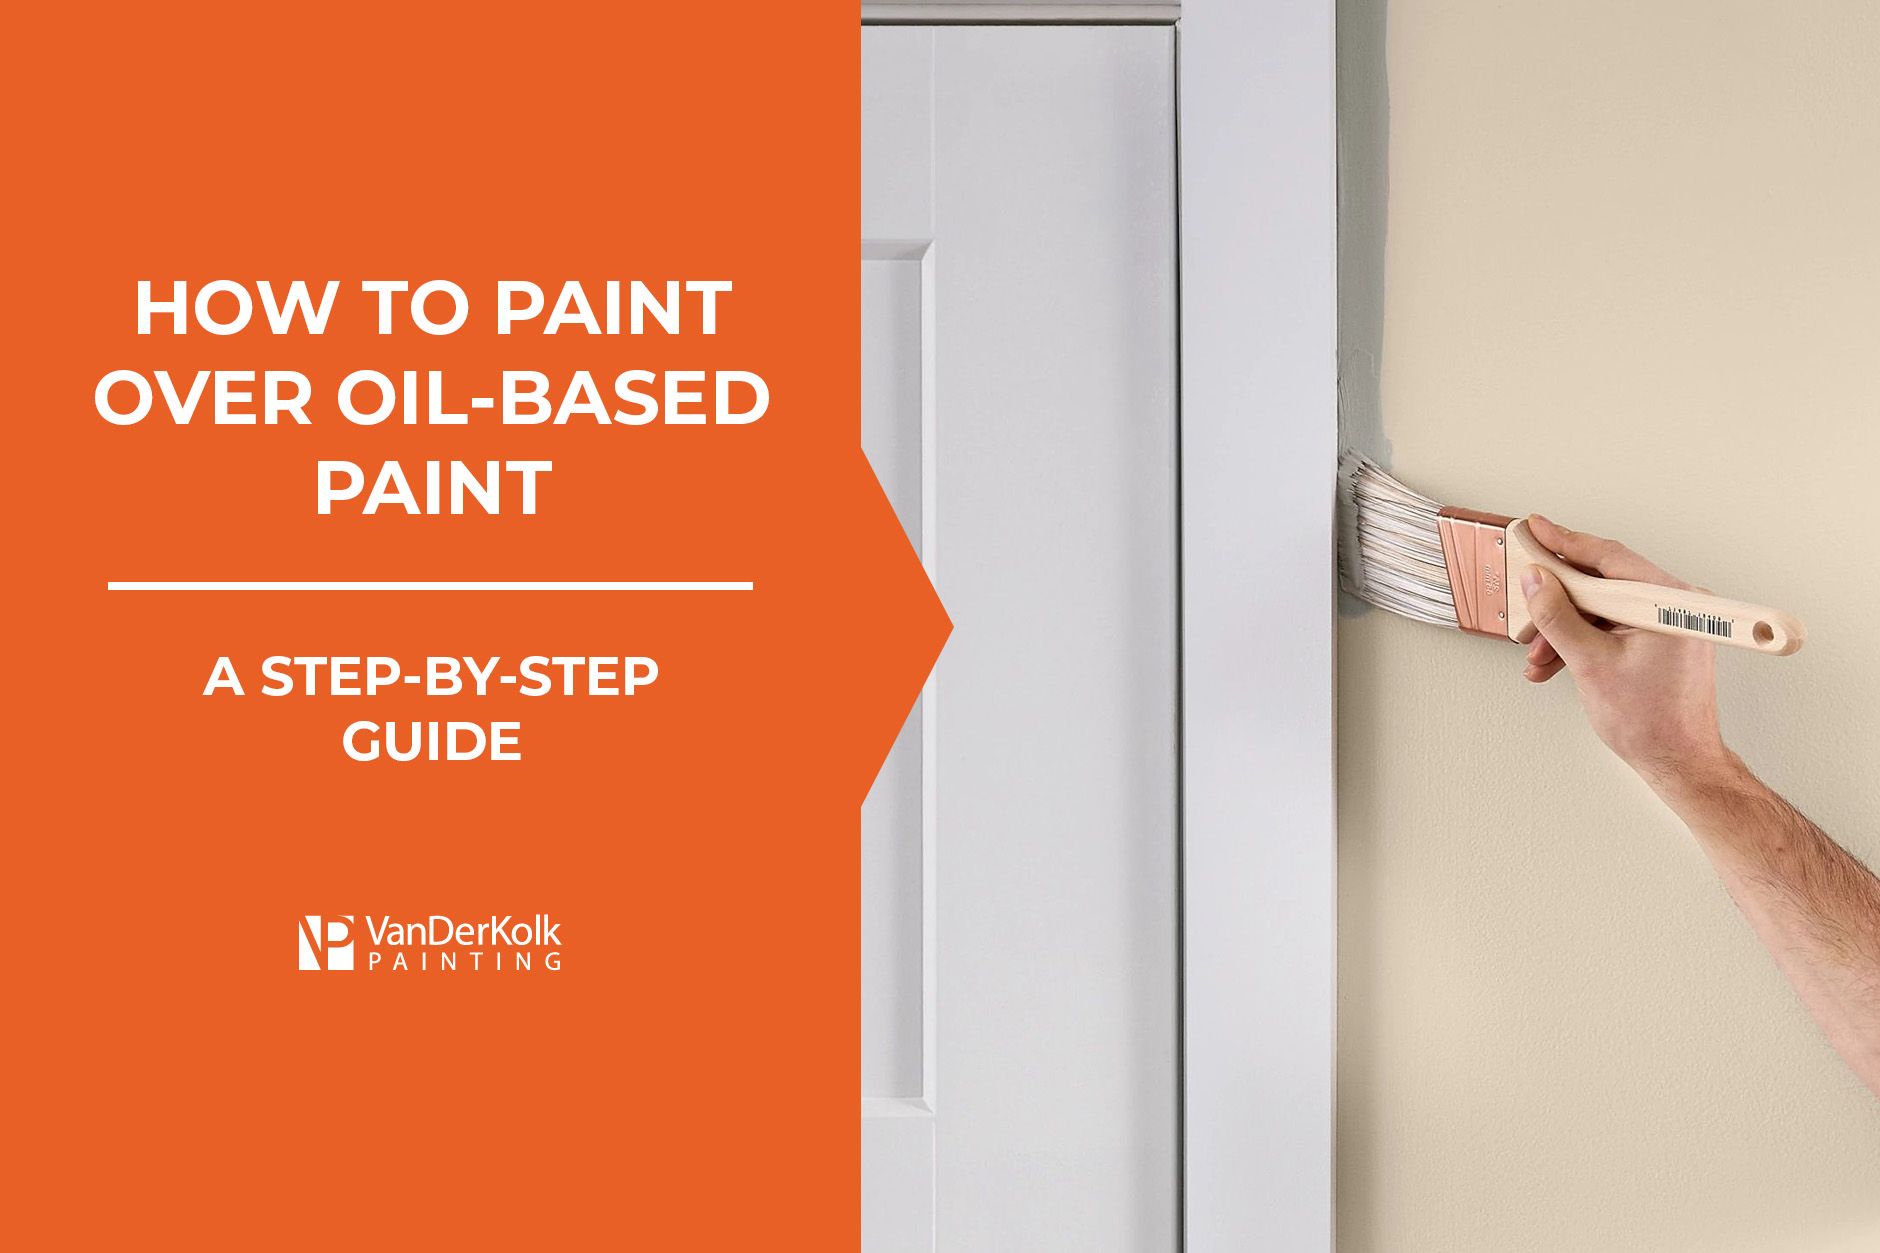
You can paint over oil-based paint, but how you do it depends on what you’re painting over it with. The process can be broken down into 4 simple steps.
This guide breaks down the costs involved in kitchen painting in Michigan, including what drives the price up or down. Learn what to expect...
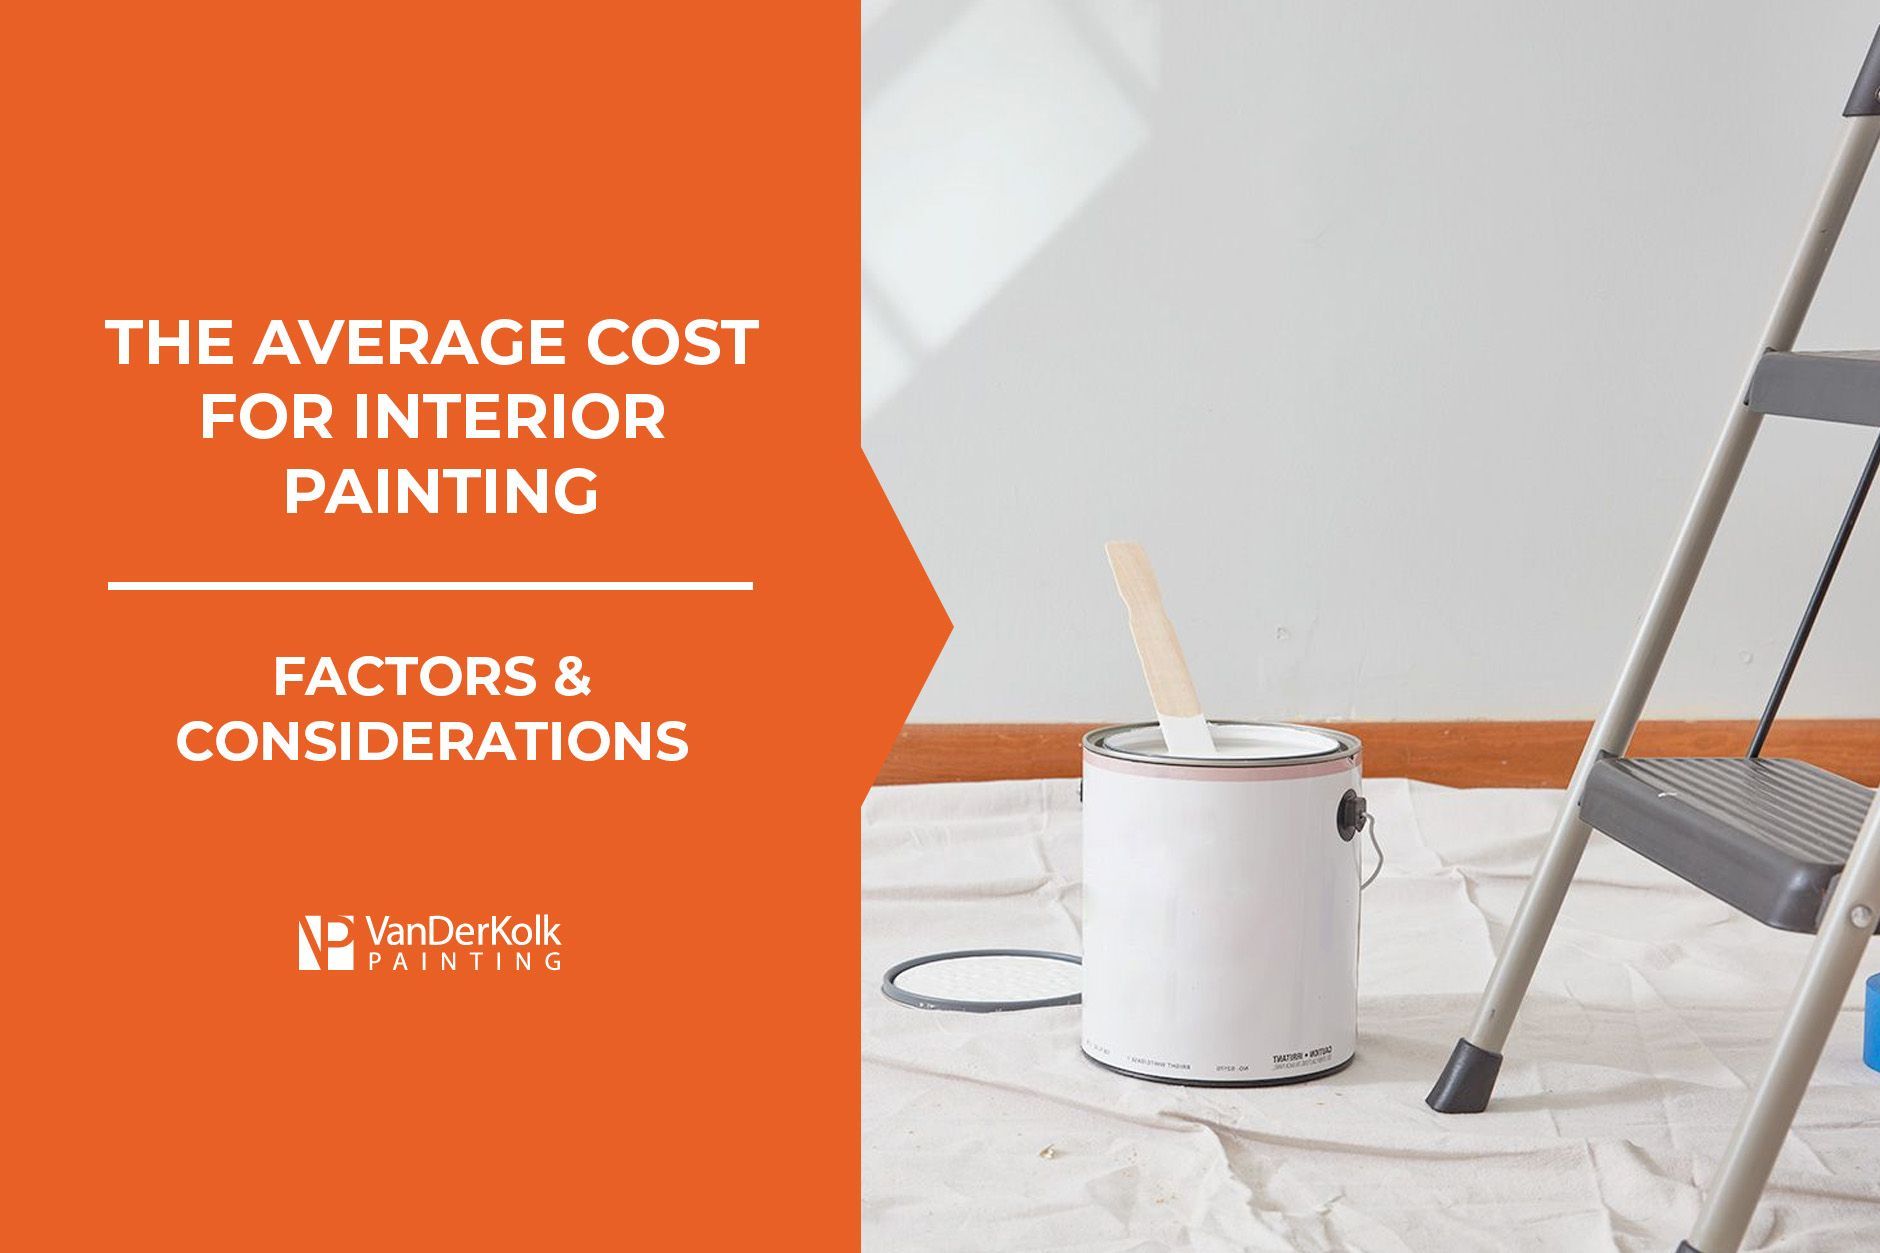
The Average Cost of Interior House Painting In Michigan (2026)
Key Takeaways: Most Michigan homeowners pay between $300 and $900 to have a standard full bathroom painted professionally. Small half baths start around $200. Large primary bathrooms with detailed trim and high ceilings can reach $1,500 or more. Bathrooms require moisture-resistant paint in a satin or semi-gloss finish due to humidity and temperature swings in Michigan. Keep in mind that settling for an average price often means receiving average work. It often saves money in the long run to work with more experienced painters who use higher-quality paints. Always ask what prep work is included before you commit to anything.
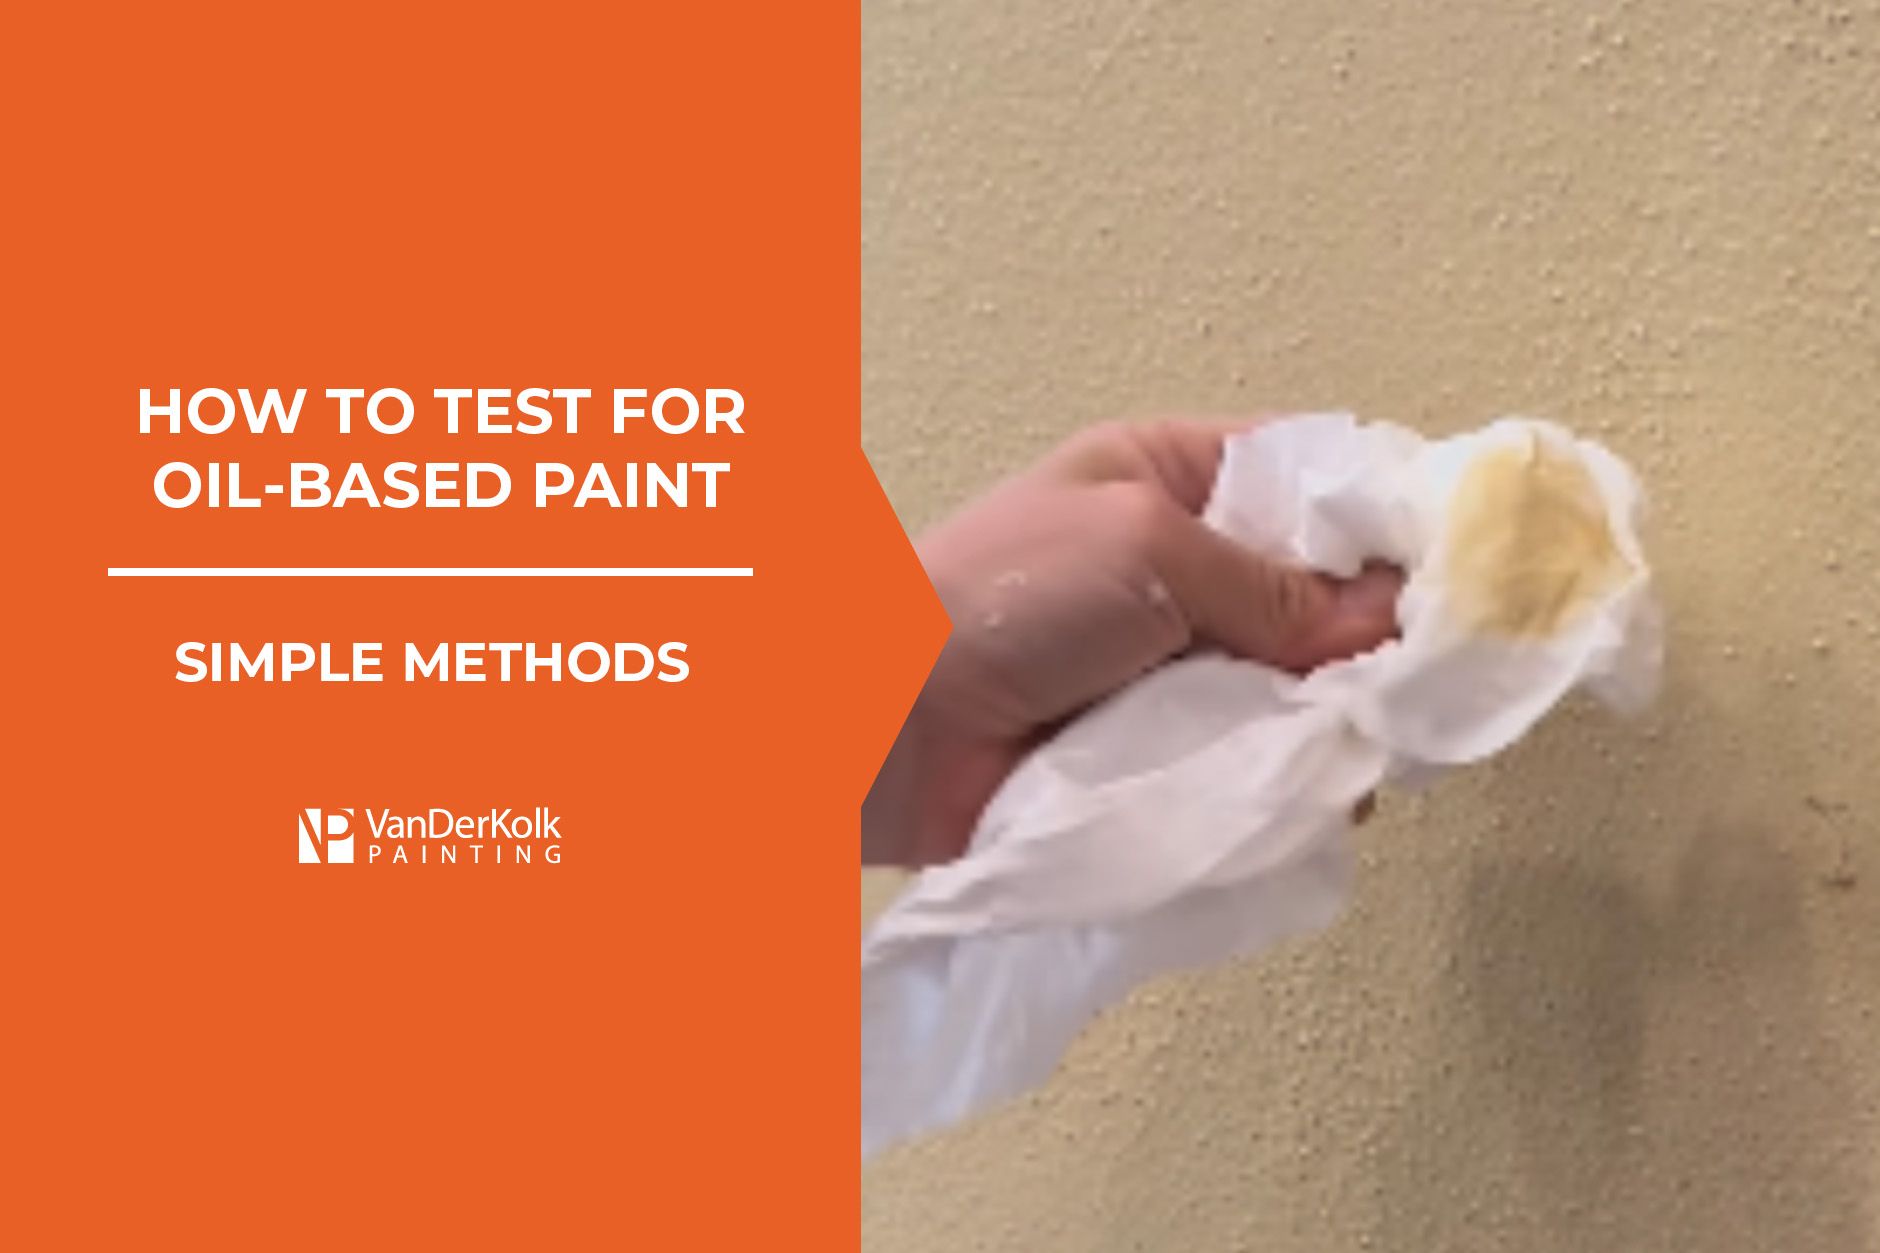
How to Test for Oil-Based Paint: 3 Simple Methods
Can You Paint Over Wallpaper? Expert Answers & Tips
One-Coat House Paint: Does It Actually Work?
How to Paint a Ceiling: Techniques, Tips, and Tricks
Elastomeric Paint: Pros, Cons, and When to Use It