Jen
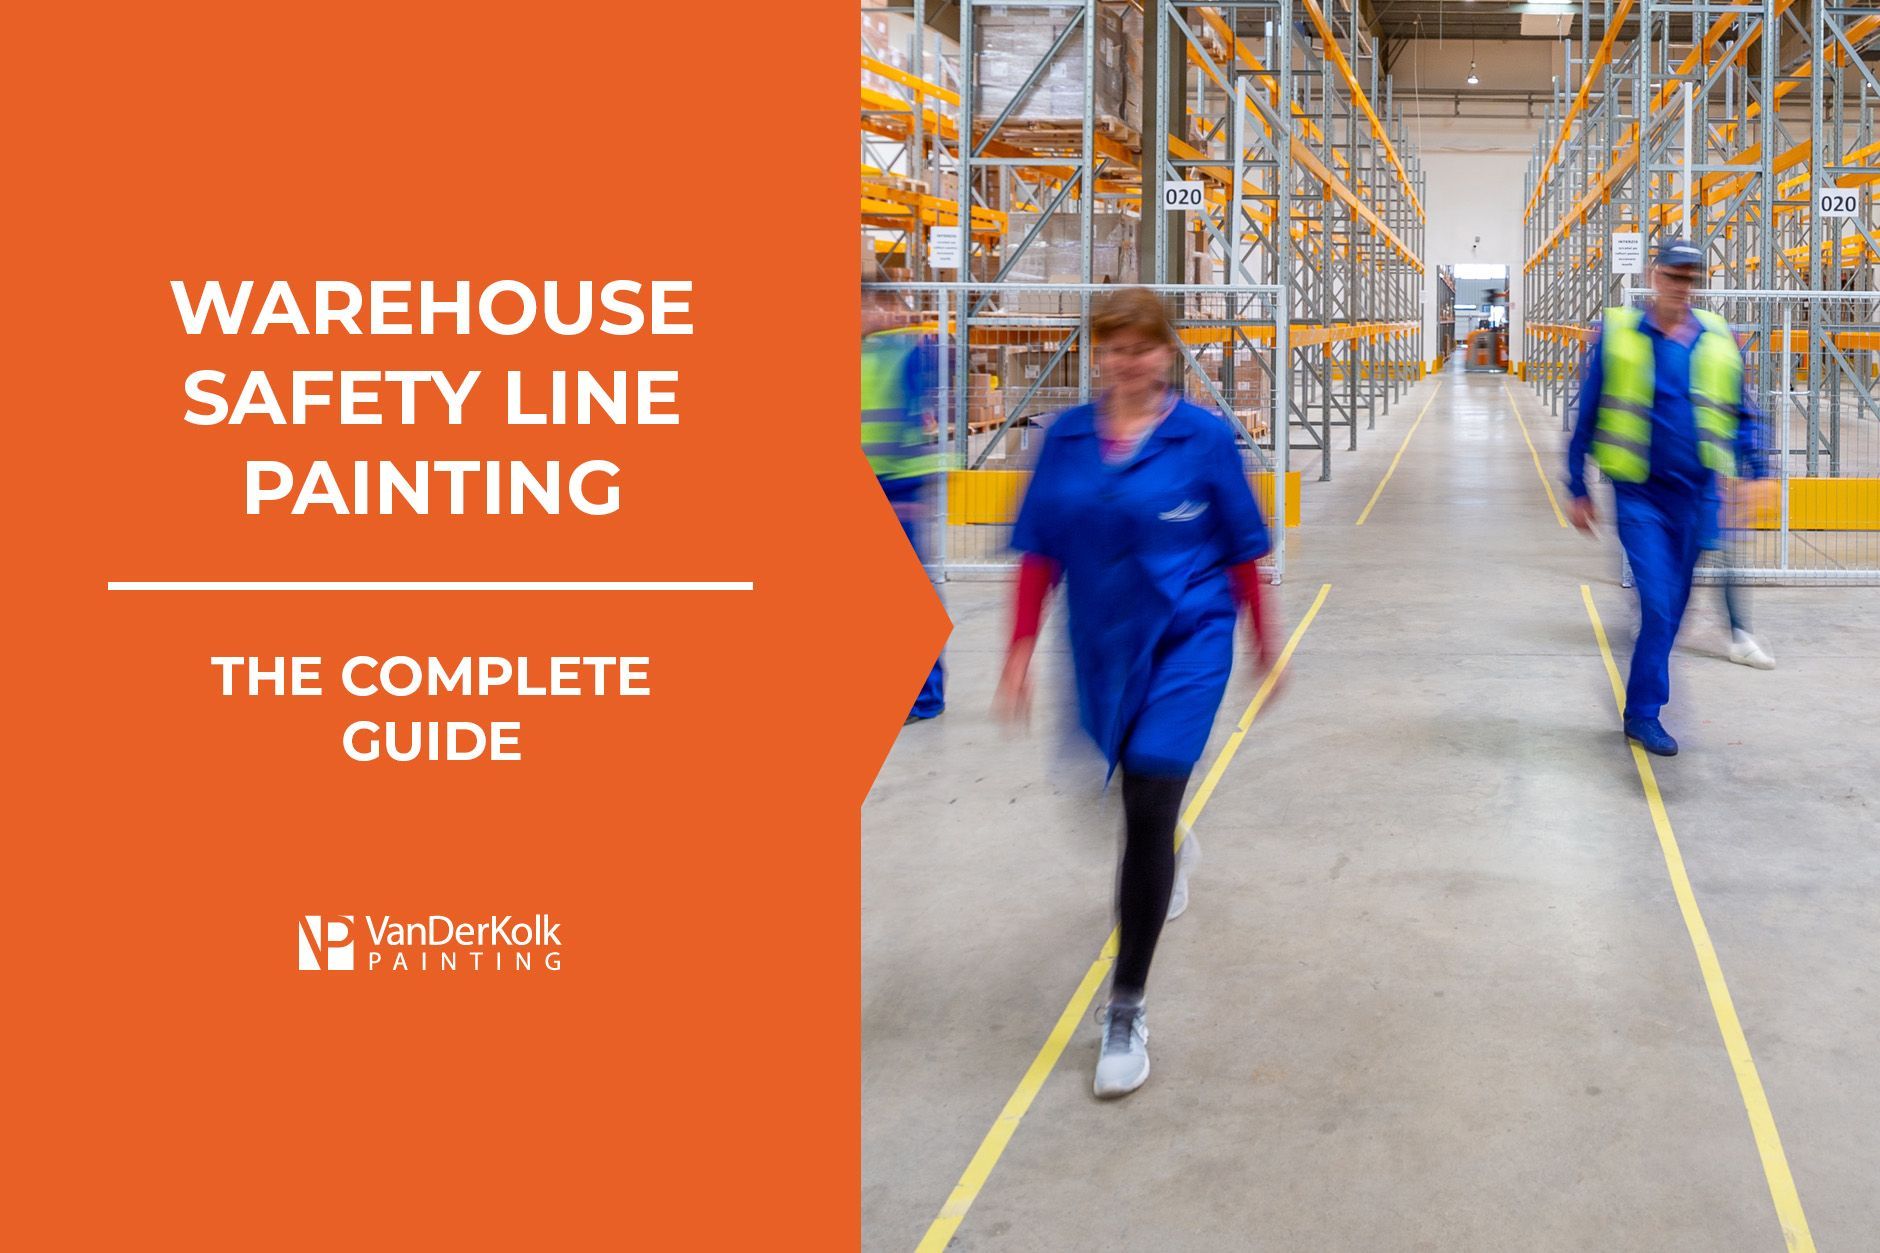
The Complete Warehouse Safety Line Painting Guide
A poorly maintained workplace can increase the risk of accidents, injuries, and property damage. And these accidents can cost a fortune. Imagine a single mishap damaging your inventory, causing a delay in operations, and even harming one of your employees. Such troubles can arise if your warehouse lacks proper line markings.
Creating a safe work environment is not only a moral obligation but is also important for protecting your employees and property. The team of
industrial painters at VanDerKolk Painting regularly paints safety lines for warehouses and factories as part of our
concrete coating services. We’ve used our years of combined experience to create a comprehensive guide for safety line painting.
What Is Warehouse Safety Line Painting?
Warehouse floor marking, or line painting, involves using paint or tape to create visible cues such as lines, shapes, and signs on the warehouse floor. Typically, high-wear epoxy paint or durable tape is used for long-lasting markings. These markings are strategically placed to ensure high visibility without obstructing traffic movement within the warehouse.
The Benefits Of Line Painting In Warehouses
Line painting plays a crucial role in enhancing safety, organization, and efficiency within warehouses. Below are the largest benefits line painting provides.
Workspace Definition
Warehouse marking allows for the creation of designated working zones within a large space, such as packaging areas or customer service sections. This provides clear boundaries without the need for costly construction.
Object Placement Identification
Proper floor striping helps employees identify where to place objects like trash receptacles, pallets, products, and equipment. In this way, organizational aids like floor markings contribute to smoother operations and improved productivity.
Traffic Management
Line striping helps separate motorized traffic from foot traffic, creating safer environments. Clearly marked forklift lanes and pedestrian pathways reduce the risk of accidents and enhance efficiency within the warehouse.
Hazard Identification
Well-executed warehouse marking quickly highlights potential hazards, increasing visibility and raising awareness among employees. This proactive approach helps prevent injuries by ensuring that everyone recognizes and avoids potential risks.
Easy-to-Understand Process
Warehouse marking aligns with established processes and procedures. Using specific colors and shapes allows employees to easily interpret and implement the required procedures. This streamlines productivity and minimizes downtime by promoting clarity and adherence to protocols.
Floor Marking Tape Vs Floor Marking Paint
You could create lines and markup your warehouse floors using floor marking tape or floor marking paint. At VanDerKolk Painting we strongly advocate for the use of paint over tape and it’s not just because we’re a painting company. Paint provides a more permanent solution that can hold up to the rigorous demands of industrial environments. Even with advancements in floor marking tape, industrial paint still lasts longer.
Of course, floor marking tape can still play a role in your warehouse. Many companies will use floor marking tape as a temporary fix when paint lines are damaged. Tape can also be used to mark line positions to plan out where permanent paint markings will be placed.
Types of Paint Used for Warehouse Floors
Selecting the appropriate paint for warehouse floors is vital to ensure durability and optimal performance. With heavy traffic, equipment movement, and exposure to various substances, it's crucial to choose paints that can withstand these demanding conditions.
Epoxy Paint
Epoxy paint is a popular choice for warehouse floor painting due to its durability and chemical resistance. It forms a tough, glossy finish that withstands heavy traffic and impacts. With its strong adhesion properties, epoxy paint is ideal for creating long-lasting line markings in warehouses. Epoxy paint creates vibrant lines that effectively guide traffic and improve safety.
Acrylic Paint
Acrylic paint is another commonly used option for warehouse floor markings. It dries rapidly, making it a great choice for jobs requiring precision in a limited time. In addition to being inexpensive, acrylic paint has excellent adherence to concrete floors. Although it is easier to apply, it may not be as long-lasting as epoxy paint and may need more regular touch-ups in high-traffic areas.
Polyurethane Paint
Polyurethane paint is a highly durable choice for demanding industrial conditions due to its exceptional resistance to abrasion, solvents, and UV light. Its long-lasting properties ensure that it maintains its vibrant color and sheen, even in harsh environments. This makes it a popular option for areas with heavy forklift traffic or potential chemical exposure, providing reliable protection and longevity.
Moisture-Cured Urethane
Exceptionally durable moisture-cured urethane maintains excellent abrasion and impact resistance. These paints are ideal for warehouse floors because they form a non-porous, seamless surface that resists stains and spills. Moisture-cured urethane is typically used in facilities where there is heavy machinery or forklift traffic and is an excellent choice for areas with high moisture levels.
Non-Skid Paints
Non-skid paints are specially designed to prevent slips and falls by creating a textured surface. These paints have a rough surface that offers excellent grip since they are often manufactured with a high-strength resin and fine aggregate material. Non-skid paints are especially helpful in places where high foot activity and spills are inevitable.
OSHA Floor Marking Requirements
OSHA, or the Occupational Safety and Health Administration is part of the United States Department of Labor. OSHA works to protect the labor force from safety hazards at work by creating regulations and guidelines.
OSHA outlines the need for floor markings in its
standards on materials handling and storage. There are several different OSHA standards that pertain to floor markings. We’ve outlined the main standards that factory and warehouse owners should be aware of in regard to floor markings below.
- OSHA Standard 1910.176(a): Use of mechanical equipment - Where mechanical handling equipment is used, sufficient safe clearances shall be allowed for aisles, at loading docks, through doorways and wherever turns or passage must be made. Aisles and passageways shall be kept clear and in good repair, with no obstruction across or in aisles that could create a hazard. Permanent aisles and passageways shall be appropriately marked.
- OSHA Standard 1910.144: Safety color code for marking physical hazards - Red shall be the basic color for the identification of fire protection equipment and apparatus, containers of flammable liquids, stop buttons and electrical switches used for emergency stopping of equipment. Yellow shall be the basic color for designating caution and marking physical hazards.
- OSHA Standard 1910.35: Compliance with alternate exit-route codes - OSHA will deem an employer demonstrating compliance with the exit route provisions of NFPA 101, Life Safety Code, or the exit route provisions of the IFC 2009, to be in compliance with 1910.34, 1910.36 and 1910.37.
- OSHA Standard 1910.22(b): Marking and width requirements for aisles in industrial operations - As a result of numerous calls regarding the marking and widths of aisles in industrial operations, the following are considered to comply with the requirements: The lines used to delineate the aisles may be any color so long as they clearly define the area considered as aisle space. The lines may be composed of dots, square, strip or continuous, but they too must define the aisle area. The recommended width of aisle markings varies from 2 inches to 6 inches; therefore, any width 2 inches or more is considered acceptable. The recommended width of aisles is at least 3 feet wider than the largest equipment to be utilized, or a minimum of 4 feet.
OSHA Warehouse Line Color Requirements
In addition to laying out when and where safety lines should be used, OSHA has also created guidelines to set standards for line colors. Different colored lines communicate different meanings. It is extremely beneficial to work with an industrial painter that understands these guidelines because the right painter can help you plan out the location and color of your markings. You can find OSHA’s line color requirements below.
- Yellow: Yellow lines are used to denote traffic lanes, work cells, and aisleways.
- White: White lines can be used for equipment and fixtures that are not color-coded. This could include racks, workstation carts, floor stand displays, and other various items.
- Blue, Green, or Black: Blue, green, or black lines are used to mark raw materials, finished goods, and works in progress.
- Orange: Orange lines are used to mark inspection areas for products, materials, and energized equipment.
- Red: Red lines are used to denote defect, scrap, rework, and 5s red tag areas.
- Red & White Striped: Red and white striped lines are used to mark areas that need to be kept clear at all times for safety. Areas commonly marked with these lines include eye wash stations, and locations containing firefighting equipment or electrical panels.
- Black & White Striped: Black and white striped lines denote areas that need to be kept clear at all times for operational purposes. These areas don’t need to be kept clear for safety. Rather, they are kept clear to improve processes within the warehouse.
- Black and Yellow Striped: Black and yellow striped lines are used to mark areas that could expose employees to special physical or health hazards. The markings warn workers that they need to exercise extra caution in the workspace.
How To Set Up Appropriate Warehouse Markings
Setting up appropriate warehouse marking is crucial for efficient operations, safety, and organization within a warehouse. Below are some steps to help you set up appropriate warehouse marking.
Plan and assess your needs
Begin by evaluating your warehouse layout, workflow, and safety requirements. Identify areas that require marking, such as aisles, pathways, workstations, storage zones, loading docks, and emergency exits. Consider the types of materials you'll be storing, the traffic flow, and any regulatory requirements that apply to your industry.
Determine marking methods
Choose the most suitable marking methods for your warehouse. Common options include floor markings, wall markings, labels, signs, and digital solutions. Floor markings are particularly important for defining pathways, storage areas, and hazardous zones.
Select appropriate colors
Assign specific colors to different areas or functions within the warehouse. This helps visually distinguish between paint and provides clear guidance to employees and visitors. For example, you can use yellow for aisles, blue for storage areas, red for fire safety equipment, and green for safety exits.
Use standardized symbols and signs
Implement universally recognized symbols and signs to convey important messages and warnings. For instance, arrows can indicate traffic flow directions, pictograms can highlight specific hazards, and labels can indicate storage locations or contents of containers.
Ensure visibility and durability
Select marking materials that offer high visibility and durability. Choose contrasting colors that are easily visible in various lighting situations. In low-visibility spaces, you might want to use materials that reflect light or glow in the dark. Moreover, consider materials that can tolerate serious traffic, abrasion, and chemical exposure.
Implement clear and consistent markings
Apply the markings accurately and consistently throughout the warehouse. Use straight lines, precise measurements, and sharp edges to maintain clarity and professionalism. Employ appropriate tools such as tape, paint, stencils, or floor marking tapes for consistent and precise marking.
Communicate and train
Clearly communicate the meaning of different markings to all employees and visitors. Provide training on the significance of various colors, symbols, and signs within the warehouse. Ensure that everyone understands the safety procedures associated with the markings.
Regular maintenance and updates
Regularly inspect and maintain the warehouse markings. Replace or refresh faded or damaged markings promptly to ensure clarity and safety. Update the markings whenever there are layout changes or modifications to the warehouse.
Key Considerations in Line Painting for Warehouses
Mistakes in line painting for warehouses can undermine the effectiveness and longevity of the markings, impacting safety and efficiency. There are several key planning details you’ll want to consider to avoid ineffective line painting:
- Maintain consistent line width throughout the warehouse to ensure clarity and prevent confusion among employees and visitors.
- Properly assign colors for different areas and functions to avoid confusion and ensure employees can easily identify specific zones or hazards.
- Thoroughly plan the layout and design of line markings in advance to avoid haphazard or inefficient markings that may hinder workflow and safety.
- Adhere to applicable safety regulations and standards to ensure compliance, prevent penalties, and maintain a safe working environment within the warehouse.
- It is important to clean the floor thoroughly, remove any debris or contaminants, and ensure the surface is dry before applying the paint to avoid adhesion issues and premature deterioration of the markings.
- Investing in high-quality, durable paints specifically designed for warehouse floors is crucial for long-lasting and reliable line markings to prevent quick fading, chipping, or peeling of the lines.
- Allow sufficient drying time as per the manufacturer's instructions before allowing foot or vehicle traffic on the newly painted surface to avoid smudging or smearing of the lines, especially in high-traffic areas.
- Regular inspections, touch-ups, and reapplication of paint, as necessary, are essential to ensure clear visibility and functionality of the lines.
Transform Your Warehouse with Expert Line Painting Services
Warehouse safety line painting is a visual enhancement and a critical component for maintaining a safe and efficient workplace. By implementing clear markings, using the right materials, and avoiding common mistakes, businesses can define workspaces, manage traffic, identify hazards, and streamline operations.
Ready to enhance the safety and efficiency of your warehouse with professional line painting services? The industrial painting team at VanDerKolk Painting can help you create clear, durable line markings for your warehouse floor. Our experienced team understands the importance of safety compliance and efficient workflow in your warehouse.
Whether you need precise floor striping, hazard identification, or color-coded markings, we can help. You can request a free quote for warehouse line painting by submitting an
online quote request form, pressing the live chat button, or calling
616-202-6570. A member of our team will reach out as soon as possible to discuss your project and help you plan the best approach.

About Tom VanDerKolk
Tom VanDerKolk is a professional painter with over three decades of experience and the owner of VanDerKolk Painting, a leading painting contractor serving West Michigan. Since founding the company in 1991, Tom has overseen projects ranging from residential homes to complex commercial and industrial facilities. His background includes formal training under a master painter and decades of hands-on application across a wide range of surfaces, coatings, and environments. Tom regularly shares practical insights to help homeowners and property managers make informed decisions about painting, maintenance, and long-term surface protection.
Request A Free Quote
Our Services
Residential Services
Commercial & Industrial Services
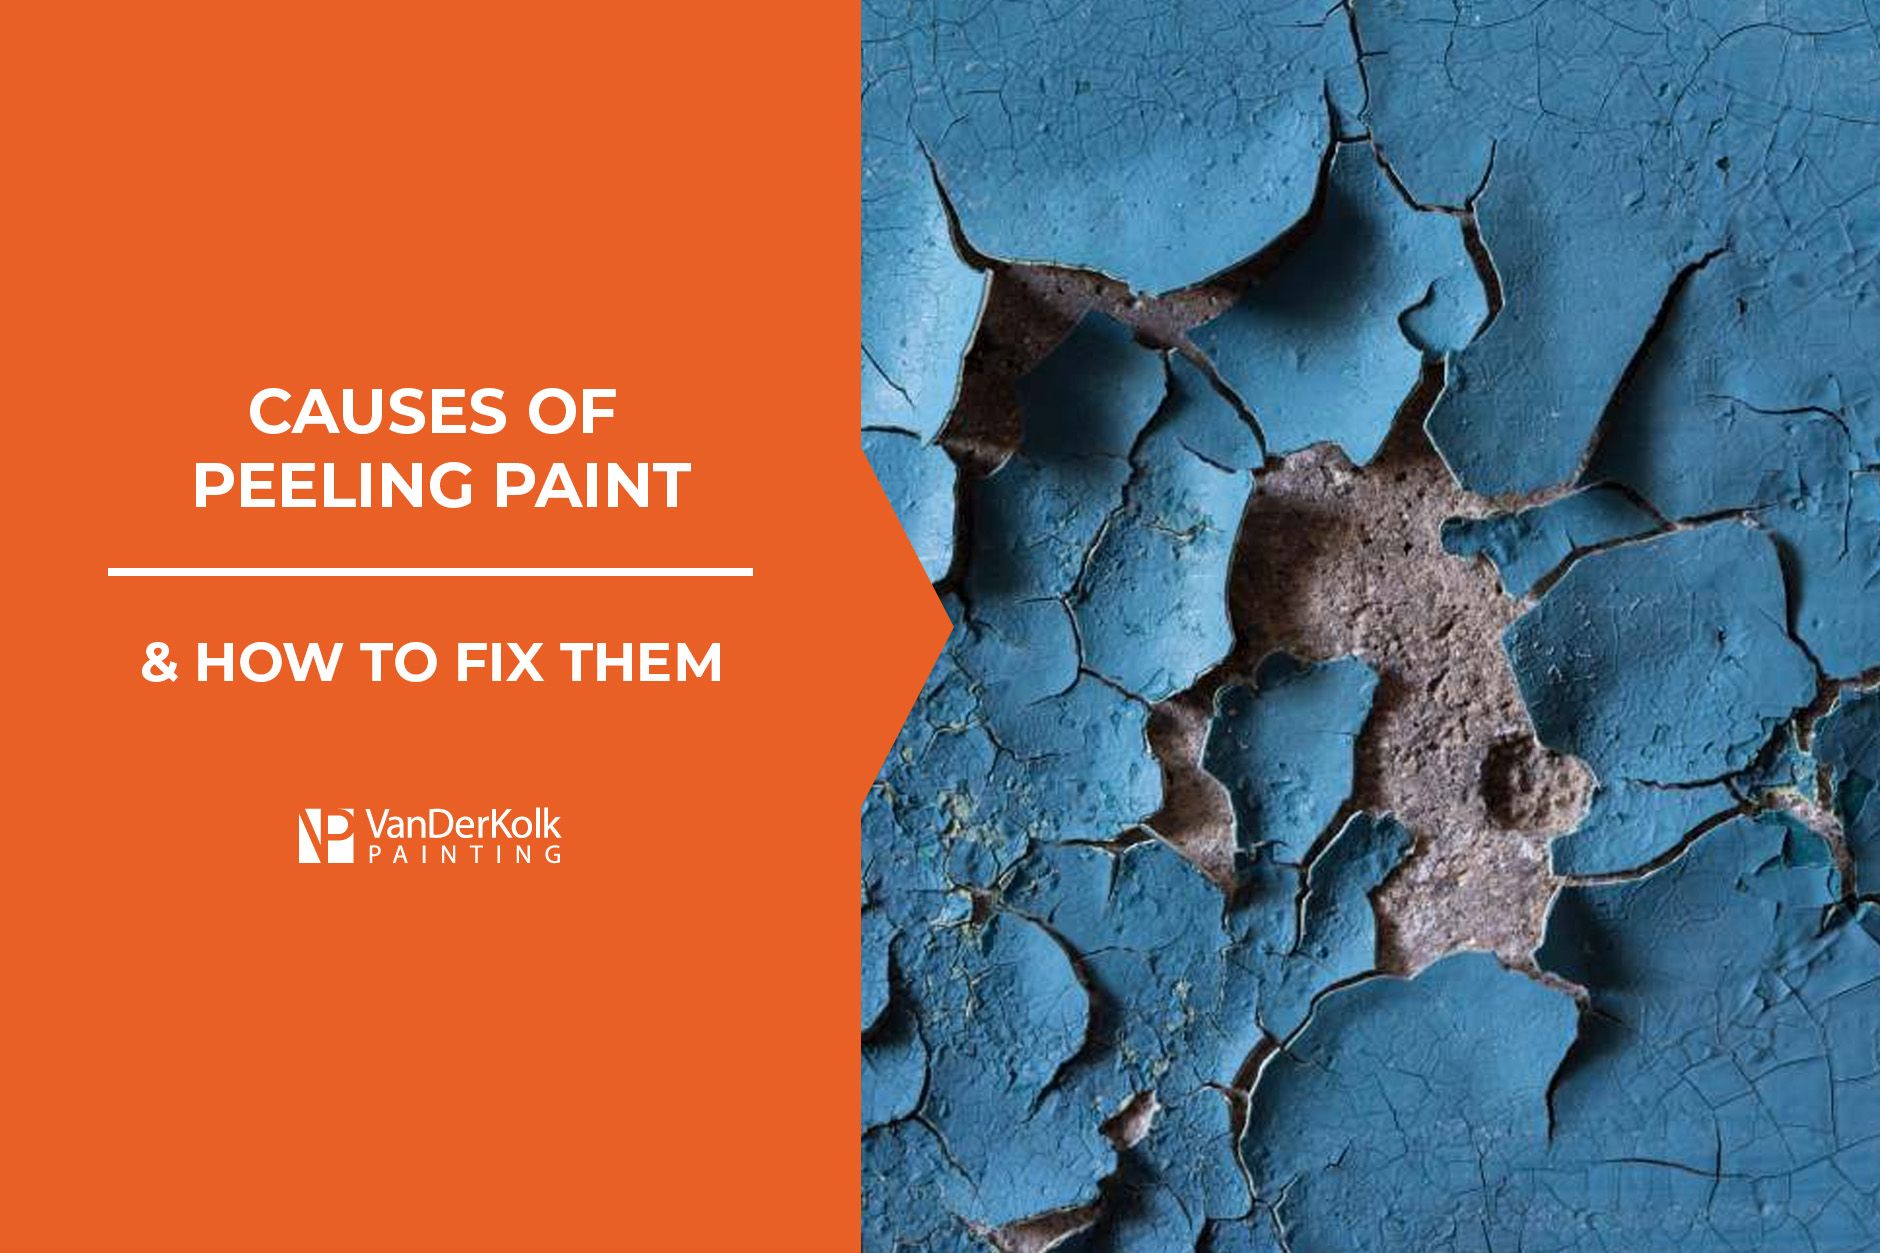
Peeling paint is almost never caused by the paint itself. Repainting without addressing the root cause will almost always lead to recurring peeling.

You can paint over oil-based paint, but how you do it depends on what you’re painting over it with. The process can be broken down into 4 simple steps.

This guide breaks down the costs involved in kitchen painting in Michigan, including what drives the price up or down. Learn what to expect...

The Average Cost of Interior House Painting In Michigan (2026)

Key Takeaways: Most Michigan homeowners pay between $300 and $900 to have a standard full bathroom painted professionally. Small half baths start around $200. Large primary bathrooms with detailed trim and high ceilings can reach $1,500 or more. Bathrooms require moisture-resistant paint in a satin or semi-gloss finish due to humidity and temperature swings in Michigan. Keep in mind that settling for an average price often means receiving average work. It often saves money in the long run to work with more experienced painters who use higher-quality paints. Always ask what prep work is included before you commit to anything.

How to Test for Oil-Based Paint: 3 Simple Methods

Can You Paint Over Wallpaper? Expert Answers & Tips

One-Coat House Paint: Does It Actually Work?

How to Paint a Ceiling: Techniques, Tips, and Tricks
Elastomeric Paint: Pros, Cons, and When to Use It