Painting Blog
News Page Form
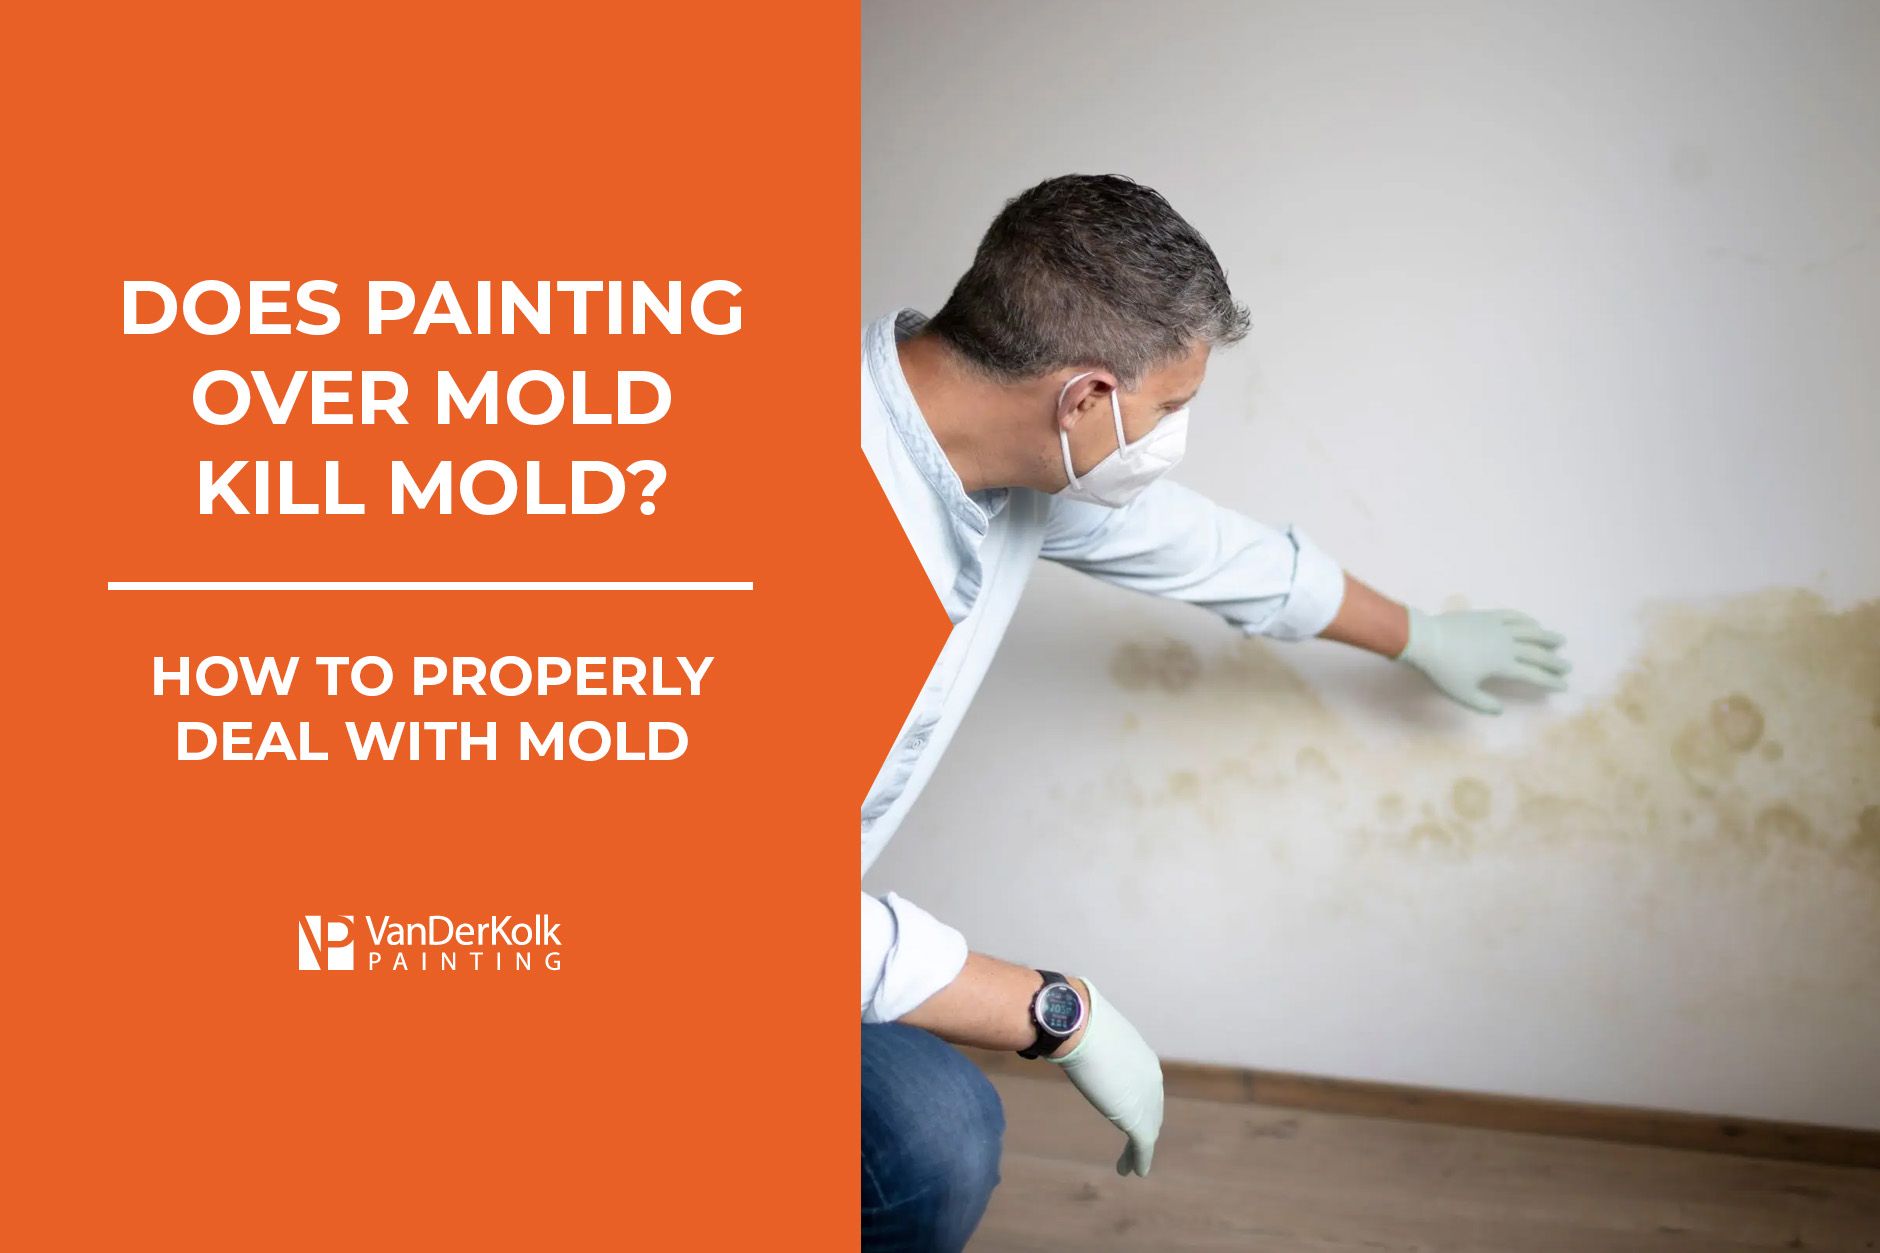
When you notice a dark spot from mold or mildew slowly growing over time on your wall or ceiling, your first instinct may be to paint over it. But does painting over mold eliminate mold? Not exactly. Painting over mold is just putting a Band-Aid over a much larger, potentially hazardous problem. You must find the source of the mold growth and eliminate it in order to stop mold from growing in your home or office. In this guide, the experienced painters at VanDerKolk Painting will walk you through what to do if you see mold growing on your walls and how to properly paint the area in a safe and effective method. Does Painting Over Mold Get Rid of Mold? No, painting over mold does not get rid of mold. The paint will simply cover the visual presence of the mold, such as the spores and dark spots that it leaves as it grows. The mold will never be eliminated when you throw a coat of paint over it. Instead, it will keep growing and eventually reappear through the paint. If you notice a mold spot, avoid painting over it without removing it and cleaning the area first. What Happens if You Paint Over Mold? Maybe you painted over mold in the past before you had a chance to read this article, and you’re wondering what happens now. Painting over mold does not eliminate the mold. Instead, it simply covers the sight of it. Over time, if the source that caused mold to grow isn’t remedied, the mold will grow through the paint, and you’ll be able to see it again. The paint will also start to bubble and peel due to the moisture in the room and the mold growing behind it. While it is tempting to cover that dark spot with a fresh coat of paint, there are extra steps to take to ensure proper removal and coverage so you never see it again. Is it Safe to Paint Over Black Mold? It is not safe to paint over any type of mold, especially black mold. Mold can cause serious health consequences , including respiratory tract infections, exacerbate asthma, and irritate allergies causing itchy eyes and difficulty breathing. Black mold , specifically, can be more irritating to those with mold allergies or immunocompromised. If you paint over black mold on drywall or wood surfaces, it will not remedy the problem. Household members will still experience the negative health effects of this dangerous fungus. How to Properly Paint Over Mold When you have mold or mildew in your home or office building, you must take a few extra steps to properly and safely paint over it. Step 1: Remove the Mold Before you pick out your paint color, you must focus on removing the mold from the area and finding its source. Since mold is a living organism that grows in damp and humid environments , you must kill it to ensure it doesn’t return. You can usually do this with bleach or vinegar. Pro Tip: Never mix bleach and vinegar , as it creates a toxic chlorine gas. Use one or the other to kill and remove the mold. If the mold is too much for one person to remove, you may consider calling a mold removal professional. Finally, you will have to remedy the cause of the mold. Whether adding a dehumidifier to the room, fixing a leaky pipe, or other solutions, this extra step will ensure the mold will never grow back. Step 2: Clean and Dry the Surface After successfully removing the mold from the wall, make sure that it is clean and dry before adding your coat of primer and paint. If the wall still holds moisture, the paint won’t allow it to dry fully, putting your home at risk for mold once more. Step 3: Use Moisture-Resistant Primer While no paint products kill mold, mold-preventative products can be used on mold-prone surfaces. Before adding your first coat of paint , painting a coat of primer will help the paint adhere to the surface better and cover any bold colors underneath. Step 4: Choose the Right Paint If painting over a surface that has experienced mold growth and has since been removed, it’s important to be cautious about the type of paint you use. Most latex and water-based paints are mold-resistant, making them ideal for this particular project. Avoid using oil-based paints, as they contain an ingredient that can feed mold growth if the paint is used in a humid environment or if spores are not fully removed. VanDerKolk Painting: A Solution for All Your Painting Problems and Needs Whether you need interior painting to remove mold and apply a new paint coat or a large office space , no job is too big (or small) for VanDerKolk Painting! Serving the Grand Rapids area, our team of painting professionals can handle a wide variety of residential and commercial painting tasks, including removing and painting over surfaces that have mold. We will take the necessary precautions to prepare the surface properly and use select paints that won’t exacerbate the mold growth. Once we’re finished, you can feel relieved to look at your wall, knowing the mold is gone, and you never have to see that sore-sighted dark spot ever again! We offer free estimates, so you have nothing to lose in contacting us about your painting project. You can request a free estimate by filling out a contact form , or by calling 616-202-6570 .

When it comes to interior painting , temperature and humidity play a major role in the outcome of your paint project. While you can’t control the weather, there are some things you can do to help paint dry in high humidity. Let’s face it; if you were to wait for the perfect weather to paint your house, you would be waiting forever! While it may not be ideal to paint in high humidity, there are some methods you can use to help your paint dry quicker and avoid buckling or peeling. Taking extra steps and precautions can completely change your painting project on a humid day. Want a perfect paint job? Leave the painting to the professionals at VanDerKolk Painting ! We’re equipped with the professional tools, knowledge, and experience, to apply a lasting new coat of paint even in high humidity. Whether you choose a professional painter or DIY, we’re exploring how to dry paint in high humidity and best practices. What is the Ideal Humidity for Painting? The best, most ideal weather for painting your home’s interior is between 40% and 50% humidity. However, for residents or businesses in Grand Rapids, Michigan, this can be a bit of a problem. With an average humidity of 71% , it isn’t a perfect environment for painting. Many cities in West Michigan suffer from high humidity due to their close proximity to Lake Michigan. Fortunately, it is still possible to paint well in humidity ranging from 50% to 80%. Be warned, though, that humidity below 40% or above 80% means that painting should wait for another day. What Happens to Paint in High Humidity? When humidity is high, there is a lot of moisture in the air. This could greatly affect indoor painting and the result of your work. High humidity has the following effects on interior painting: Longer Drying Time - Due to the moisture in the air, paint can take hours longer to dry, prolonging your project if adding multiple coats of paint Peeling or Fading - The paint could peel, buckle, or blister and cause the color to fade due to high humidity Potential Condensation Problems - In some homes or offices, condensation could form on the walls, causing paint to appear abnormal Taking the necessary extra steps and precautions when painting in high humidity can avoid these issues, though. How to Paint in High Humidity It is completely possible to paint in high humidity. There are just some extra steps and considerations to ensure your paint goes on smoothly and dries in a timely fashion. At VanDerKolk Painting, we’ve become experts at painting interiors in the humid weather of Grand Rapids. So, we’re sharing our tips that guarantee a perfect paint project. Choose the Proper Paint Some paints do better in high humid areas than others. When painting in high humidity, it’s best to choose either a water-based paint such as acrylic or latex. These paints are not as heavy as oil-based paint and will dry in an appropriate amount of time, even with the humidity. Make sure to paint thin layers of water-based paint in high humidity so it dries faster. It’s also important to remember to wait until the paint is dry before adding another coat. Normally, water-based paint has a recoat dry time of four hours . However, this may be longer in high humidity. Along with water-based paint, you may choose a solvent-based finish when painting in high humidity. Increase Airflow Adding extra air circulation methods will help paint dry faster in high humidity. If possible, open a window in the room and set up fans to keep the air moving. It’s even better to have a ceiling fan that can move air throughout the room. Use a Dehumidifier One of the most useful tools when painting in high humidity is a dehumidifier. This will take the moisture out of the air, allowing the paint to dry faster and avoid peeling or buckling. If you use a dehumidifier, turn it on in the room a few hours before you begin painting. This will remove most of the moisture and better prepare the area for painting. Paint in the Morning The best time for interior house painting in high humidity is in the morning - but not first thing. Overnight, moisture may condense and become heavier without the sun absorbing water droplets. It is best to wait until the sun has risen and been up for an hour or two before painting. Painting in the morning also gives you more time to let the paint dry properly before adding additional coats to it. How Do You Dry Paint in Humid Weather? Even in highly humid weather, the paint will dry on its own. However, it will take longer than expected. Some ways to decrease the dry time of your paint in high humidity are to: Use a dehumidifier Increase air circulation with fans and by opening windows Using a hair dryer on specific parts of the wall Remember, it’s important to be patient and not add more coats of paint before the initial coat is fully dry. This could cause bubbling and uneven coloring. Can Paint Dry in 80% Humidity? Painting your home with 80% or more humidity is not recommended. While the paint will take longer to dry, other risks, such as peeling, buckling, and splotchy color, should be considered. The best humidity for interior painting is 40% to 50%, but up to 80% is also acceptable. If painting in humidity above 50%, use additional methods and equipment such as fans, dehumidifiers, and water-based paint for the best results. Call VanDerKolk Painting for Your Next Paint Project Don’t let Grand Rapids, Michigan's high humidity discourage you from transforming your home or office building interior with a new paint color. VanDerKolk Painting has all the tools and expertise required to successfully paint in high humidity! Our team of professionals is here to consult with you about your paint colors, type of paint, and how to navigate working in high humidity. Request a free estimate for your next interior paint project today.
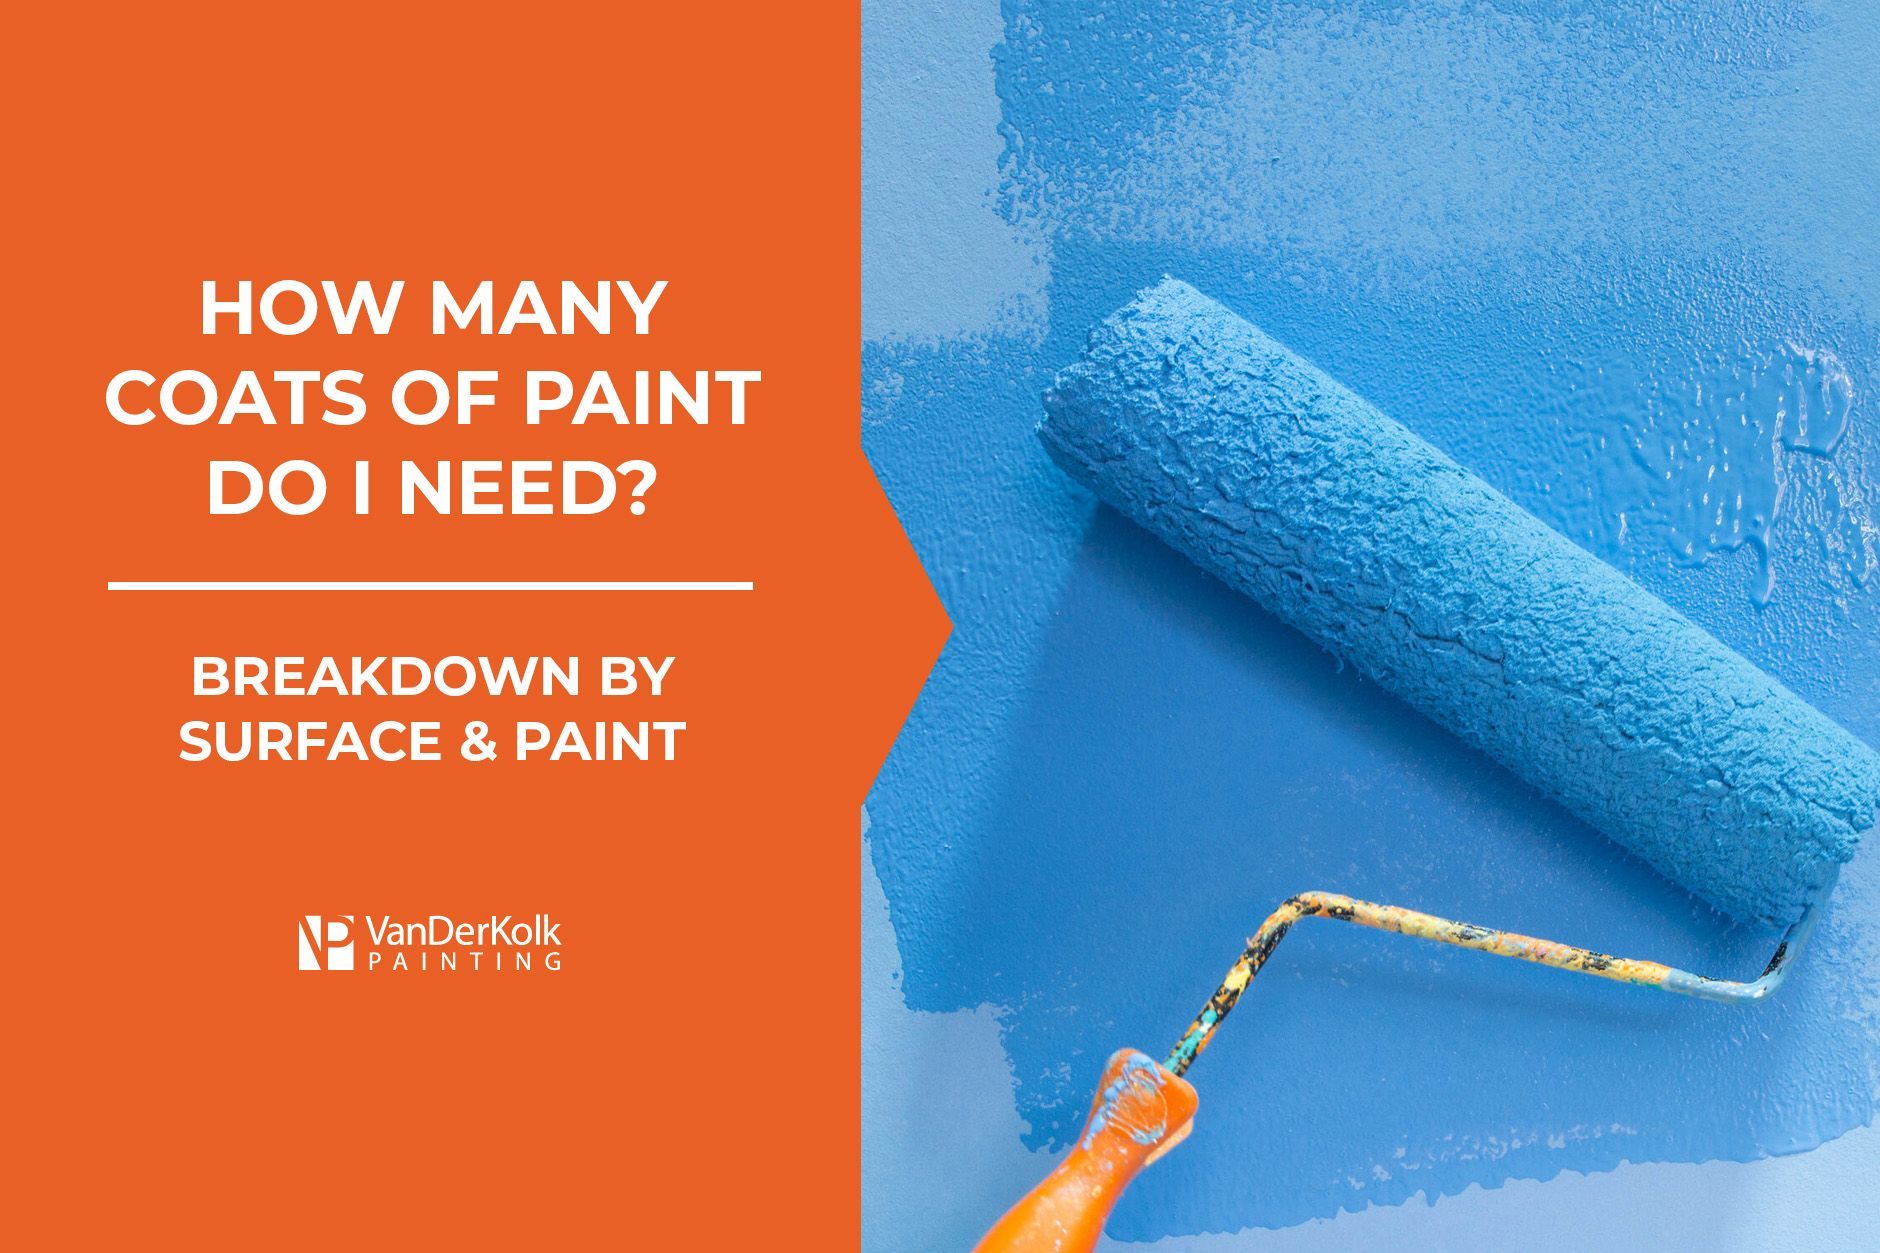
When starting a new painting project, whether interior or exterior, it’s important to know how many coats of paint you’ll need and how long to wait between coats to ensure optimal results. If you’re new to painting, you may feel overwhelmed by the different types of paint available and the decision of which paint to use for your project. To help you choose the right paint and answer the age-old question, “How many coats of paint do I need?” We’ve created a simple guide that explains how to paint common surfaces successfully. Remember, you can always call VanDerKolk Painting to guarantee a perfect and precise residential , commercial , or industrial paint job, no matter how big or small! Number Of Paint Coats By Surface Many interior and exterior home projects require painting. To ensure a well-done and vibrant paint job, you’ll need to choose the right type of paint and apply the correct number of coats. Number Of Coats For Bare Drywall Paint Coats Required 1 Coat of Primer 1 Coat of Paint Or 2 Coats of Paint-Primer Combo If you’re renovating a home or working with new construction, you’ll be faced with bare drywall to cover up with your favorite paint color. The best type of paint for this surface is water-based paint, such as latex or acrylic paints. If you use a primer-paint combination, then you can apply two coats. Or you can apply one coat of primer and one coat of your colored paint. Number Of Coats For Light-Colored Walls Paint Coats Required 1 Coat of Primer 1-2 Coats of Paint (depending on the new color) Often, you’ll find yourself painting over previously painted walls. When covering a light-colored wall, the number of coats can depend on whether you are painting over it with a similar or darker color. The best type of paint for light-colored walls is water-based paint, such as latex or acrylic. It’s best practice to apply a primer coat before your color paint. If painting a darker color, you may only need one coat with a few added touch-ups. It's best to apply two coats when painting a similar or lighter color. Number Of Coats For Dark-Colored Walls Paint Coats Required 1 Coat of Primer 2-3 Coats of Paint Painting over a dark-colored wall can be tricky and often more time-consuming than light-colored or bare walls. Don’t let this discourage you, though! With the right number of coats of paint, you can make that unwanted dark color disappear. The best type of paint for dark-colored walls is water-based paint, such as latex or acrylic. After applying one coat of primer, you will need two to three coats of paint to fully cover the underlying dark color. Examine the wall after applying the second coat and determine if you need a third coat if you see dark, patchy spots. Number Of Coats For Finished Wood Paint Coats Required 1 Coat of Primer 2 Coats of Paint Painting finished wood projects, such as furniture, interior doors, baseboards, or trim, can instantly transform a room—when you use the right paint and the correct number of coats. The best type of paint for finished wood projects is stain, acrylic latex, or oil-based paint . Be careful with oil-based paint indoors, though, as it requires extra ventilation due to harmful VOC chemicals in the paint . Painting over finished wood requires extra steps, such as sanding the surface. After sanding, you’ll add one coat of primer. When the primer has dried, lightly sand the surface again before applying two coats of paint. Additionally, you can also use a lacquer, which requires multiple thin coats to cover the surface. Number Of coats For Metal Paint Coats Required 1 Coat of Primer 2 Coats of Paint Painting metal surfaces, especially when painting over rusted metal , can elevate your object in a matter of minutes. If your project is prone to rust, then it’s recommended to use a rust-inhibiting primer to prevent rust from forming due to humidity or moisture. Just one coat of this is enough. The best type of paint for metal surfaces is oil-based paint. It’s long-lasting and the color is often more vibrant compared to water-based paints, which makes it perfect for outdoor metal items and projects. After adding one coat of primer, preferably rust-inhibiting primer, you’ll apply two coats of oil-based paint for the best results. Number Of Coats For Vinyl Paint Coats Required 1-2 Coats of Paint Painting vinyl surfaces, such as outdoor fences or garage and basement flooring, is one of the simplest surfaces regarding the number of coats. If the vinyl is in good shape, then there is no need for a primer; you can go straight to the paint! The best type of paint for vinyl surfaces is epoxy or latex acrylic paint because it is flexible and adheres better. Without a primer coat, you’ll only need one to two coats of paint to transform your vinyl object. Number Of Coats For Ceilings Paint Coats Required 1 Coat of Primer (optional) 1-2 Coats of Paint Painting a ceiling can drastically transform a room, whether it’s a subtle white or an exciting color that matches your interior decor. To ensure your ceiling is perfect and pulls the room together, you must understand how to paint it correctly. The best type of paint for ceilings is water-based paints, such as latex and acrylic. If you’re painting a ceiling that is already white, you can forego adding a coat of primer before the paint. Whether you use a primer or not, you’ll need one to two coats of paint, depending on the color you’re painting over and the color you’ve chosen. Number of Coats According to Paint Type We’ve reviewed the most commonly painted surfaces and the number of coats they require. Now, let’s explore the number of coats of each type of paint you’ll likely use. Oil-Based Paint - 1-2 coats Acrylic Latex Paint - 2 coats Latex Paint - 2-3 coats Enamel Paint - 2 coats Chalk Paint - 2 coats Milk Paint - 2 coats Wood Stain - 1-2 coats Epoxy Paint - 1-2 coats Examining your project is the best way to determine if you should add another coat of paint. If the underlying paint color still shows through or there is uneven color, you may need an additional coat of paint. Always allow the coat to dry long enough before adding another, or it could result in peeling, flaking, or bubbling. Guarantee A Perfect Paint Job VanDerKolk Painting Choosing the right type of paint and knowing how many coats you need for your project can feel overwhelming and mysterious. To guarantee a pristine and perfect paint job, consider hiring the professional painters at VanDerKolk Painting! Our team of trained and professional painters ensures your painting project, no matter how big or small, is done with precision, care, and detailed attention. Request a free estimate for your residential or commercial painting project today!
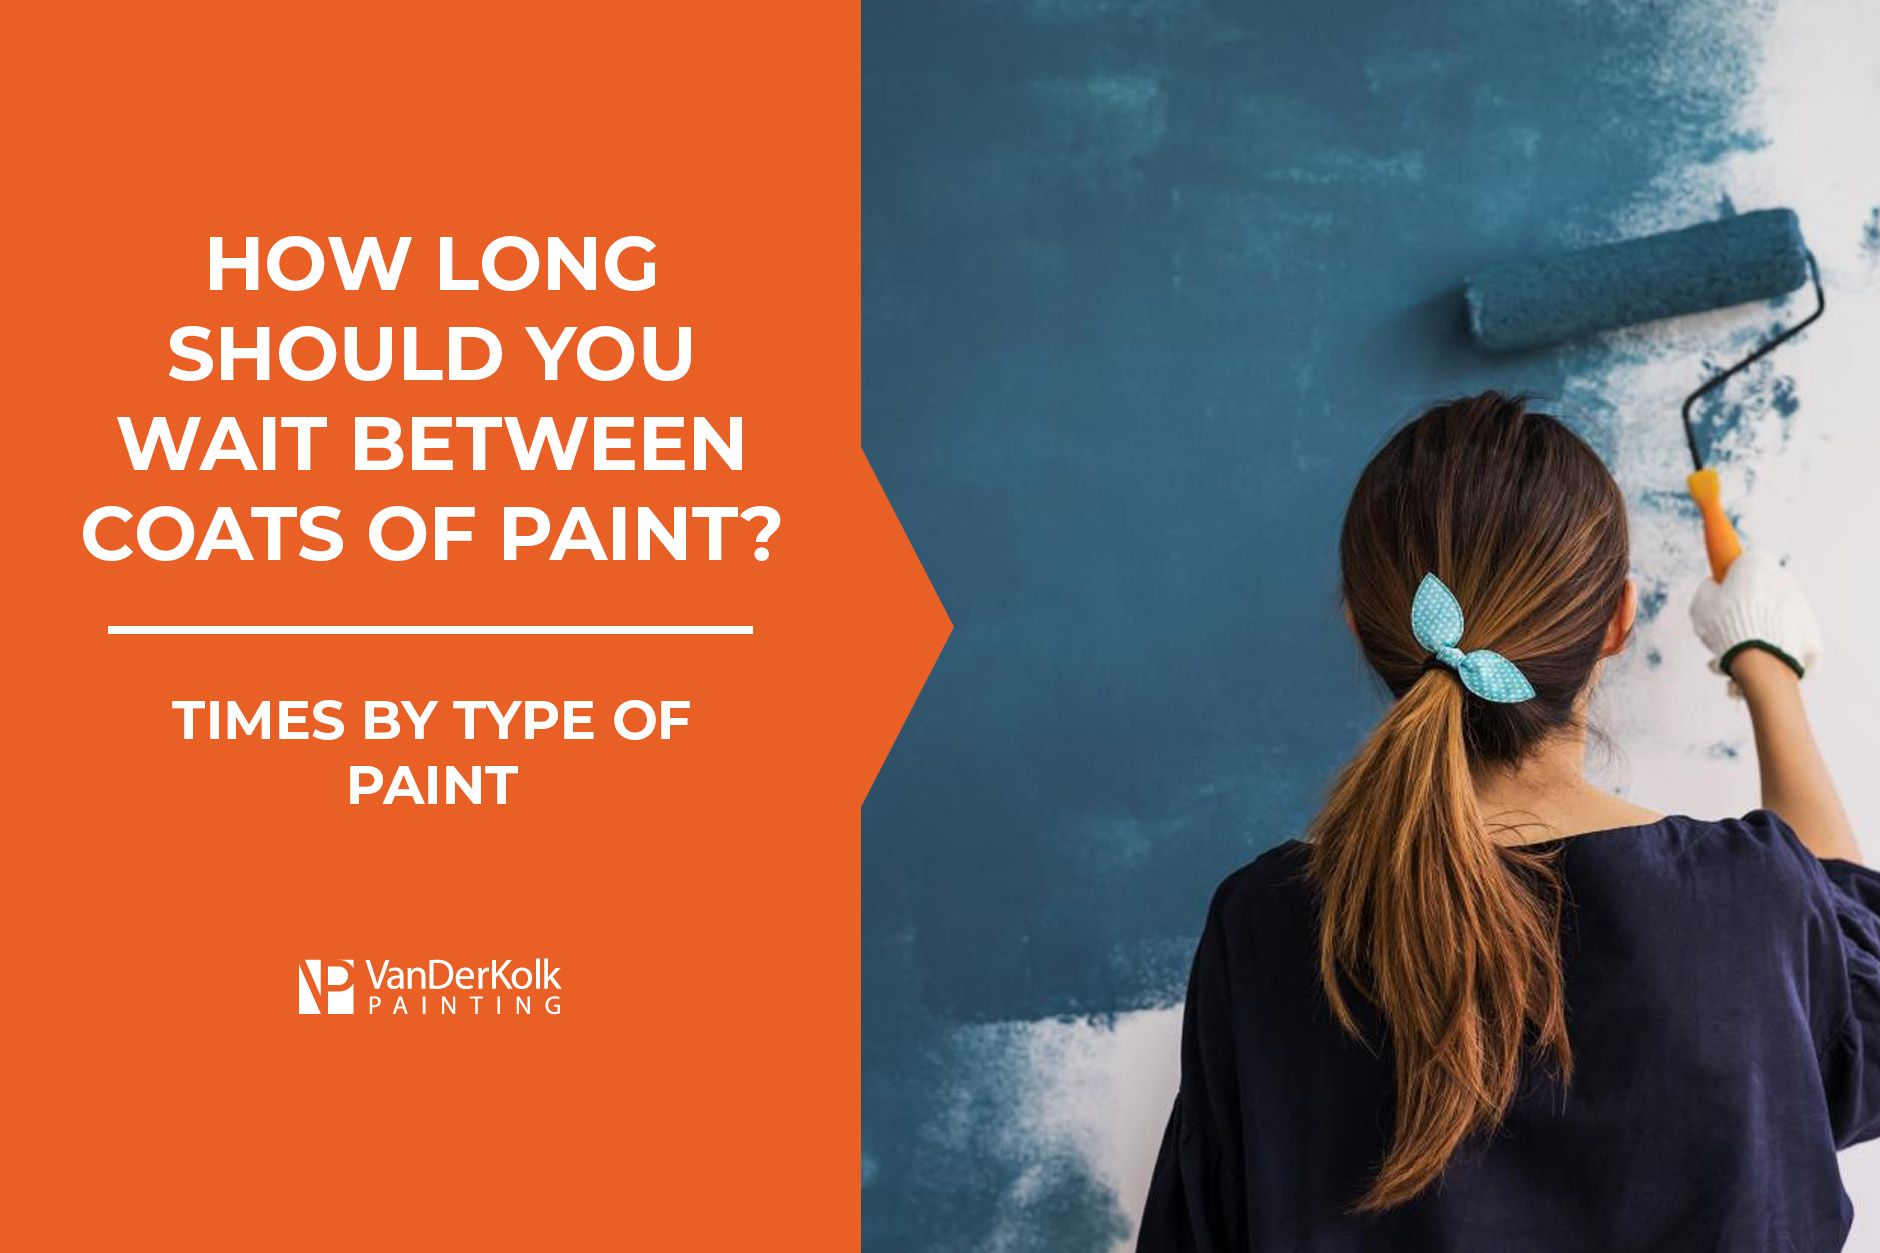
You’ve moved and covered all of your furniture. You have your foam rollers and painter’s tape ready. You’re excited to transform your home’s interior with a new paint color . Before you add that first coat, a thought pops up: how long should you wait between coats of paint? With all of the excitement of your new interior painting project , you may still need to allocate paint drying time into your plans. While it is entirely possible to paint a room on a weekend, knowing how long you should wait between coats of paint to ensure a beautiful, smooth, and professional-looking outcome is important. Depending on the type of paint you use, you could be waiting an entire day before adding another coat of paint to your walls. Doing so before the paint is dry enough for a recoat could end in disaster. Painting is a science often best handled by professionals like VanDerKolk Painting to guarantee a perfect project outcome every time. If you choose to DIY, this article will help guide you on how long you should wait between coats of paint and other insightful tips for a smooth and beautiful paint job. Wait Times Between Paint Coats The wait time between coats of paint will depend on the type of paint you are using. Some paints take longer to dry than others. Oil-Based Paint - When using oil-based paint, you should wait at least 24 hours before adding a second coat of paint. Water-Based Latex Paint - When using water-based latex paint, you should wait at least 4 hours before adding another coat of paint. While the paint should feel dry to the touch after a few hours, it does not mean that it is ready for a second coat just yet. The Difference Between Dry, Recoat, and Cure Times When reading the instructions on your paint cans, you may notice three different terms: dry time, recoat time, and cure time. Understanding the differences between these times is crucial to avoid adding a second coat of paint too soon. Dry Time - the time for the paint to feel dry to the touch; usually between 1 and 6 hours, depending on the paint Recoat Time - the time it takes for the paint to be ready for another coat; usually between 4 and 24 hours, depending on the paint Cure Time - the time it takes for the paint to harden completely and is safe to wash or touch without damage; usually a couple of weeks When planning to paint multiple coats on your walls, pay attention to the recoat time. What Happens if You Paint a Second Coat Too Soon? It’s easy to feel impatient when waiting for your paint to dry enough for a second coat. However, adding another coat before the recoat time is up can end with your paint peeling, bubbling, clumping, and even flaking off when it is dried. You may also experience uneven coloring in certain wall spots if you paint a second coat too soon. How Many Coats of Paint Do You Need? When painting the interior of your home, you should add at least two coats of paint on top of one coat of primer for the best, most vibrant color outcome. Professional painters, like VanDerKolk Painting, recommend using at least two coats but sometimes suggest three depending on the color and thickness of the paint. How Long Should You Wait to Paint Over Primer? We’ve talked about how long you should wait between coats of paint, but how long should you wait before painting over your primer layer? It’s recommended to wait at least 24 hours before adding a coat of paint over your primer. Painting over it soon could cause your paint to adhere to the wall improperly, flaking and peeling. What Factors Affect Paint Dry Time? If you’re on a crunched timeline for your interior painting project, a few factors could speed up or slow down your paint’s dry and recoat times for you to consider. Temperature The time of year and the temperature of your home can affect paint dry times. Oil-based paint dries best in temperatures between 40 and 90 degrees Fahrenheit, making it ideal for year-round projects. Water-based latex paint dries best in temperatures between 50 and 85 degrees Fahrenheit. Ventilation The airflow in the room you’re painting can also significantly impact the paint’s dry time. If possible, keep windows open or use fans for ventilation to speed up the dry time. Humidity High humidity can delay the drying time of your paint due to the moisture in the air. If you live in a humid environment or are experiencing high humidity during your project, use a dehumidifier in the room. When painting, it’s best to have an environment with no more than 50% humidity. What Happens if it Rains Between Coats of Paint? While painting is a science, it’s also about timing. Before starting your interior painting project, check the weather to ensure the humidity is low, the temperature is ideal, and you don’t expect rain or snow. If it rains between coats of paint, the increase in humidity could result in poor paint adhesion, bubbling, and even flaking off walls once it’s dried. Weather challenges can be difficult for DIYers. One of the benefits of hiring a professional painting company is that professionals have experience painting in unfavorable weather conditions and have the equipment and skill to easily overcome weather-based hurdles. Save Time & Work With The Painting Professionals At VanDerKolk Depending on the paint you use, you could wait up to 24 hours before adding a second coat of paint. Adding another coat before the paint is ready could end up bubbling or peeling - all that hard work has gone to waste! You don’t have to spend your valuable time applying paint and waiting for it to dry. VanDerKolk Painting is West Michigan’s leading professional painting company. We can handle painting projects of any size for any type of home. Our team also possesses a wealth of experience painting historical homes . Our painting experts are ready to listen to your ideas, make suggestions, and draw up a timeline that perfectly matches your schedule and allocates enough recoating dry time for your paint. Request a free estimate for your interior painting project to get started with VanDerKolk Painting’s professional services today!
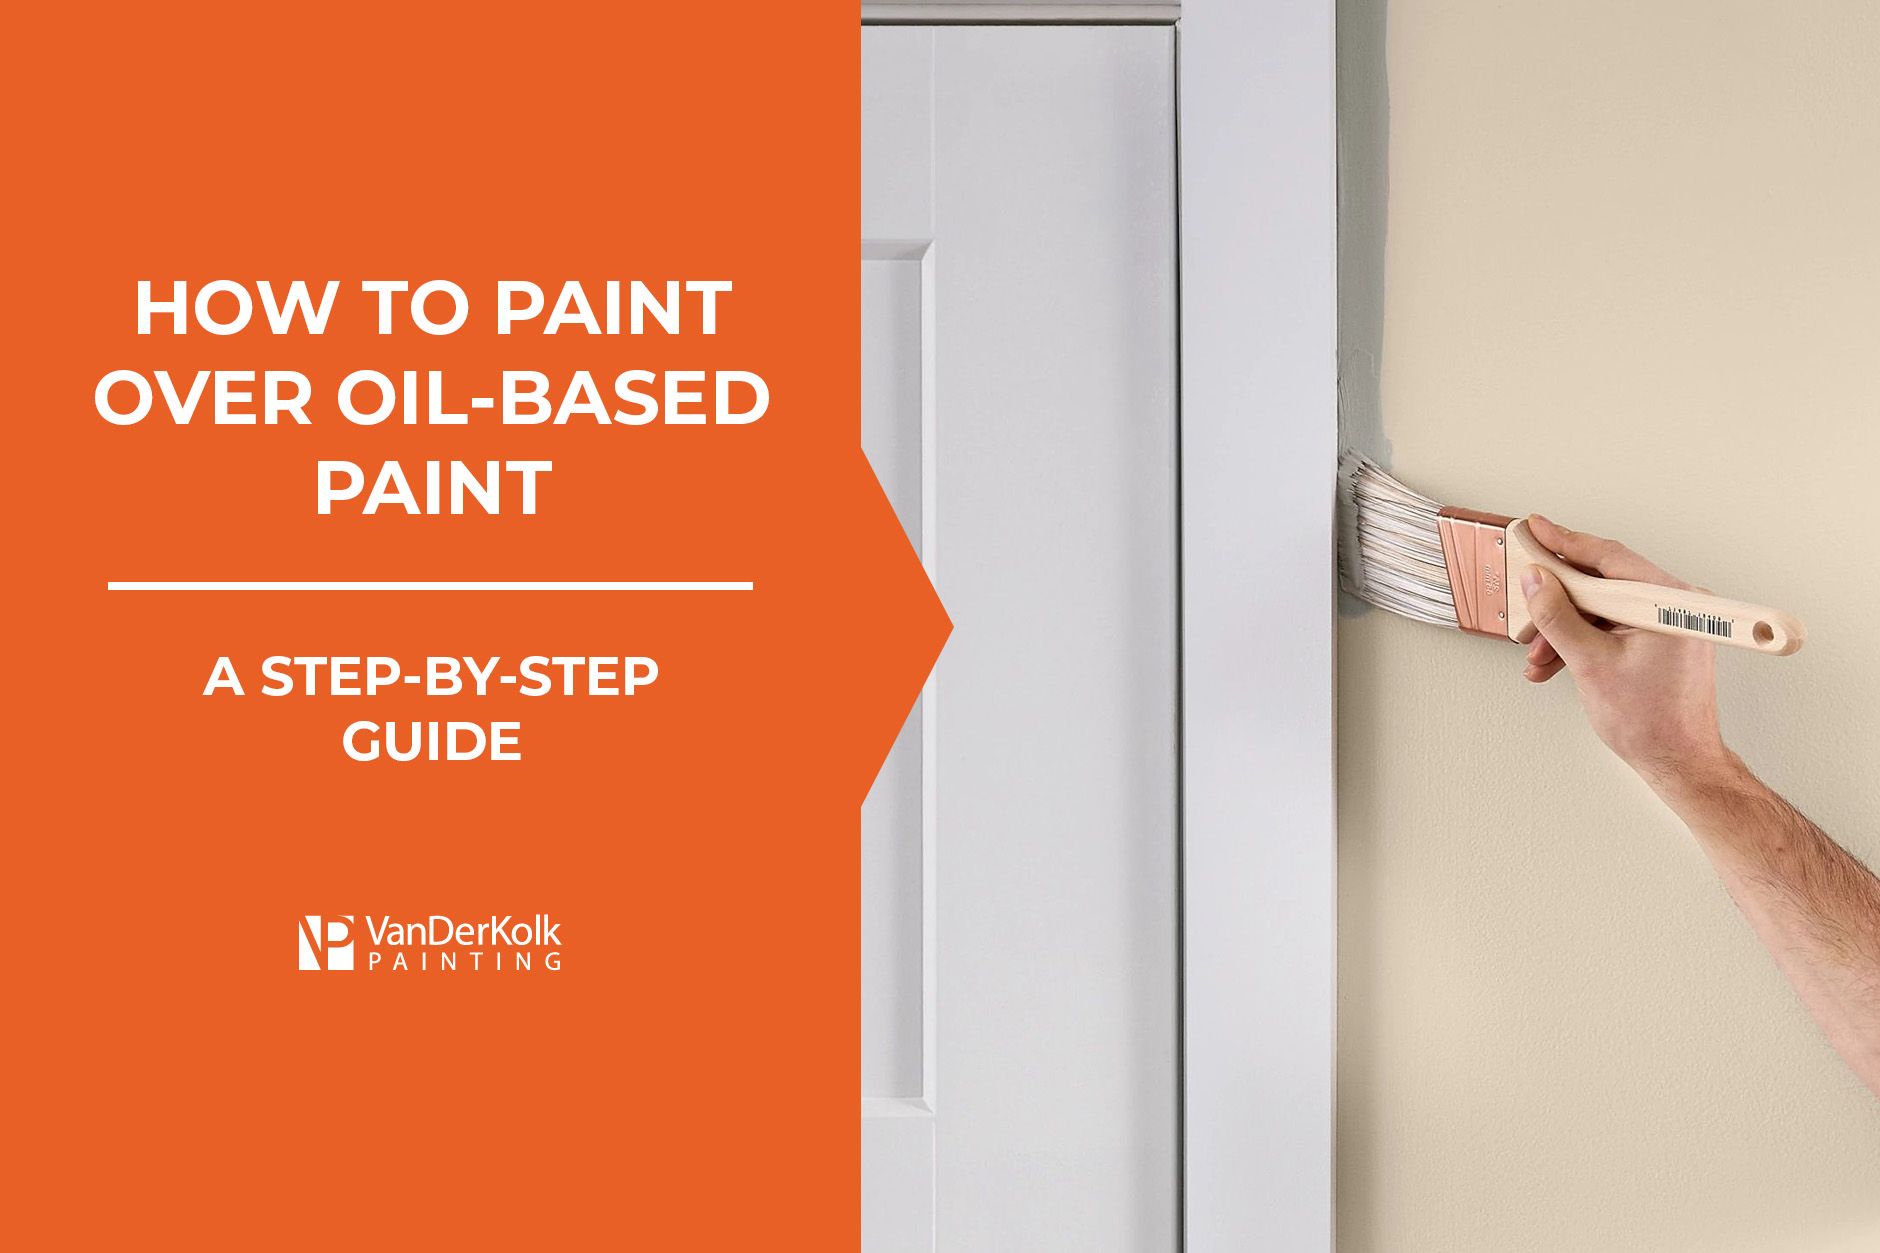
Water and oil don’t mix; this is a well-known fact. The same rings true when it comes to painting water-based paint over oil-based paint. So, how exactly do you paint over oil-based paint? While oil-based paint is much less popular today, you may run into it when renovating old homes or touching up decades-old furniture. Homeowners historically used oil-based paint on household items that experienced a lot of wear and tear, such as doors, trimming, and cabinets. Now that we are aware of the harmful VOC chemicals oil-based paint contains, most people have switched to using water-based and latex paint in their homes. When working to renew an older home, knowing how to paint over oil-based paint will save you from making grave mistakes that will cost you time and money. Of course, if you want your painting done right the first time with no mistakes, VanDerKolk Painting is here to lend a professional hand (and paintbrush) for your Grand Rapids residential or commercial project. If you decide to take the DIY route, you’ll learn exactly how to paint over oil-based paint by the end of this article. How to Identify Oil-Based Paint Before starting your painting project, it’s important to identify the paint you will eventually paint over. This information will help you decide which primer to use and the next steps to prepare your wall or item before putting your new paint color. Identifying oil-based paint is easier than you may think. Simply dip a cotton ball in denatured alcohol and rub it on the paint. If the paint does not come off, then it is an oil-based paint. If you encounter oil-based paint coating on your walls, doors, or antique furniture, you can easily paint over it with water-based or latex paint by following four steps. How to Paint Over Oil-Based Paint with Water-Based Pai nt In just four simple steps, you can successfully paint over oil-based paint without worrying about the new paint peeling or cracking in just a week. Step 1: Sand Away the Coating Using fine sandpaper, between 180 and 220 grit, rub away the glossy top coat of the oil-based paint. This will help the new primer and water-based or latex paint adhere to the surface without cracking or peeling. Remember, you do not want to sand away all the paint - just the glossy surface. Once finished sanding, use a wet cloth to wipe away any dust. Step 2: Clean with TSP After sanding the top layer, you’ll clean the surface with trisodium phosphate (TSP). To do so, mix ¼ cup of TSP with a gallon of water. Wear gloves, soak a sponge in the mixture, and use it to clean the surface. The sponge will pick up any dirt or dust left behind from the sanding. Clean the surface with the sponge and the diluted TSP twice to ensure it is clean and ready for a fresh coat of paint. Step 3: Prime the Surface Once the surface is clean and free of dust and debris, you can paint a coat of bonding primer. A coat of oil or water-based primer will help the paint better adhere to the surface and prevent it from peeling or chipping. Allow the primer to fully dry. Step 4: Add Two Coats of Paint When painting over oil-based paint, it’s best practice to use two coats of paint to ensure the color is vibrant and the paint is evenly distributed. Remember to use the correct type of paint for your project. If painting something outside, be sure to use exterior paint instead of interior paint to make your project last longer. Can You Paint Directly Over Oil-Based Paint? When covering oil-based paint with latex or water-based paint, you cannot paint directly over it. You must sand off the glossy finish, wash the surface with TSP, and prime it before painting it. This will provide a longer-lasting paint job and prevent the paint from peeling. What Paints Can You Paint Over Oil-Based Paint? You can use any paint over oil-based paint as long as you use the right technique and primer. Always remember that oil and water paints will not adhere together. So, you must follow extra steps to make these two paints compatible. Hybrid oil-latex enamel paint may be easier to paint over oil-based paint than water-based as the paint already contains oils. However, the type of paint you use will depend on your specific project. Oil-Based Paint vs. Water-Based Paint While painting over oil-based paint with another oil-based paint will forego the extra preparation steps, it’s better in the long run to use water-based paint. Unfortunately, oil-based paint contains VOC chemicals that can be dangerous, especially when painting in an enclosed space. Oil paint also takes much longer to dry. Water-based paint does not contain as many VOCs or fumes (if any) as oil-based paint, making it safer to use indoors. It also takes less time to dry and is more environmentally friendly overall. In fact, many states have placed restrictions on the production and sale of oil-based paint due to the environmental impact of production. So, it is harder to find now, making latex, enamel, and water-based paints much more convenient to use. The Perfect Paint Job Every Time - Guaranteed! There is chemistry and science behind every paint job. You have to consider the surface you’re covering, the type of paint you plan to use, and the kind of paint you may be covering up. Failing to collect the right information can result in wasted time and money and a chipped or peeling paint job. The good news is that you can bypass making these mistakes with VanDerKolk Painting! We guarantee a beautiful, clean, and perfect paint job for any project - big or small - you may have. During an initial consultation, our team of painting experts will determine exactly what type of primer and paint to use on your desired surface to get the most vibrant and opaque color possible. Plus, our state-of-the-art techniques ensure your home’s interior or commercial building will be given a new paint job that lasts. You can request a free estimate for your painting project today by filling out an online contact form or by calling (616) 202-6570 .
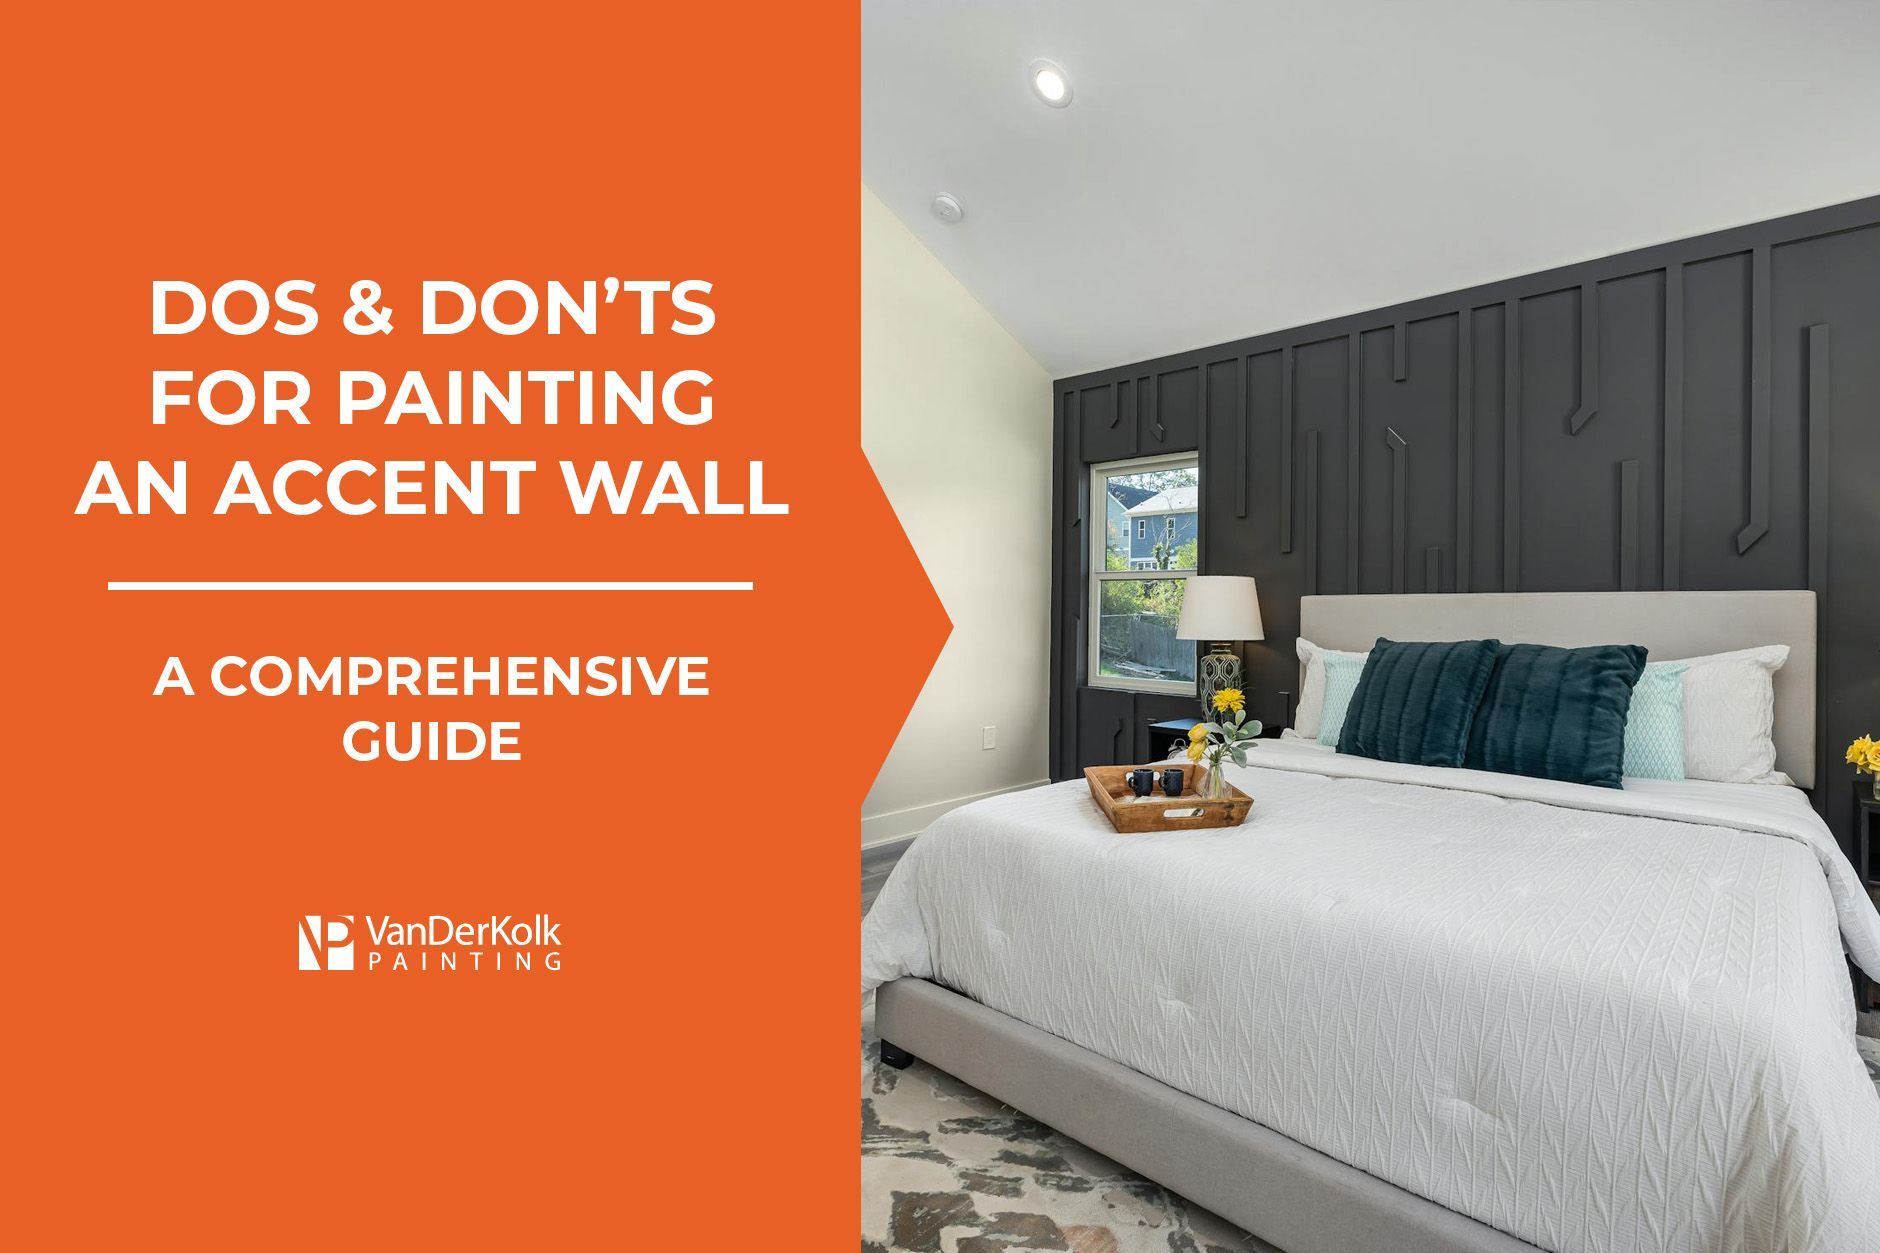
Accent walls can completely transform the look of any room. With just a splash of color, texture, or pattern, they inject personality and depth, provoking a magnificent transformation in your space's overall interior design. Whether you want to highlight a quirky architectural feature, create a cozy focal point, or just add a new dimension to a rather bland room—accent walls are a great solution. However, there are certain nuances to get right with accent walls; otherwise, things may not look as appealing as you’d like. That's where professionals at VanDerKolk Painting come into play. With decades of interior painting expertise, we provide guidance on the latest painting trends, ensuring your accent wall perfectly enhances the rest of your home’s interior. What is an Accent Wall? An accent wall, also known as a feature wall, is a single wall in a room that is distinctly different and more attention-grabbing than the other walls. It serves as a focal point in the room and is typically painted or decorated with a different color, texture, or design. In interior design, an accent wall serves several purposes. It can break up a large room, highlight an architectural feature, or draw attention to a particular piece of furniture or artwork. By doing so, it adds visual interest and depth to the space, creating a dynamic aesthetic. Accent walls elevate your interior design and can change the entire atmosphere of a room, but only when done correctly and intentionally. The Dos and Don’ts of Painting an Accent Wall Adding an accent wall to your favorite room is an exciting way to create interest and dimension. When doing so, make sure to follow these dos and don’ts of painting an accent wall. Do Choose an Exciting and Bold Color Embrace vibrancy when choosing your accent wall color. Let this be your canvas to paint a statement - a strikingly bold hue or an exotic print that enhances the room's overall color scheme . Delightfully unexpected, these vibrant splashes of color can inject personality and depth into your space. Consider harmonizing tones while allowing the accent wall to take center stage. The primary goal? To create a rich visual experience that encapsulates your style while complementing existing décor. For a holistic feel, extend your selected color or design onto other elements in the space, such as fabrics, furnishings, or accessories. Don’t Add an Accent Wall to Every Room Bold and vibrant walls do not belong in every room of your home. Accent walls, while elevating and exciting, should be reserved for specific spaces. Your living room, bedrooms , or dining rooms are excellent spaces to add an intriguing accent wall to elevate your interior decorating and liven up the room. Avoid areas such as the kitchen, bathroom, laundry room, or storage spaces when deciding where to create an accent wall. There is often too much going on in these rooms that the intended effect of an accent wall will fall flat. Do Choose the Right Wall The ideal wall for an accent is typically the first one you see when you enter a room – often referred to as the "focal wall." This could be one with a fireplace, a uniquely shaped window, or a large piece of artwork. Steer clear of walls with doors or windows if they interrupt the canvas drastically. Avoid walls with numerous light switches, climate control units, or anything else that could interfere with your smooth painting canvas. The accent wall should be an uninterrupted, clear canvas. Don’t Get Too Carried Away While an accent wall is an excellent way to add a splash of color to your room, it's crucial not to let your enthusiasm lead to a garish outcome. Bold designs and colors might seem appealing, but remember, subtlety is key. Your accent wall should enhance the room's aesthetic apart from being the focal point. Being the most embellished wall, it needs to coordinate with the overall decor rather than overpowering it. Keep in mind that less is often more when developing a color palette and design that highlights the features of your room. Do Hire a Professional Painter Painting an accent wall might seem like a fun, DIY adventure. However, achieving a seamless, crisp effect is often best left to the professionals. A professional painter has the know-how and tools to evenly apply the paint, smoothly tackle edges, and handle any unexpected issues. One missed spot or blotchy area can throw off the entire effect you're aiming for. When considering the rest of your home, a professional can create an overall cohesive look, balancing your daring accent wall with the rest of your interior. They'll use their expertise to blend the style and color scheme, contributing towards manifesting your vision of a dream home. Vanderkolk Painting is ready to help and equipped with professionalism, high-quality work, and guaranteed customer satisfaction. With Vanderkolk, you can rest assured that your accent wall and overall house painting project are in good hands. Should You Paint Accent Walls First or Last? If you decide to make your accent wall a DIY weekend project, then you’ll want to be strategic with your interior painting process. Typically, your accent wall will be a darker, bolder color than the rest of the walls. So, you should paint the accent wall last. This allows you to cover up any spots or splatter from the lighter color paint easily. Elevate Your Interior Design with an Accent Wall and VanDerKolk Painting An accent wall can drastically elevate and transform a room in your home when you follow the dos and don’ts of painting one. One of the best choices homeowners make when decorating their home’s interior is hiring a professional painting company like VanDerKolk Painting. From color recommendations, choosing the correct paint for your project, crisp clean lines, guaranteed customer satisfaction, and three decades of experience, the VanDerKolk Painting team is here to make your interior vision a reality. Request a free estimate for your interior painting project by calling 616-202-6570 or filling out a contact form .
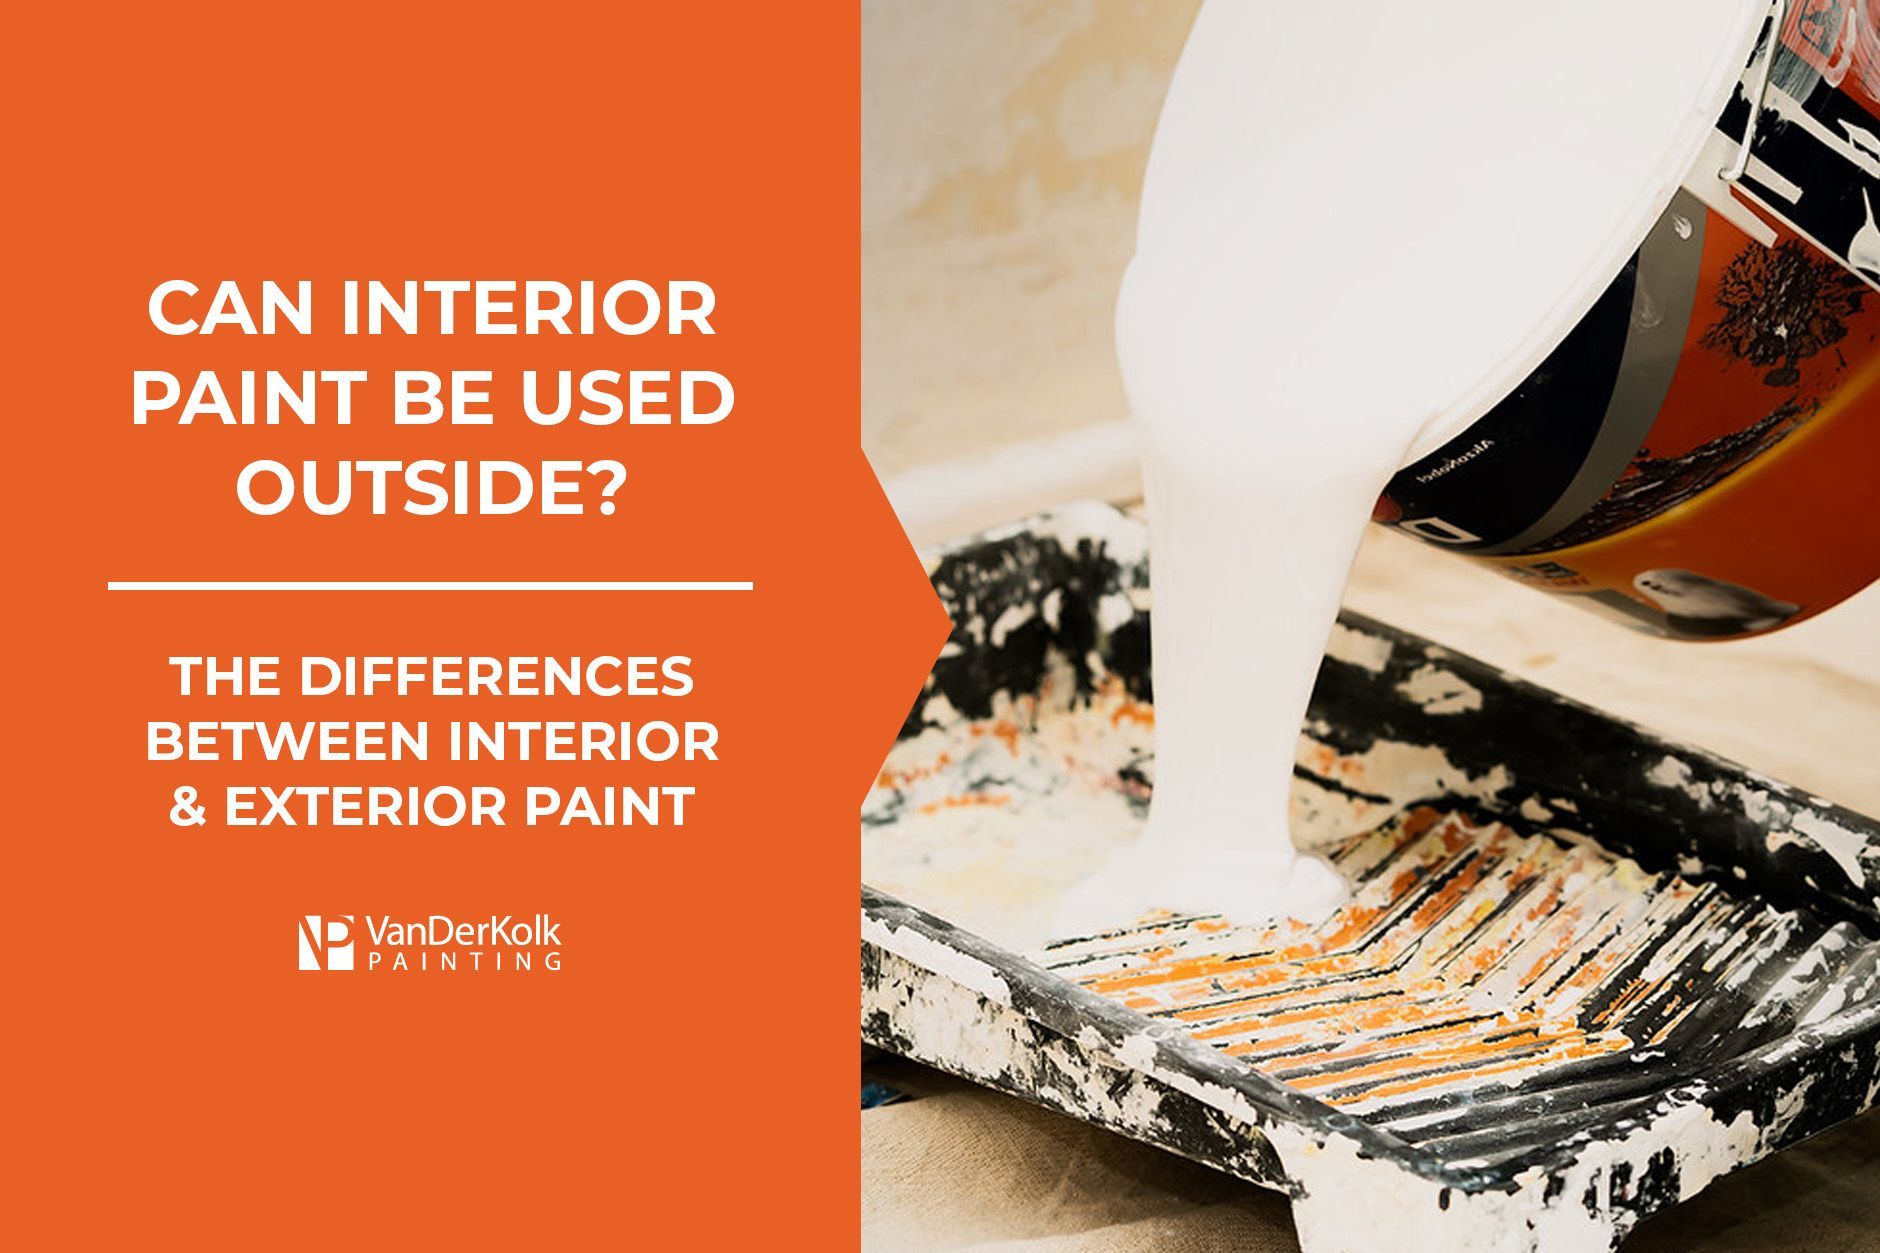
You’ve just finished an interior painting project . Maybe you redecorated your kitchen or living room, and now have some paint left over. You think to yourself, “Can I use interior paint outside?” Paint can be expensive, and it’s a shame to waste a perfectly good amount, especially if there is an exterior project you’ve been meaning to finish. However, using interior paint outside is not the best option if you want long-lasting and durable results. Avoid interior and exterior painting project mishaps and work with the professional painters at VanDerKolk Painting. Specializing in residential , commercial , and industrial paint projects since 1991, we guarantee thorough and efficient results from our trained team. By the end of this article, you will know exactly why interior paint should not be used outside and what type of paint to use instead. Can I Use Interior Paint Outside? When working on an outdoor project, such as painting your front door, house exterior, or mailbox, it is not recommended to use interior paint. Interior and exterior paint are made differently, each for its respective purposes and projects. When you use interior paint outside, you’ll likely experience peeling, cracking, and color fading due to light and weather conditions. What is the Difference Between Interior and Exterior Paint? Now that we have established that you should not use interior paint outside, what exactly is the difference between interior and exterior paint? There are four main differences that affect the use and results of each paint. Pigment When you paint your interior or exterior project, you want the color and pigment to last for years, right? One of the major differences between interior and exterior paint is the pigment. Many interior paints use organic pigments for their colors, which are known to fade significantly when exposed to harsh sun and light. The pigment in exterior paints is designed to withstand the elements and direct sunlight so that the color does not fade as quickly as interior paint would. Binders Binders are additives to paint that act as an adhesive between the pigment and the surface you’re painting. Interior paints are made with binders designed to resist abrasion, such as when you walk or slide something against a wall in your home. Exterior paints contain more durable binders and are made to withstand cracking due to harsh outdoor elements. They also have increased moisture control, enhancing their durability and longevity. Liquids Many interior and exterior paints contain volatile organic compounds or VOC. You’ll recognize VOC paint when you smell that “fresh paint” scent when you walk into a room. These VOCs make it easier to glide paint onto the surface but also come with some short-term and long-term health risks. These could include irritated eyes, coughing, headache, and dizziness. While there are more low-VOC and VOC-free paint options, it’s important to be aware that the levels of VOCs in interior and exterior paint differ. Interior paint has a lower VOC level than exterior paint. So, just as you shouldn’t use interior paint outside, you should never use exterior paint inside. The VOCs in exterior paint could be more harmful because they cannot dissipate properly in an enclosed space. Consistency The last major difference between interior and exterior paint is the consistency. Interior paint tends to be much thinner than exterior paint. This means that if you were to use interior paint outside, you would need more coats to cover the surface and have an opaque color. It would also take longer to dry than exterior paint. Exterior paint tends to be thick, allowing you to fully cover your surface with just a couple of coats. What Happens if I Use Interior Paint Outside? While it is not recommended to use interior paint outside, some people may still choose to do so. But what can you expect to happen when you use interior paint outside? The paint job will not last very long since interior paint isn’t crafted to withstand outdoor elements such as wind, rain, and direct sunlight. You’ll experience color fading, peeling, bubbling, and cracking. All of that hard work will have gone to waste in just a year! What is the Best Paint for Exteriors? We’ve established that interior paint should not be used outside. So, what type of paint is the best to use? The two most popular exterior paint types are oil-based and latex. These types of paint can be used to cover stucco, brick, aluminum, wood, and more. You can also cover rust on outdoor furniture or fences with oil-based or acrylic latex paint. The Importance of Choosing the Right Paint for Your Project Whenever you begin a paint project, one of the most important things to consider is choosing the right paint type. This will ensure longevity and durability, so your paint project lasts for years to come. Not sure which paint is right for your project? VanDerKolk Painting can help you with that. With more than three decades of professional painting experience, we’re here to guide you through every step of your painting project - no matter how big or small. Whether you’re redecorating your home’s interior, office building, or exterior, VanDerKolk Painting’s team of skilled painters is here to help. The hardest part about working with VanDerKolk Painting is choosing the colors! Request a free estimate for your next paint project in West Michigan today!
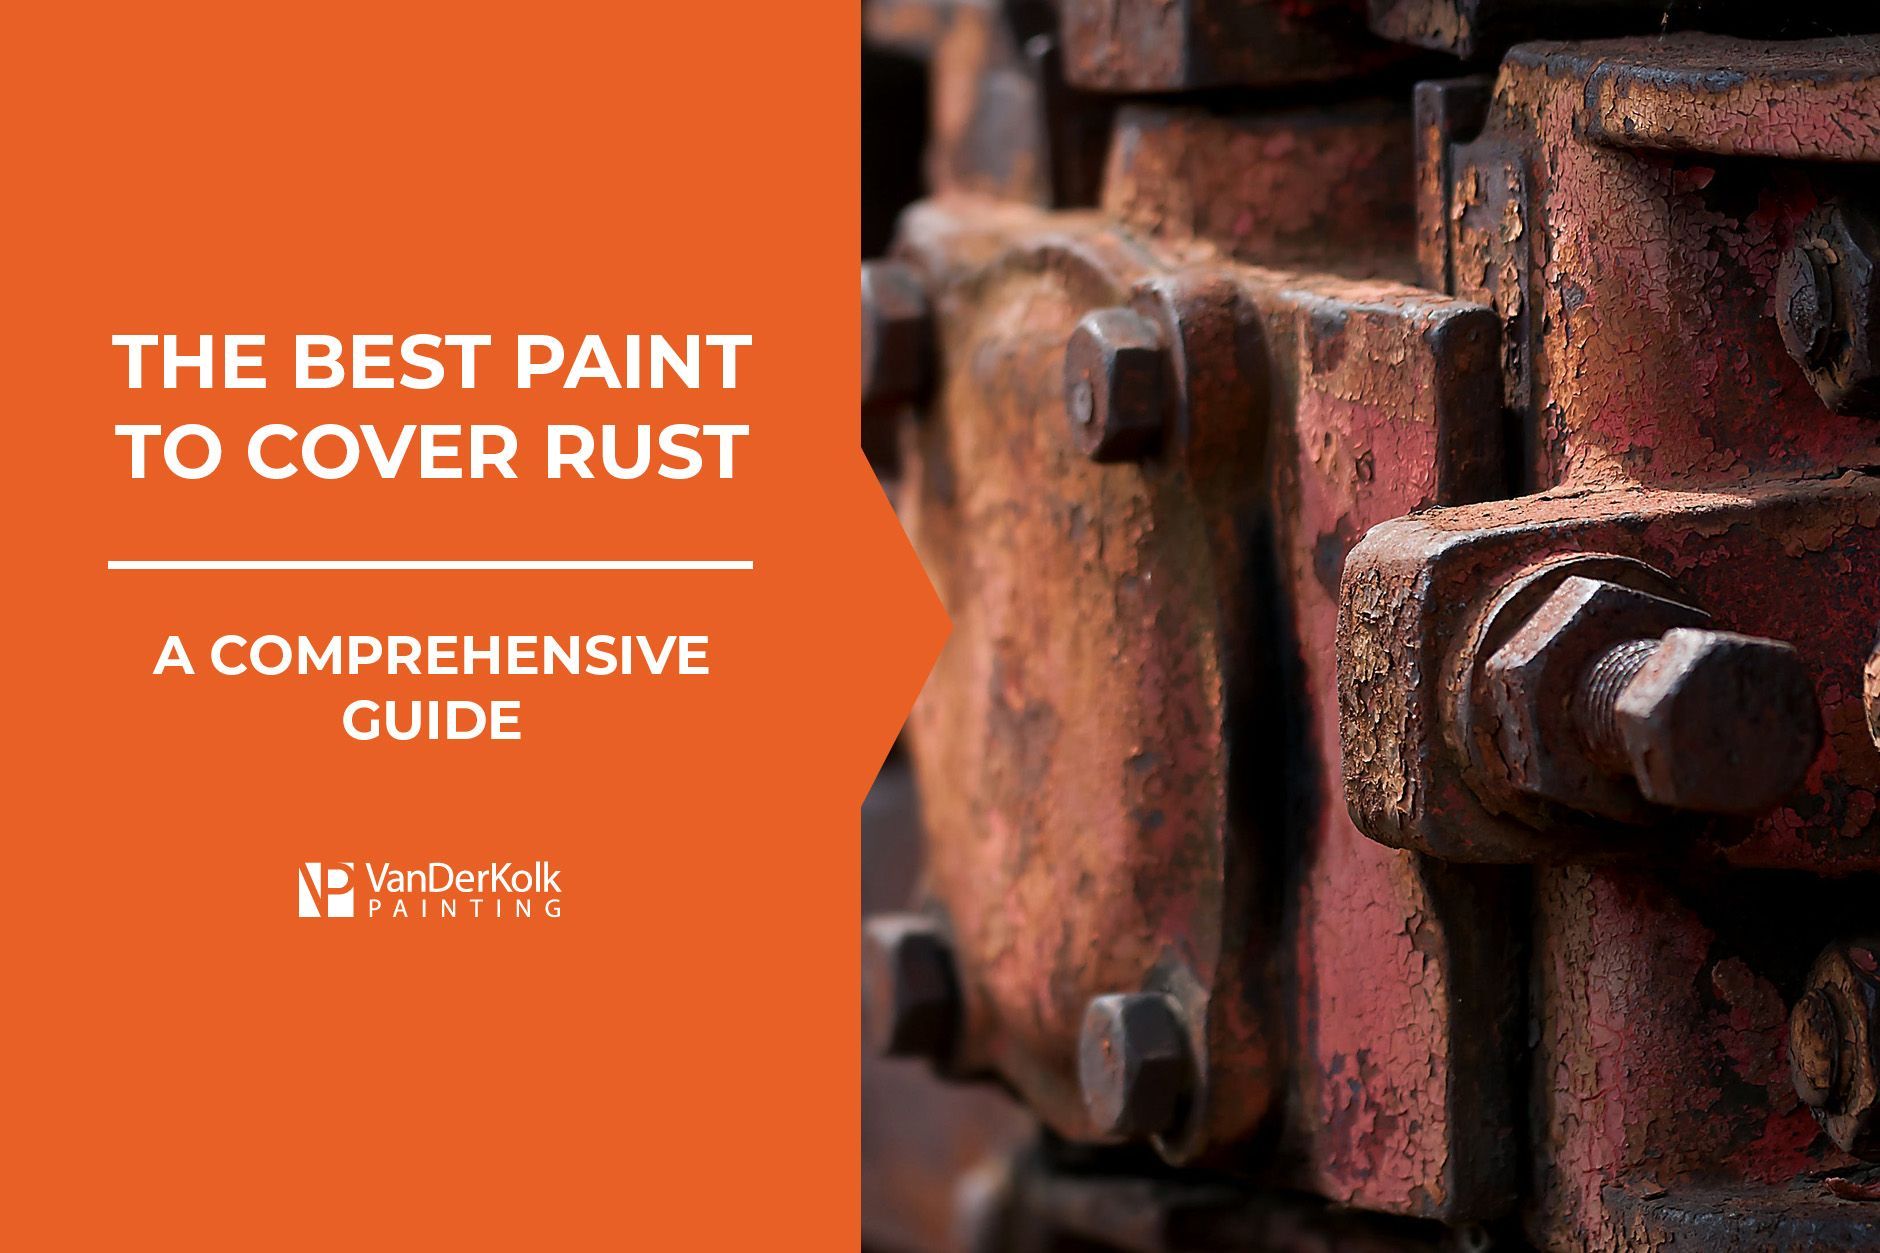
You’ve been staring at your iron gate and have an overwhelming urge to cover the rust that has been spreading for months. Rather than replace the entire structure, you ask yourself, “What paint should I use to cover rust?” Painting over rust and reviving your valuable metal structures and objects can save you time and money. However, it’s crucial that you use the right paint to cover the rust to prevent it from spreading and damaging your metal even further. Whether you’re tired of looking at a rusty eyesore or are enhancing your property’s curb appeal, learning how to paint over rust can be extremely beneficial. VanDerKolk Painting is a West Michigan painting company that has been providing residential , commercial , and industrial painting services to home and business owners since 1991. Our experienced painting team has divulged their knowledge so that you’ll know the three types of paint to cover rust, how to apply it effectively, and the number one secret to perfectly paint over rust every time once you’re done reading this post. What is the Best Paint to Paint Over Rust? Adding a simple layer or two of a fresh coat of paint can instantly transform your metal structure, especially if it has some rust. Fortunately, there are paints that work especially well to cover rust. Acrylic Latex Paint Acrylic latex paint is best paired with a water-based latex iron oxide primer when painting over rust. It is easy to apply and one of the paints known to be less messy. Amongst latex paints, acrylic is regarded as the best and highest quality of the bunch. It is best applied with a brush or roller. Oil-Based Enamel Paint Oil-based enamel paint is best paired with an oil-based primer. While it has a reputation for being messy or difficult to apply, its durability makes the extra effort worth it in the long run. This enamel paint is often used for outdoor pieces and exteriors thanks to its strength and resistance to the elements. Its glossy shine is also a huge plus if you want to bring life back into your metal objects and structures. Epoxy Paint If you want to avoid oil-based paints, epoxy paint is the next best thing. Pairing it with a latex iron oxide primer when covering rust is recommended. Epoxy paint is just as durable as oil-based enamel but has the ease of application of an acrylic latex paint. Avoid using epoxy paint on oil-based iron oxide primers, as it will flake off shortly after drying. How to Paint Over a Rusty Surface If you want to effectively paint over a rusty surface and prevent the rust from affecting the rest of the metal, there are specific steps you must take. Neutralize Rust Before Painting The first step is to prep the surface and neutralize the rust you wish to cover with paint. This process involves removing any flaking rust. You could use a metal wire brush or simply scrape away these loose pieces. It’s important to thoroughly examine the piece of metal you wish to paint to ensure the rust hasn’t affected the metal’s integrity. If the rust has eaten away at the metal structure too much, it may not be worth painting over. Apply a Primer Arguably, the most critical step of painting to cover rust is priming the area with a durable and proper primer. Adding a primer will improve the paint’s adhesion to the surface and prevent discoloration. Even on lightly rusted surfaces, you should use a primer. Choosing the correct primer makes all the difference when painting to cover rust. Extensive Rust - When dealing with extensive rust, opt for a water or oil-based rust converter metal primer. This will prevent the rust from expanding and cover it so you can easily paint over with a paint color of your choosing. Lightly Rusted - When working on painting over a lightly rusted surface, choose a water or oil-based rust-preventative primer. Also referred to as a rust inhibitor primer, this strong primer prevents rust from forming because it includes zinc, which oxidizes itself and takes years to break down. It’s important to remember that your paint type should coincide with the kind of primer you use. Never pair an oil-based primer with water-based paint or vice versa. Paint Over the Rust Now that you have prepped and primed your rusted metal surface, it’s time to paint over the surface and bring new life to the structure. You can apply your chosen paint and color with a brush or a spray. We recommend adding at least two coats to ensure even coverage and an opaque color. Will Rust Continue to Spread Under Paint? In theory, when you paint over rust and use the correct primer, the rust will stop spreading along the metal’s surface. However, if there is a scratch in the paint or there is rust located behind the metal or inside the structure, it can still spread. For this reason, we recommend closely examining the object or structure and covering all or most of the surface, regardless if there is rust present. This will ensure rust does not spread and your metal object or structure lasts longer. Let VanDerKolk Painting Paint Your Metal Surfaces Painting over rust doesn’t have to be a mystery. While finding the right combination of primer and paint is crucial, there’s an easier way to revive your metal piece while avoiding any chance of mistakes. VanDerKolk Painting is available for all of your painting needs! Our professional painters are trained in choosing the correct primer and paint for your situation. Their steady and careful hands guarantee a perfect paint job, no matter the condition. Specializing in residential, commercial, and industrial, no paint job is too big or too complex for the VanDerKolk Painting team. Get a free estimate for your paint project today by filling out an online contact form or by calling (616) 202-6570.
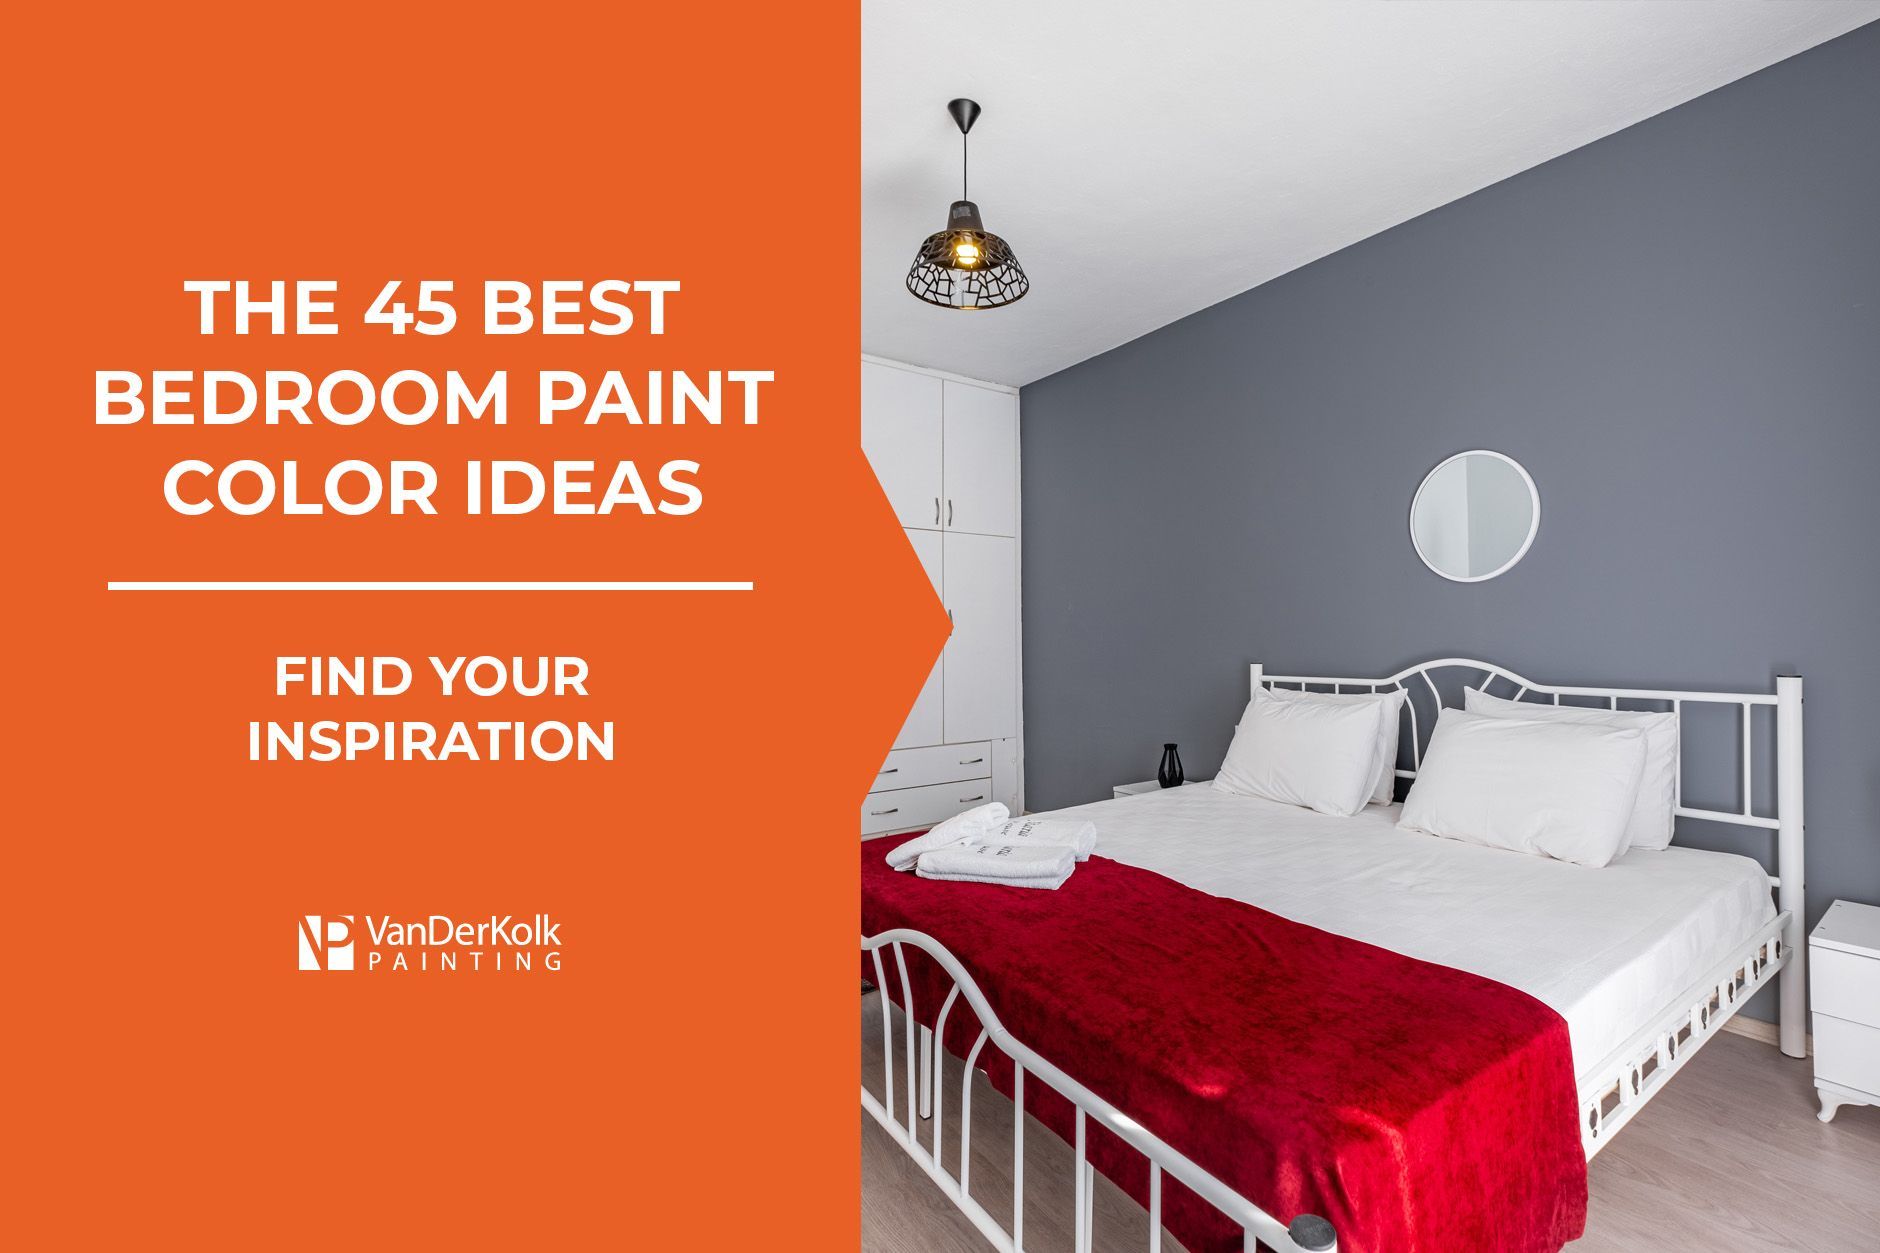
The color of your bedroom walls can influence your sleep quality and emotions. Your bedroom should be a sanctuary where you feel comfortable, relaxed, and cozy. Choosing one of the best bedroom paint color ideas for your walls is one way to ensure your bedroom serves its full, restful potential while also looking great. The way you decorate your bedroom says a lot about who you are. It’s a way to express yourself and create a safe space where you can decompress and rejuvenate for the next day. If you’re searching for some inspiration about which color to paint your bedroom, you’ve come to the right place. We’re sharing a comprehensive list of the best bedroom paint color ideas for every bedroom situation. You can also use the Sherwin-Williams ColorSnap tool to help you visualize your bedroom with your new paint color. Once you’ve chosen the perfect bedroom paint color, VanDerKolk Painting will make your dream bedroom a reality, carefully and precisely adding the best bedroom paint colors to your walls.
As homeowners, we ponder a lot when decorating our homes, taking special care to choose aesthetically pleasing and functional colors. However, newly painted walls lose luster over time, necessitating regular upkeep to preserve their aesthetic value and protect the wall. Exactly how often should walls be painted? The interior house painting experts at VanDerKolk Painting outline common signs indicating it’s time to repaint and approximately how frequently interior walls need to be painted on average.
Request Your Free Quote
We provide quotes at absolutely no cost. Requesting a quote gives you an opportunity to meet with one of our team members, better understand our process, and explain the details of your project. You can request a free quote by filling out the form, or by calling us at 616-202-6570.
Footer Form